Great work on those dragons. To get some interaction, I’d take a look at the Attach Constraint. It will enable you to dynamically parent the foot of one dragon to the foot of another, and control the intensity with which they are attached along with the distance and orientation they should have relative each other.
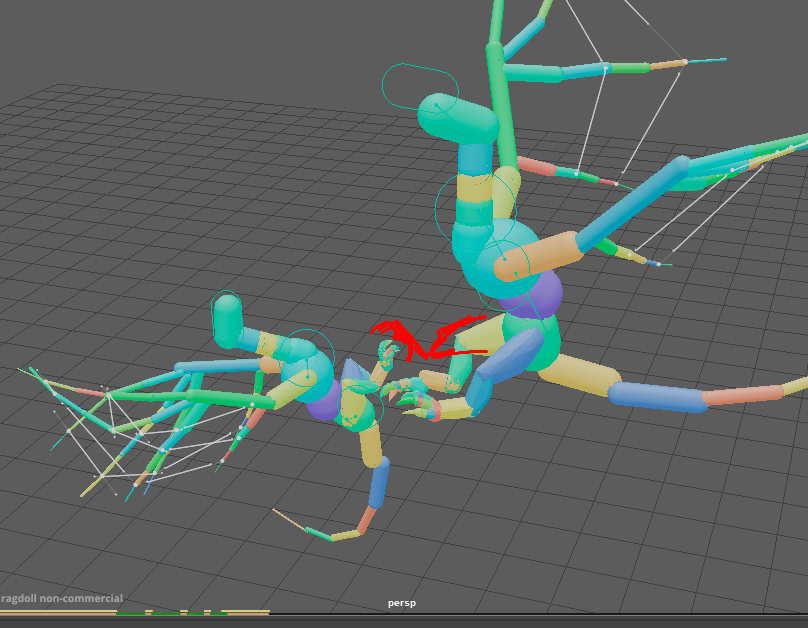
For example, here, the feet are dynamically attached to each other, and later un-attached by animating Stiffness to 0.
Here’s how to do it.
Select child
Select parent
Ragdoll → Constraint → Attach
Move attach constraint to where on the parent you want the child to be
Per default, the Attach Constraint will mimic the distance and orientation your controls have at the start frame. If you 0-out the values, it will be as if you parented the control to another control, and zeroed out its channels. It would go to the same position and orientation as the parent.
In this case, I want foot A to be close to foot B, and so I zero it out, and then turn it up-side down such that their soles touch.
Hi,
continue on improving this shot, I got how to add “attach” constrain, and it work nicely. I follow your tip on interacting with complex obstacles and added that rock as a marker. Therefore the creature feet is colliding correctly with the surface.
However , character A gets a bit delayed and doesn’t hit the rock as in my original animation (frame 1060) , how could I fix that?
And of course, any ideas to improve overall interactions and events.
Speak soon , cheers
I think it can be helpful to think not of your simulation as trying to match your animation - making it more realistic - but instead think of your animation as a guide for your simulation.
The difference is that you aren’t looking to your animation for a final result, but as effectively the “rig” to your simulation. So, if the dragon needs to reach a target quicker, tune the animation until it does. What the actual animation looks like is not important and likely won’t look very good at all.
Nobody demonstrates this better than Jason, such as these.
ok , its a brain freeze for me.
But I understand, my workflow as been creating the shot:
blocking/spline → ragdoll pass → polish
and the approach should be:
ragdoll pass → and polish
taking advantage of ragdoll in getting something fast and realistic.
However (lets tackle the elephant in the room), in vfx productions sups, directors, clients tend to be very specific on how they want a certain shot or animation.
How should be the proper approach?
Creating a ragdoll setup , animation a pass and polish a pass on top of that?
(as I mention in above)
Thank you for your time and your devoted attention to this issues,
and also I hope this helps other users with same questions,
cheers
No, you’ve got it, it can definitely be:
blocking/spline → ragdoll pass → polish
It’s the polish where you aren’t polishing the animation anymore, but the final result.
It’s different, this is true. But there is light at the end of that tunnel. Animators (and directors) can expect from Ragdoll what they can expect from a live-action actor and natural phenomenon, including actors captured in a mocap suit. Namely, natural behaviour. It’s fairly safe to assume that all stories we as humans are capable of telling can be told with either actors in front of a camera, or motion captured actors that are augmented or cleaned up afterwards.
So your struggle is real, but the solution may not be to push harder, but to look at it a little differently. Like you are effectively doing motion capture for your animation, with the expectation that you cannot control reality to 100%, but rather that you collaborate with it to reach the desired goal. Like a live action director or motion capture supervisor.
Your keyframes are the director of your physical character; you use it to achieve the results you want. The simplest results are the most natural, the most difficult are the most mechanical and unnatural. Effectively the inverse of traditional keyframe animation, and our belief is that this how it should be.
All of that said, your are already real close and everything you’ve done up until this point is still correct; you’ve got a blocked animation to steer your physical creatures. What remains is tuning that blocking until the physical creatures look the way that you want - as opposed to tuning Ragdoll to follow it more closely.
Some philosophy for you there, interested to hear your thoughts.
I’m being advocate for the use of ragdoll in production, therefore just posting my concerns and trying to figure out how I to tackle them correctly.
Nice to know that after all I’m treading the right path. Thank you so much for your attention on all this topics, (I think it makes a lot of difference)
I will continue my work, on this and other shots and post here on the forum my progress for “dissecting”
Yes please! I love exploring new workflows, and what you’ve presented so far is exactly the kind of work I expect Ragdoll to fit. Looking forward to seeing what you come up with. And do explore, even if it may seem a little daunting, the workflows of @Jason. He’s at the tip of the spear on this and keeps expanding on what’s possible.
I would to ask if is there a correct way to change between FK /IK controls.
In this situation I added double “markers” , on neck set for IK head and another set for FK head.
On other shot I just use markers for IK controllers, but it would help to apply them to the FK controllers, at certain frames.
Thanks and always open to some suggestions,
cheers
The gotcha is that once you record, both IK and FK controls are constrained to the simulation in whatever position they were at the start frame. It can happen that the FK and IK controls have 2 separate poses at that time, and if they do then that offset will be maintained throughout the recording process. So switch between IK and FK on the start frame before recording, to ensure they both result in the same pose.
Btw, you can animate the head falling off, rather than use a second head for it. If you set Translate Motion = Soft and animate Translate Stiffness and Rotate Stiffness to 0, it will detach.
For Ragdoll’s predecessor, WeightShift, my first demo was something not too dissimilar. Brings me back.
Still a good example of what I mean by letting your animation be the guide to your simulation, and not worry too much about what your keyframes look like.