Very cool! For the nunchucks, this is one of the few cases where you don’t want any pose stiffness at all. Without pose stiffness, they will act like metal rings linked together - as opposed to fleshy limbs connected with cartilage - which is exactly what this is.
Two additional things I think they will need.
Limits in all axes, to keep the from bending in on themselves and from twisting past 180 degrees.
Distance Constraint between the base of each handle, to aid with stability. It will help keep the links from getting too far away from each other and aid in the stress they feel when they are being thrown around quickly.
Hm, I’m not seeing the stretchiness or losing their metal shape in the videos above?
This is the most physically accurate result, but physically accurate isn’t always the best-looking result. Pose stiffness will help keep it under check without breaking realism too badly. Could be that the chain is old and rusty, causing a lot of friction between them and making them act more like a thick rope.
That looks good, thanks for sharing. Are the feet Kinematic, or are they stationary simply because they are so large and heavy? Would be good to see more kinds of drop tests, like different angles and maybe dropping him down a flight of stairs or a sculpted Environment mesh.
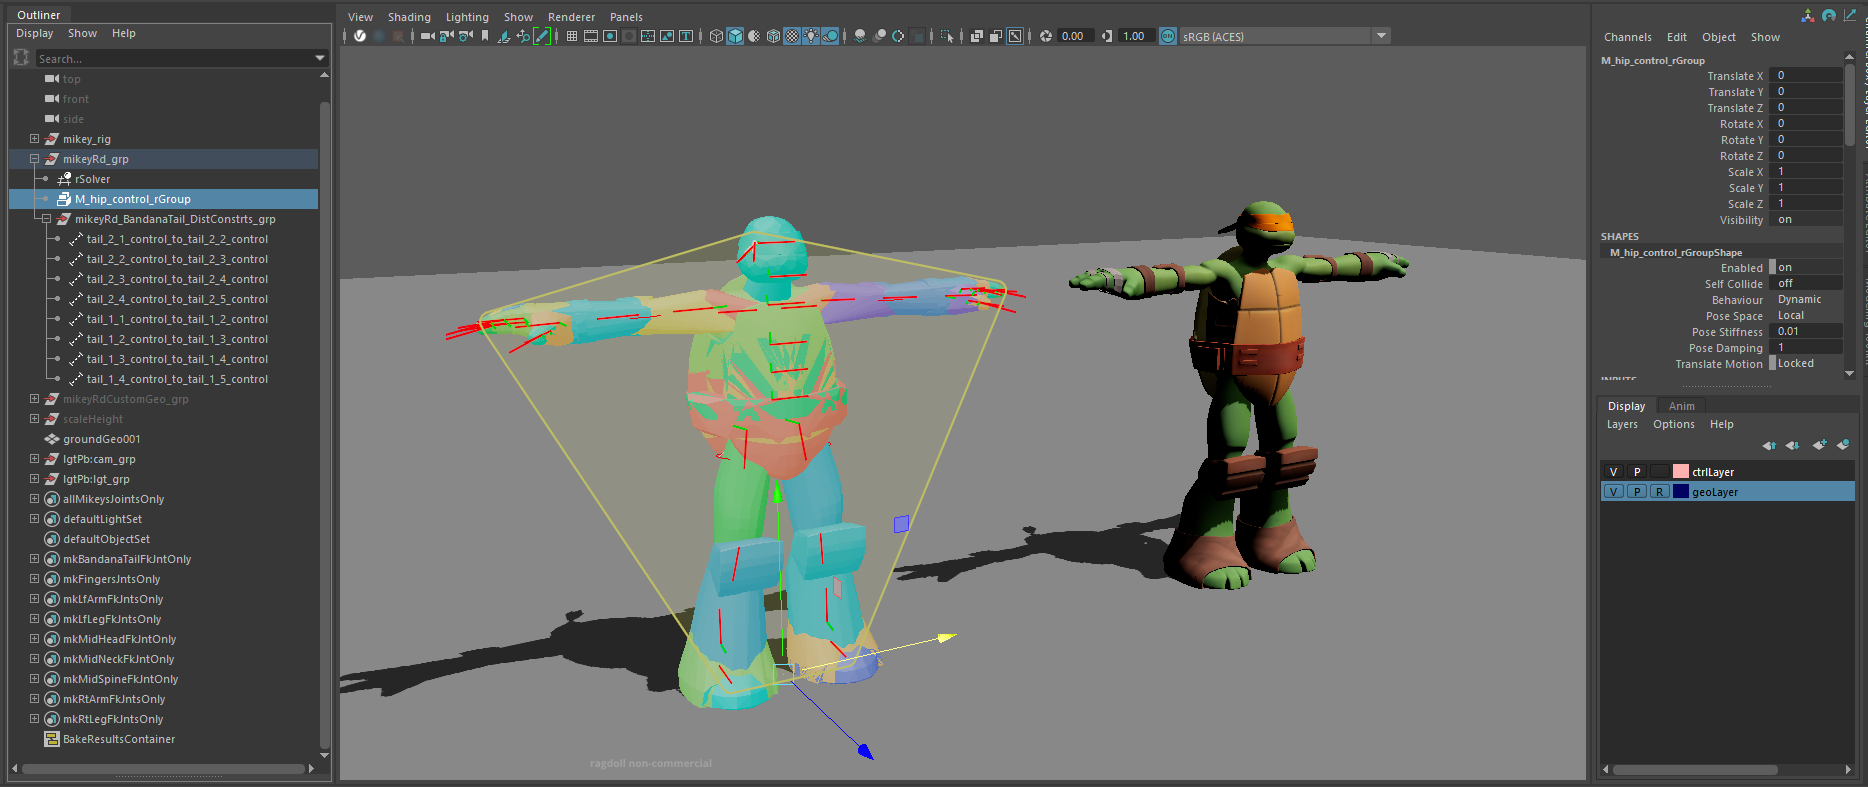
The nunchuck does show me that it stays inside of mikey’s hand when viewing the Rd plugin shapes like below.
Mikey ragdoll Plugin Shapes holding a nunchuck going from kinematic to dynamic drop test playblast
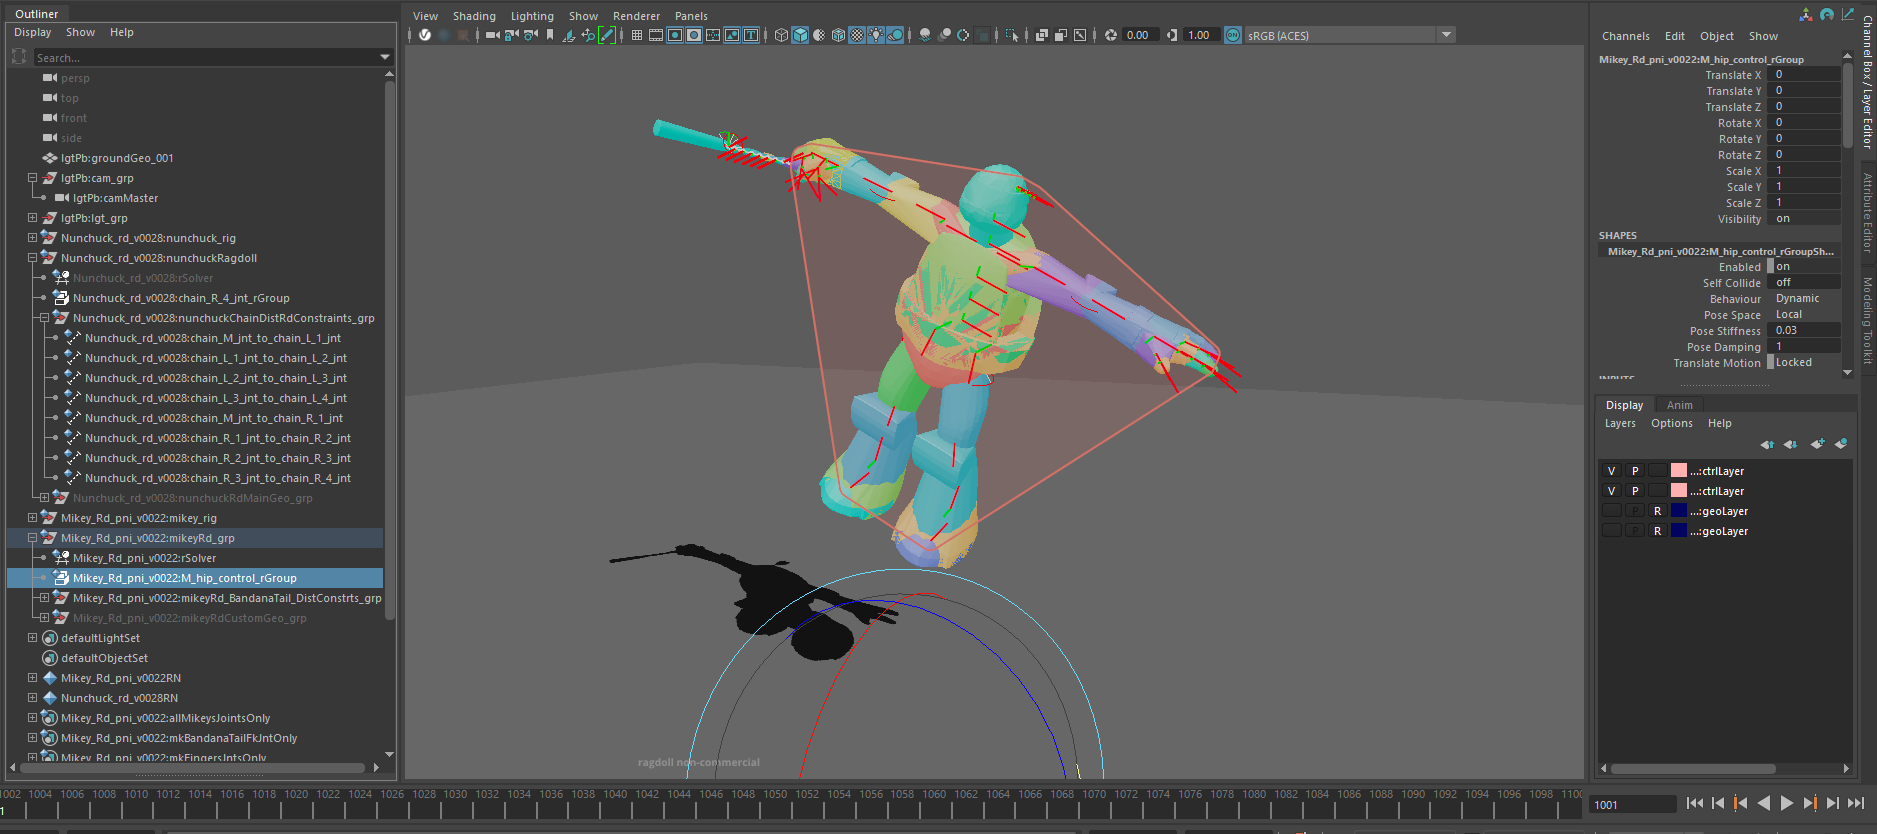
But, after baking, the nunchuck handle doesn’t stay inside mikey’s hand throughout the range of the shot.
@marcus what would be a proper way to make sure he holds his prop in his hands? I’m not keyframing any of the nunchuck controls apart from the one that Rd auto-creates on the first frame when baking. I’m just relying on the attach contraint to let the nunchuck do it’s thing based on what happens to mikey.
Mikey ragdoll holding a nunchuck going from kinematic to dynamic drop test playblast
The physically accurate method would be to tighten his grip enough, and let friction keep hand and nunchuck together. Like in the real world. But, that would require lots of substeps and could be unreasonably expensive (and unnecessary)
Increase the strength of that Attach Constraint, and lower the Damping. At e.g. 100/0.1 it should barely move. But the exact values will depend on the scale of the hand; its total mass.
Use not a Attach Constraint, but a Weld Constraint. This would be a Attach Constraint with infinite strength, the limitation being that it cannot be animated.
Use a post-process, such as your nunchuck rig being locked to the hand via traditional Maya constraints, and only let the rings and opposite side receive the recorded values.
Other than that, if they still stray away from each other, you can experiment with lowering the mass of the nunchuck, to make it less likely to pull on the arm too much. Then you can try increasing substeps to see whether the solver is trying to achieve what you want but isn’t given enough time.
To double check, are you saying the nunchuck separates only when recording, and that they are stuck together during the sim? It’s hard to tell. If this is a rig or recording issue, then that’s a different story.
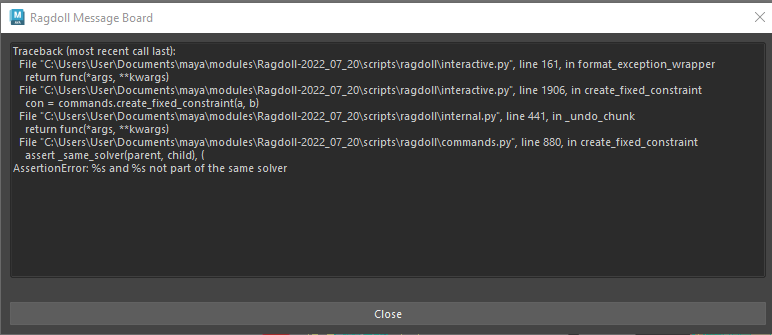
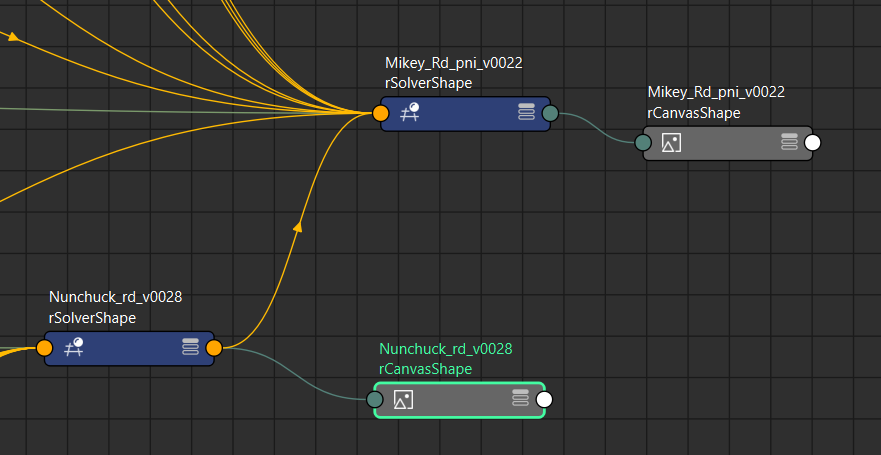
I tried using the weld constraint, but I get an error saying that my solvers aren’t linked although they are.
I am able to weld between 2 of the controllers in the nunchuck rig, but I am unable to weld from the nunchuck handle controller to the controller of a different rig, in this case being mikey’s hand controller.
Ah, smells like a bug. Patching this for the next release.
You can work around it by not Linking but Merging the solvers instead. It’ll have the same effect, except they won’t be un-mergeable later. It’ll still work on two referenced assets.
Here’s another test using the Pose Space set to custom workflow having mikey get bopped in the head by a nunchuck, falling limp, and then quickly popping back up to his initial pose.
Mikey ragdoll Plugin Shapes getting bopped in the head playblast
Mikey ragdoll getting bopped in the head playblast
The ends of the nunchuck are far heavier than the links, so they struggle to hang on. You can work around it by manually setting their masses.
Select nunchuck handles and all chain elements
Set their Density = 0
You’ll get a Mass attribute appear, start with a value of 1.0
Now they’ll behave better, but may be too heavy or too light compared with the rest of the character. So try different values, 0.1, 1.0, 10, 100 and so on until it feel right.
Alternatively, you can increase the time that Ragdoll is allowed to solve the simulation, since this is a problem of performance. Increasing substeps and iterations will likely solve it as well, but will cost more CPU.
Thanks, will play around with density set to 0 and control the nunchuck with mass instead.
I do have another question regarding FK and IK setups.
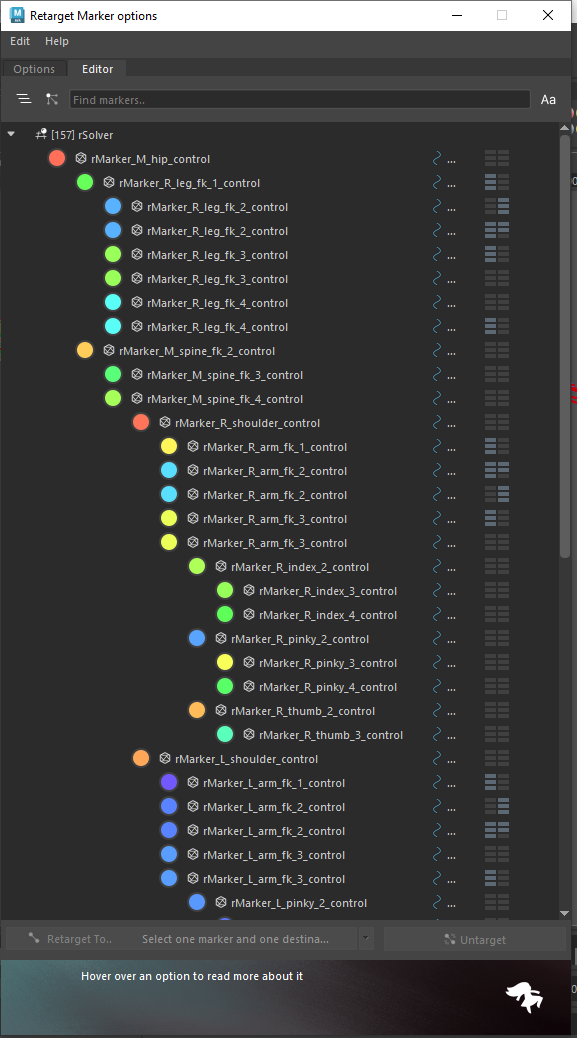
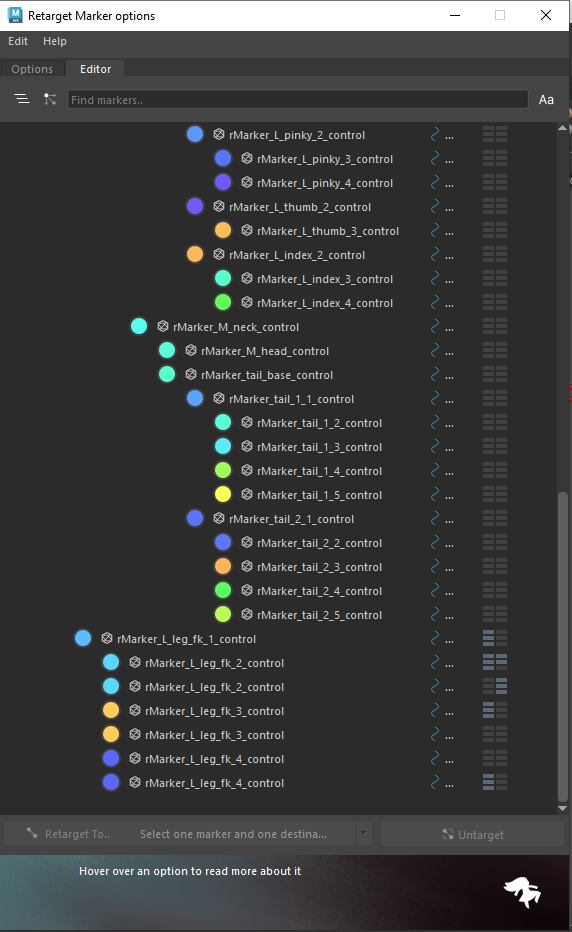
So if I have the mickey markers setup onto the fk controls, and I want to change arms and legs to ik controls, does this mean I have to re-create the arms and legs markers onto the ik controls, retargetting them from the ik joints onto the ik controls.
This means depending on how I want to animate, I need to have one ragdoll rig that has it’s markers on FK controls.
And another rig that has it’s markers on the IK controls correct?
There currently isn’t a way to support combining ik and fk markers in one file?
So I was able to make the mikey ragdoll setup work with arms and legs set to be in either fk or ik mode.
I first re-assigned the legs and arms markers onto the ik joints.
Then I appended the ik controls onto the markers corresponding to the ik elbow and knee pole vectors as well as the hand and feet ik controls.
I had to re-create the ankle geo I used as the marker mesh because it got a weird rotation when I re-assigned the ankle marker onto the ik ankle joint.
Though the appended controls kept the same name that it auto-generated when I created the initial markers on the fk rig, so it’s kind of difficult to visualize which is the fk or ik controller connection.
Mikey ragdoll Plugin Shapes FK drop test playblast
Mikey ragdoll FK drop test playblast
Mikey ragdoll Plugin Shapes IK drop test playblast
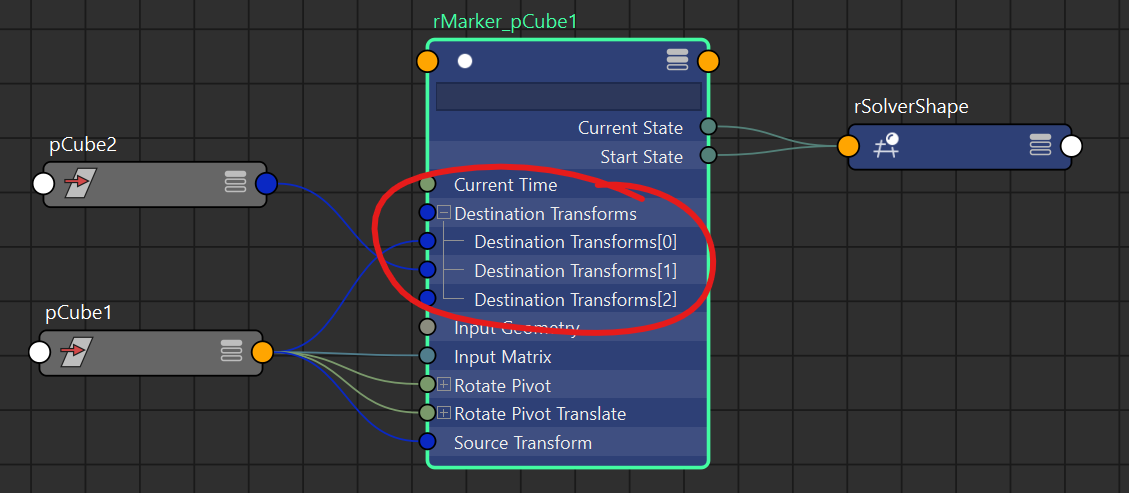
One other option you have to drill into the exact targets is to look at the Maya Node Editor. It will draw the connection between a Marker and each of its outputs.
Yes, the trick is making sure the pivot around which they rotate is at the centre of the wheels. If you think of the skateboard as a character, then you can:
Assign to the board
Select board + wheel 1
Assign and Connect
Repeat for wheels 2, 3 and 4
This would make the wheels connected to the board, with the pivot at the natural Maya pivot of the wheels. Where if you selected and rotated a wheel should be at the centre.
If all else fails, make a new Maya Cylinder for a wheel, don’t freeze the transforms (because you want to keep the pivot at the center of the mesh) and use this for a wheel.