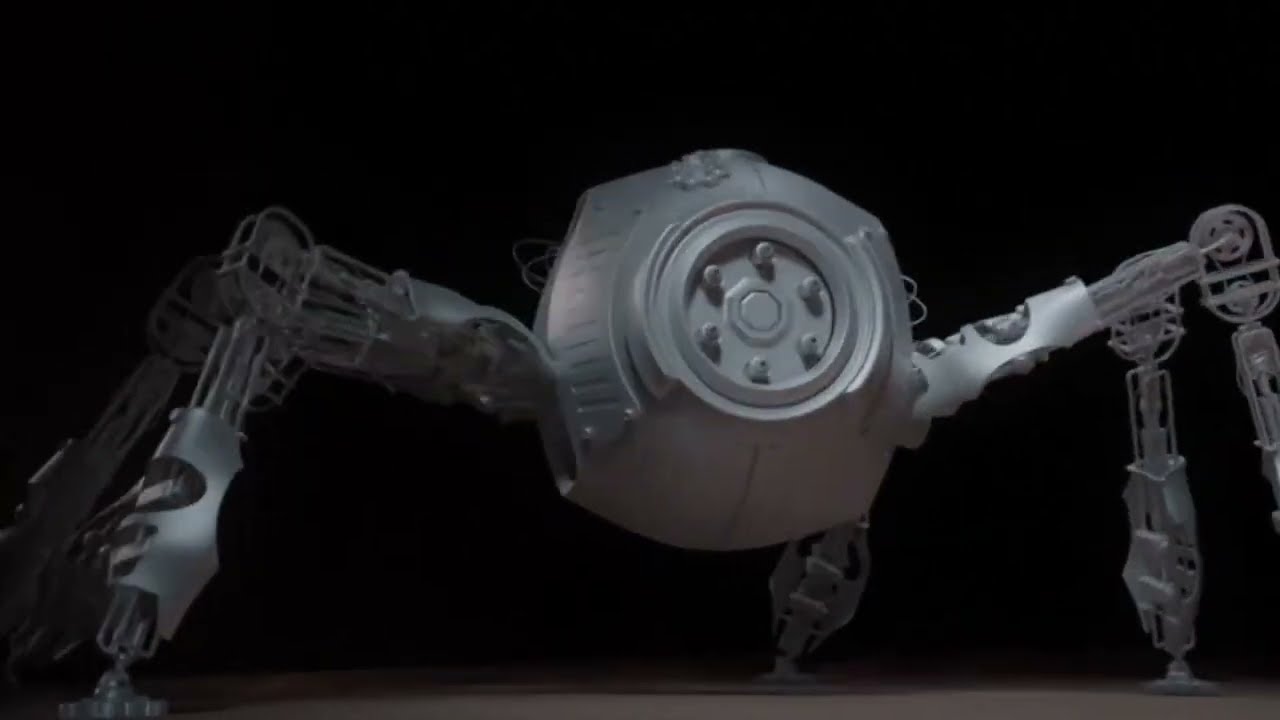
I thought I remember seeing a walk through with @Jason showing the landing on a branch set up seen here, but I can’t find it in on the YouTube channel or in any documentation links to unlisted videos.
Can you point me to a walk through / breakdown of how to animate something landing on something else and have them interact - not sure how an animator will know how to accommodate those interactions in their animation:
THANKS!
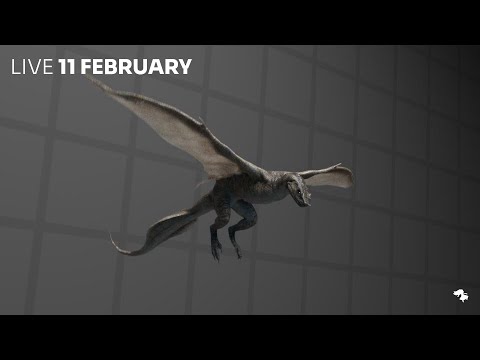
I can’t recall one specifically about landing on a branch, but there’s this live stream going through the overall approach and character (starts 13:13):
The interaction between wyvern and branch can be made with an Attach Constraint, keeping them attached whilst also allowing them both to move.
1 Like
I can’t recall where these were originally posted, possibly LinkedIn, but here’s some more material about that landing shot specifically.
Thanks Marcus! This helps a bit, trying to infer a workflow from this video.
Because it seems like a chicken and the egg kind of scenario.
Since the character influences the branch, we can’t really see where the contacts are going to go, and if we bake the simulation down (and keep on ragdoll to further tweak) then we’re compounding the effect as its now trying to follow the baked and not the original.
I’m just not clear what comes first, how to attach connections properly (what constraints are used?) and what comes second (are we just using viewport playback to evaluate connections and iterate making tweak after tweak until connections look right?)
And finally, what happens when a client says, cool now add another landing on the same branch after you’ve finished the first…
Any clarity on the logical progression to approach these kinds of things would be very helpful, thanks!
Here’s a test, just used Pin Constraints (Constrained version, not sure if that’s the right choice) and testing animating the back right hind leg and no animation on the front left leg to see how they both interact with the pole. One is interpenetrating and ones trying to manually be animated to be on top of the result of the ragdoll - not sure whats the right method to get good interaction between the two - shove it through or try to delicately place it.
Understandable! The workflow is typically:
- Animate as per usual, Maya keyframes and rig, such that your character is approximately where you expect him to be
- Observe the simulation and tune constraints
- Iterate by repeating 1 and 2
For constraints, attaching one Marker to another, would be the Attach Constraint. It will maintain the position and angle between two markers, whilst still allowing them to move. The Pin Constraint on the other hand pins a single Marker to an animated position.
In Jason’s example, you can see the animated dragon looking real dull. From there, you would tune stiffnes parameters of character and constraints, whilst looking at the simulation - there’s no need to record until the simulation does what you want. You’d likely also tune the input animation so as to steer the simulation, like the curling of the dragon tail. It doesn’t really matter what the animated pose looks like, it’s the simulated one you care about as that’s the one that’ll be recorded.
The trick is to think of your animation as input to the simulation, as opposed to something that looks good or communicates the story on its own. The animation is your “rig” to the simulation.

