Hey there,
I am currently in the baby steps of using ragdoll dynamics but have Blender experience already. I tried to rig a CC4 character using this tutorial (https://www.youtube.com/watch?v=Ij65iYrGFYg&t=544s) but I am having troubles
a) identifiying the bones I need to “Select and Connect” to really work, since there seem to be “duplicate” bones inside other bones only to control twist for example. Sometimes it also seems as I have to make sure that the ragdoll bones are really connected because they sometimes split when running the simulation (whole arm falls off the body then). Redoing the “Select and Connect” often works.
b) simulating the character: although the whole group is set to “Simulated” the character is just doing his animation (with ragdoll influence, the ragdoll puppet differs from the original animation so that works) but he is always staying up in the air, not falling down.
Is there any ressource to guide me further? Because the linked tutorial seems to be a best case scenario and all the other ones just directly use the manikin.
Best,
Liam
Hi @Liam_Schnell, welcome to the forums! 
Generally, it can help to think of your setup in two stages.
- Which objects should drive the simulation?
- Which objects should the simulation drive?
Per default, these are the same. Meaning, that whatever you assign to is also what is recorded onto. Such as a Bone in Pose Mode. But sometimes this is not what you want; such as with complex rig systems where bones are driven by something else, like an IK control or just any other object.
In those cases, you’ll want to assign to whatever has the final motion from your rig, typically the bones used to deform the character. And then you’ll want to retarget those Makers onto the animator-facing controls that drive those bones.
If you don’t, and you ended up recording onto the bones that also deform the character, but are then indirectly driven by animation controls, you would be seeing issues like the ones you describe.
See here for the process in Maya, it is the same with minor UI differences for Blender.
Let me know how it goes, and try to include images or videos and error messages if there are any.
Thank you a ton for this thorough answer, I couldn’t ask for more explanation 
I have created an armature consisting of a few bones myself to test things further and have noticed that when I choose the first bone I created and use “Select and Connect” everything works as it should, even the object “free falling” when all the parts are in “simulation” mode. However, if i start with a bone in the middle of the armature and set everything to simulated, it gets stuck where it is (while the other rig parts do flop down realistically, showing me the underlying simulation is running). Does the first bone I use in “Select and Connect” have to be the main root of the whole hierarchy?
Thanks again and sunny greetings!
Liam
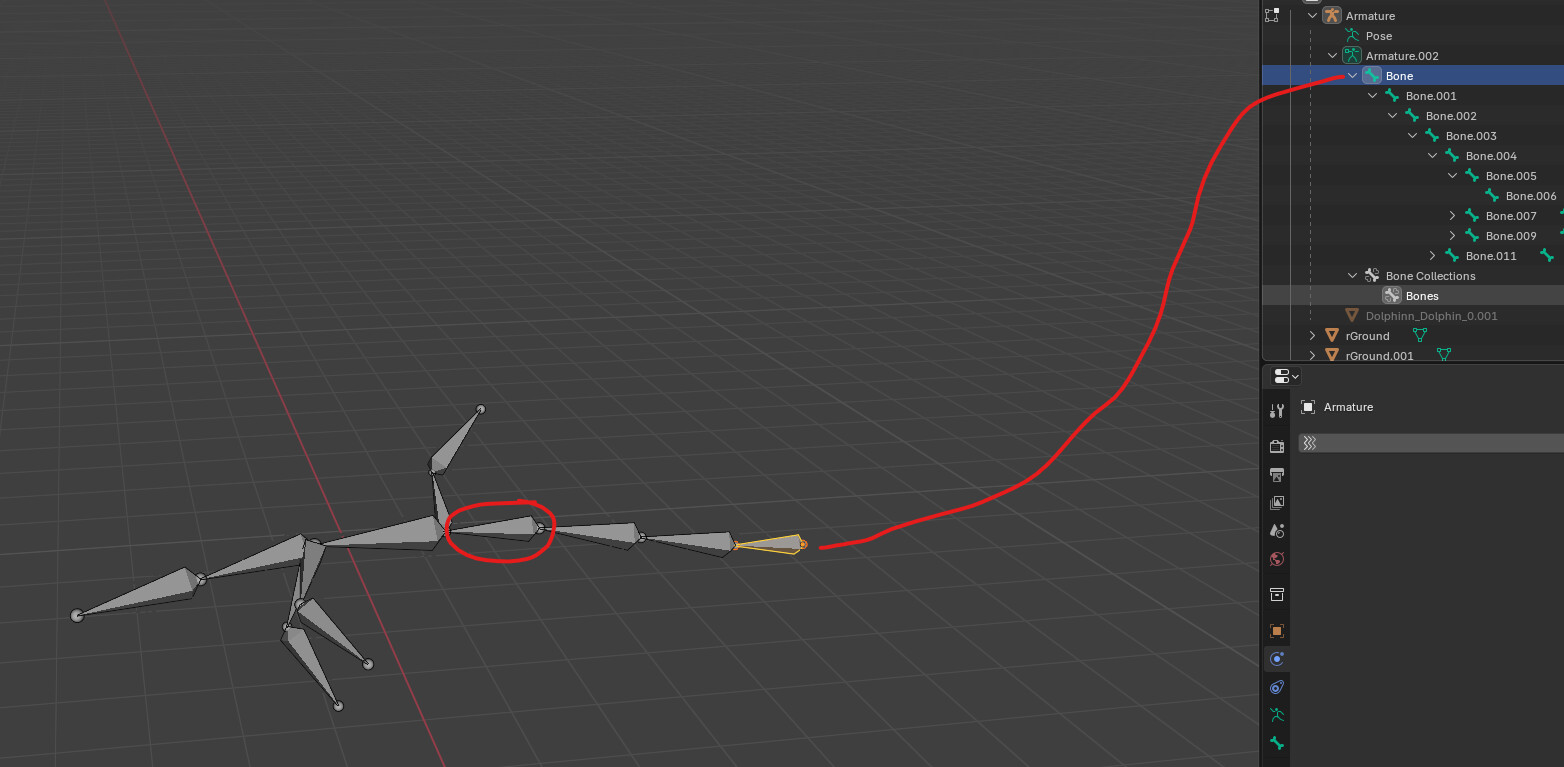
See drawing attached: Selected bone is first bone, if I use “Select and Connect” starting from the bone that I circled, even when setting the whole group to simulated, it doesn’t fall down. There are no animations or other keyframes on the rig.
When you make a chain, per default the first Marker will be made “Animated”, such that it follows the animation to 100%, dragging the simulated Markers along with it.
You can set the first Marker to Simulated or Use Group. If this wasn’t what you meant, a video would help!