I have a marker that I want to move say in a 45 angle or so, but I cannot rotate the cone right? The offsets on that 10.25 release would have allowed me to position the cone angle where I want. I’m trying to keep these markers from penetrating the body of the character, but I guess I can’t use collide because the markers are already penetrating the body geo.
So I’m assuming if I could rotate this range, it would stay inside of the blue cone on this axes. Currently that doesn’t even appear to be the case, though and it appears to be freely rotating outside of this range.
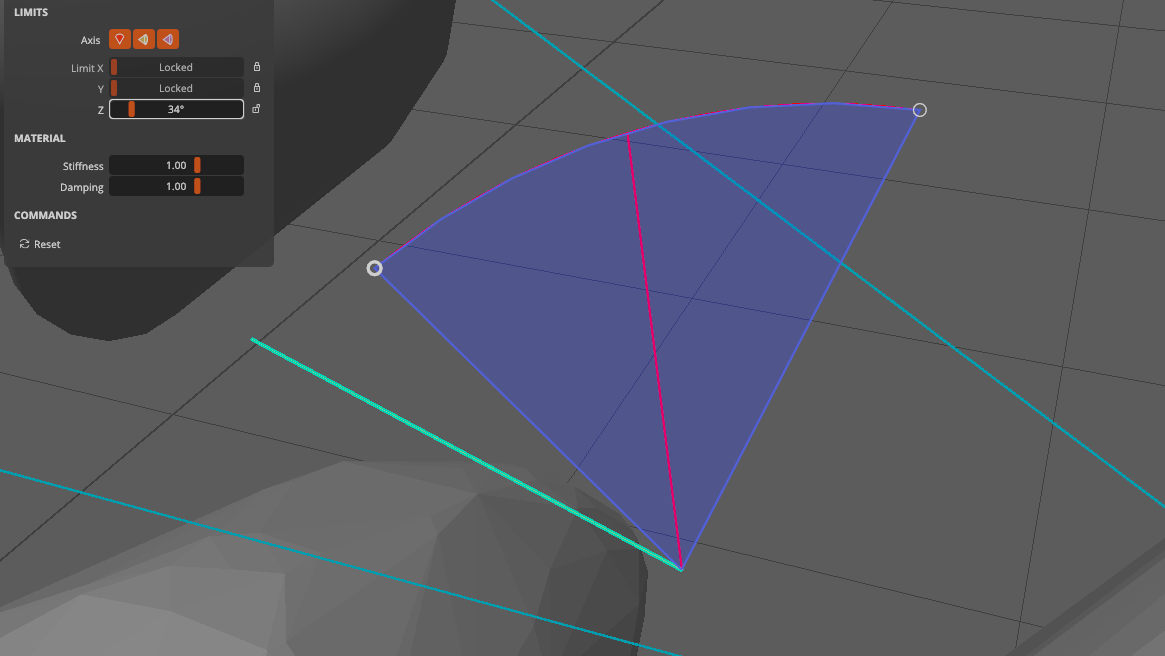
It’s hard to tell what’s going on in your image, but if you hit the Reset button in the UI there they will be reset to align with your Maya axes. From there, you can lock the ones you don’t want rotating.
It’s exceedingly rare to need to rotate that cone, because it means Ragdoll is able to orient your control in axes that Maya may not be able to if any of the Maya axes are locked.
However, you can give it a try via Ragdoll → Utilities → Edit Constraint Frames.
And the screenshots are very close and it’s hard to get an idea of what is going on or whether there is any hierarchy or character involved; but if we say this is a leg or arm you’ve got, then I think this is what you are looking for.
I would strongly recommend taking 20-30 minutes to run through these first set of tutorials. It will save you much headache and win you back those 30 minutes within the first few hours.
Ahhh, hit “ctrl” while editing the bound is the one that got me. Missed that one. Ok that’s what I needed. Sorry for the deleted post. It’s very difficult to share screenshots that won’t compromise in house stuff.
If you use a new scene, with a plain Maya joint hierarchy to help demonstrate your issue, it would help us understand you better and future visitors (and future selves!) understand the question and answer too.