Got a question about how I got motion capture onto our Manikin rig here, so I’ve put together this little tutorial.
Features
- Generic, not Ragdoll-specific
- Works on any rig
- With any motion capture clip
Steps
Here’s a birds-eye-view of what we’re about to do.
- Import any rig and any mocap
- Align mocap to rig (or vice versa)
- Parent and Orient constrain rig
- Bake keyframes
- Export
Step 1 - Import Rig & Mocap
Nothing special, any regular rig with any motion capture clip; in this case, we’re using our Manikin rig with some of the default assets provided via Maya’s Content Browser which has got some motion capture clips in the FBX format. You can get these from https://www.mixamo.com/ or https://www.rokoko.com/ or just about anywhere!
https://user-images.githubusercontent.com/2152766/185243803-4b239e7d-cc6b-4b80-b4d7-b8435258e581.mp4
Step 2 - Alignment
Next it’s quite likely that your rig and the mocap clip doesn’t share the same pose. We’re going to want to pick a time, any time, where they align as closely as possible. In this case, I right-clicked on the motion capture hierarchy and had it assume it’s “preferred angle”. In many cases, this will be the A-pose or T-pose. But it’s not important; so long as your rig and motion capture clip aligns at any point in time, you are golden.
https://user-images.githubusercontent.com/2152766/185243961-ba0ddc39-3c07-4f4a-9b67-979b967ce07f.mp4
Step 3 - Constraints
With both rig and clip aligned, you can now constrain your rig to the clip. This is where it’s important that they align from Step 2; we’ll ensure the Maintain Offset option is ticked for both the…
- Parent Constraint - for the hip, which both translates and rotates
- Orient Constraint - for everything else, since they most likely only rotates
Pro-tip You may be tempted to use Parent Constraint for everything else also, but I’ve found Orient Constraint does a better job handling rig controls with locked channels. For example, if you constrain the elbow control to the elbow motion capture, where the motion capture rotates along every axis but your rig does not - the Orient Constraint generally does a pretty good job at consolidating all axes into the one you have unlocked.
https://user-images.githubusercontent.com/2152766/185243809-41faa814-9fa5-4494-8536-fc924fcbf074.mp4
Step 4 - Bake & Export
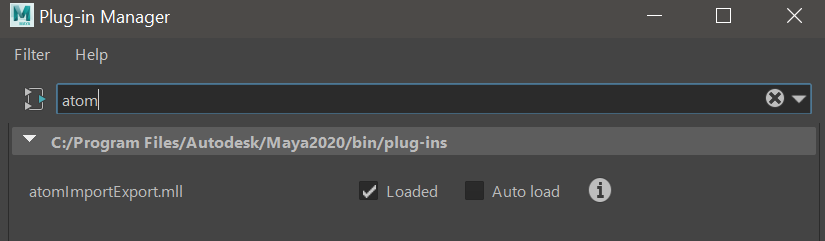
At this point, you can be done! These next steps is to produce an animation file on disk, such that you can import the animation onto the rig without having to go through this process again. We’ll use ATOM here, but any format should do. It’s just keyframes and rig controls in this case.
I’ll use Maya’s native Bake Simulation command which you can find under the Edit menu, or the Key menu depending on your menu sets.
Pro-tip This is the very same command Ragdoll uses to bake your simulation back onto your rig!
Another pro-tip It’s possible you can skip the Bake Simulation step here. Depending on what you use to export - such as Alembic - there may be an option in your export method to bake on-the-fly
https://user-images.githubusercontent.com/2152766/185243814-6012c33e-8bbf-4e16-83bf-2c28031af420.mp4
Step 5 - Import
For completeness, here’s how you can import your animation back onto the rig.
I’m taking the easy route here of importing things back onto the exact same name and namespaces. In most cases, your namespaces will differ in which case you’ll need to muck about with the settings in the ATOM dialog. ATOM doesn’t do a good job helping you here; it will embed whatever namespace you had in the original export and assume that remains true on any subsequent import. Sadly I don’t know of a better option that doesn’t involve a third-party tool.
If third-party tools aren’t an obstacle for you, then my vote goes to Studio Library. I enjoy it and I’ve only ever heard good things about it.
https://user-images.githubusercontent.com/2152766/185243819-d94c87e5-a32e-4725-a934-443a8ee779b6.mp4
Step 6 - Profit
And that’s it! As you can see, nothing fancy and yet should account for the vast majority of retargeting needs. Enjoy!