I’m new to the software and I followed a tutorial on how setup the physics on my character. Now I want to use the simulation to correct some motion capture data, however the arms and hands don’t really follow the animation much, they are way too loose. I tried to increase the stiffness beyond 1 but the simulation starts breaking. I tried setting the hands as “Animated” but the arm will start moving in weird ways. I just want to increase the strength of the animation over the simulation, but I cannot find a way of doing it.
It turned out that the breast was set to collide with the arms, so it prevents the arms to bend where the animation goes… So the question is, can I move the breast mesh on collision? Like a soft body or something? I can see rotation limits but I don’t see anything about translation.
Ok I just found out you can set the Translate Stiffness to Soft. The problem is that the mesh is still hard. I assume soft deformations are not supported by this tool, right? Since it only affects the joints.
Great work, those shapes look great, no notes there.
The simulation lagging behind your animation is typically due to the Damping attribute, a higher value means greater lag. It’s there to emulate “friction” or “fleshiness” between limbs. During fast motion, you’ll want to reduce it. But reduce it too much and the character can get all jiggly and robot looking, so it’s a balance much like the Stiffness attribute.
Collisions can’t be soft (until the coming release, spoiler) but in this case you may not need collisions between arms and chest. So you can either disable collisions on the chest, or set the character group to Self Collide = Off, or you can assign a Ragdoll → Edit → Collision Group to arms and chest, such that they still collide with other things, just not each other.
Yes, generally, when you have simulated markers between two animated markers you’ll get odd results. There’s no equivalent to this in real life; the animated Markers will apply infinite forces to the simulated Markers between them, ignoring momentum and ignoring limits, including the limit which keeps them connected.
Instead, avoid “trapping” simulated Markers between animated Markers and use a Pin Constraint for things like the head and feet. They will enable you to still follow the animation, and apply the same rules of Stiffness/Damping, whilst still allowing the simulation to preserve momentum and limits.
Thank you for the reply. In the end I managed to make it work. It’s not 100% accurate, but it’ll do for now.
Very excited about soft collision. I look forward to it!
Would love for you to share the result if possible. I’m especially curious what 100% accurate looks like, would that not be the original animation without simulation? Or a simulation where all Markers are set to Animated?
Hey ! thought I’d chime in from the shadows, great action btw!
What I do in cases like this is use the attach constraint from the hand marker to the chest marker, - I then constrain that new constraint to the hand so it keeps the animation- by default it stays in the location it was created ( @marcus how about a constrain option like the pins? )
This helps keeps the motion but rooted to the marker the arm is attached to, that way the hands aren’t pulling the character around as if you were using regular pins you can still keep the arm feeling kinda loose without having to pump up the stiffness and lower to damping which can lead to stiff simulations .
My goal with this project was to figure out how quickly I could achieve a decent looking animation from a video. As a non-animator I need something that requires less manual work as possible.
I started with QuickMagic AI, a recent AI powered tool that can output motion capture data from a single video. I have tried similar tools in the past (such as Cascadeur, and Rokoko) with very poor results. QuickMagic AI seems far better and I was able to get a decent FBX animation from a dance video I got from YouTube.
Of course the animation wasn’t perfect, so I though of trying and adjusting it manually in Maya, but like I said, I’m not an animator.
This is when your tool comes into place.
I figured I could try to add a physic body on my character to fix all the geometry intersections during the dance animation, especially between the arms and the body.
First of all, I was disappointed to see that there are not tapered capsules. It’s very difficult (if not impossible) to match the forms of a human body just with regular capsules. PLEASE add tapered capsules in the future, or add some solution to generate mesh collision automatically (although this would be significantly more complicated to do).
So I had spent a couple of hours in ZBrush separating my model into sections, closing holes, decimating, etc.
Bummer, but ok.
The settings for the joint rotation limits also got me confused. There are no min-max values. Instead there is a single value for each axis and if you want to customize the min-max you have to use the manipulators, but I found it very confusing and unintuitive use. Also not all my controllers were recognized as symmetrical for some reason, so I had to enter the settings on both sides.
When I got something that was kinda ok I imported the animation.
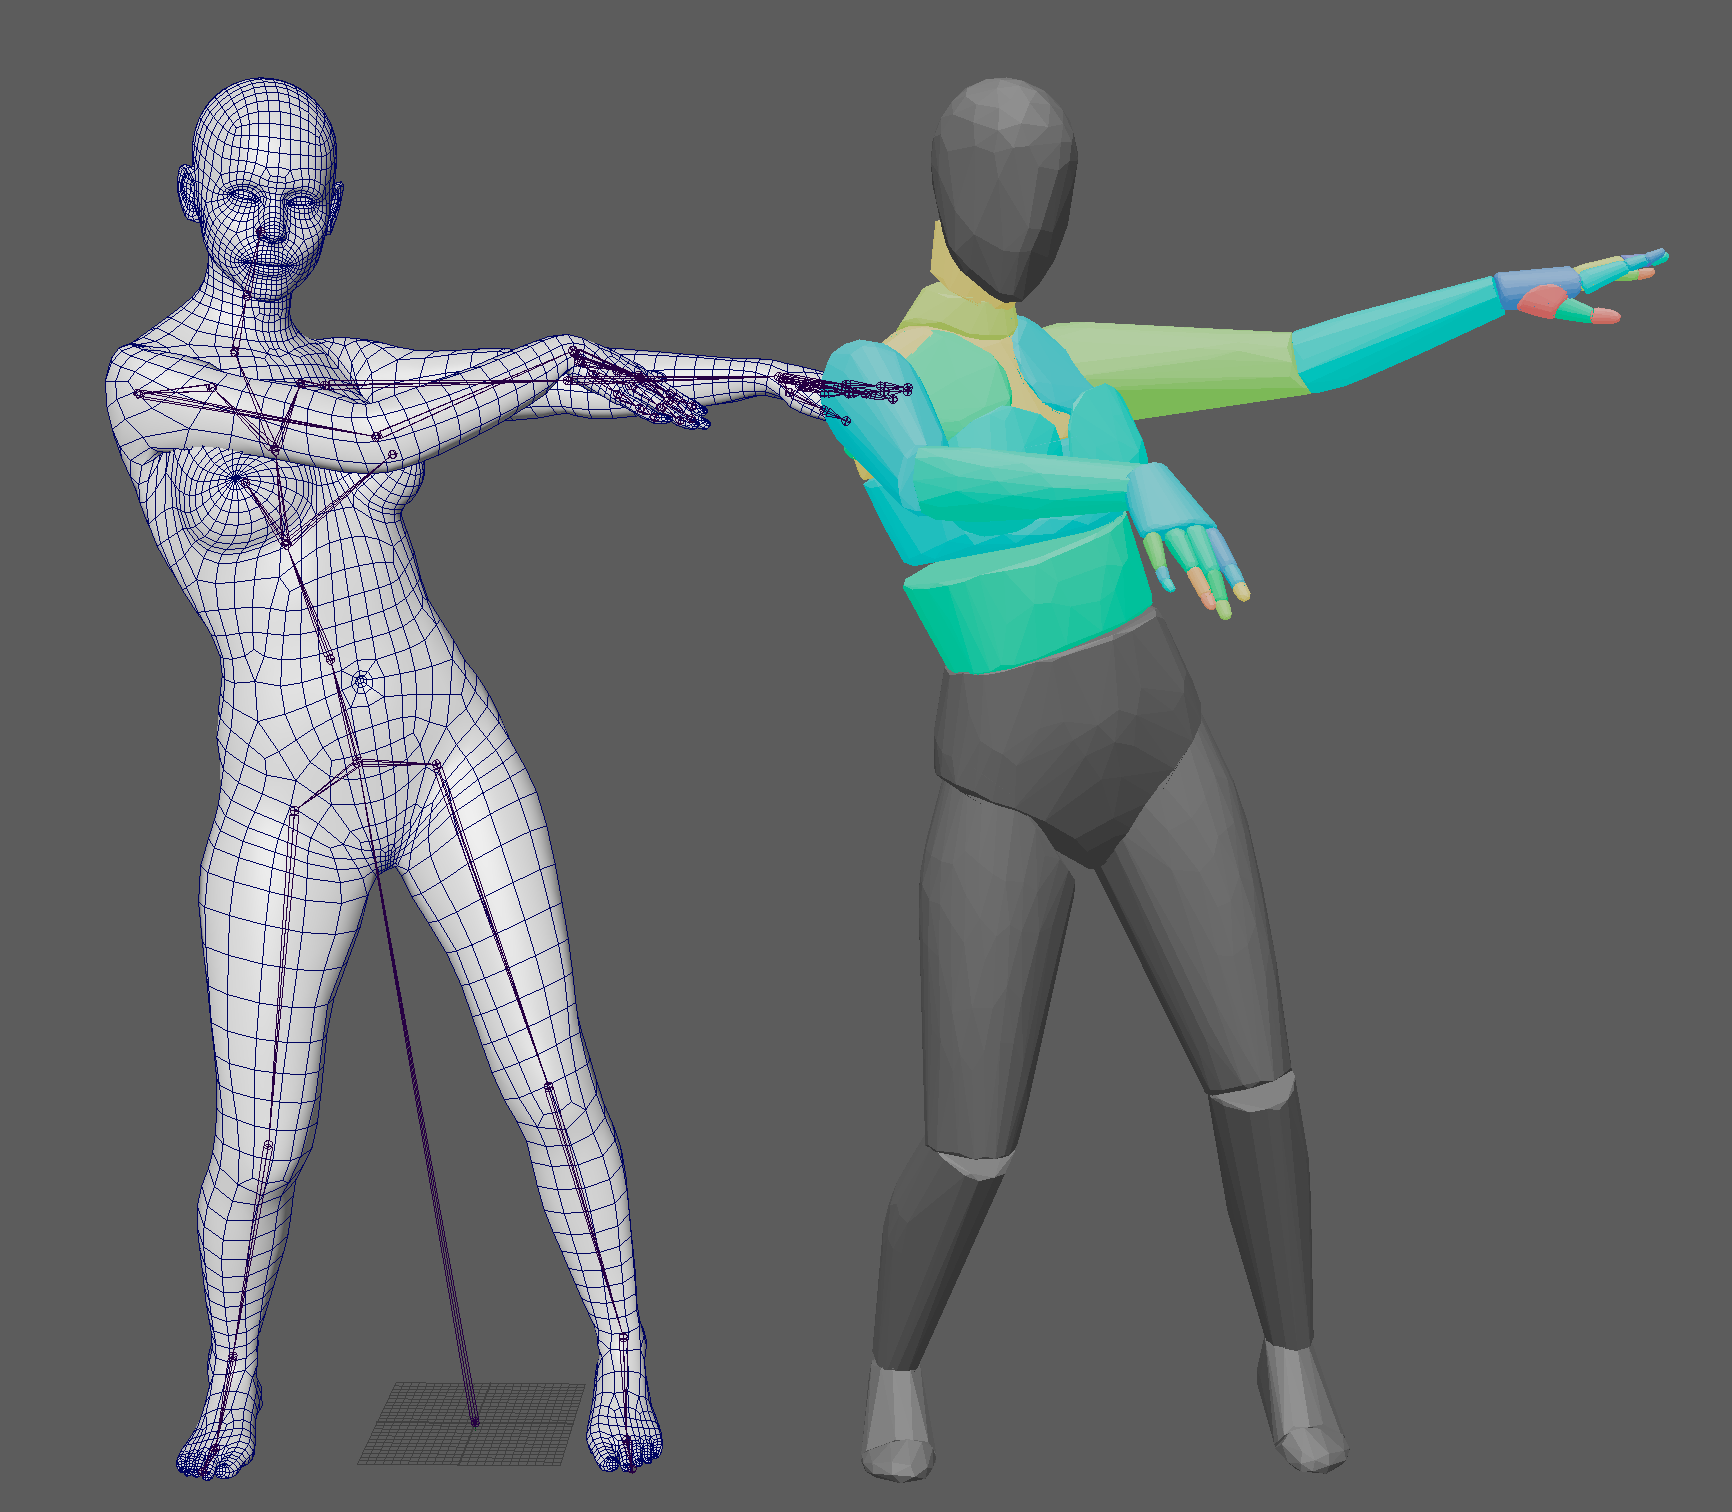
The main issue I wanted to solve was the arms going through the body.
The collisions solved that issue, but obviously now the arms cannot longer follow the animation closely.
Notice the arms position on the left and the result on the right.
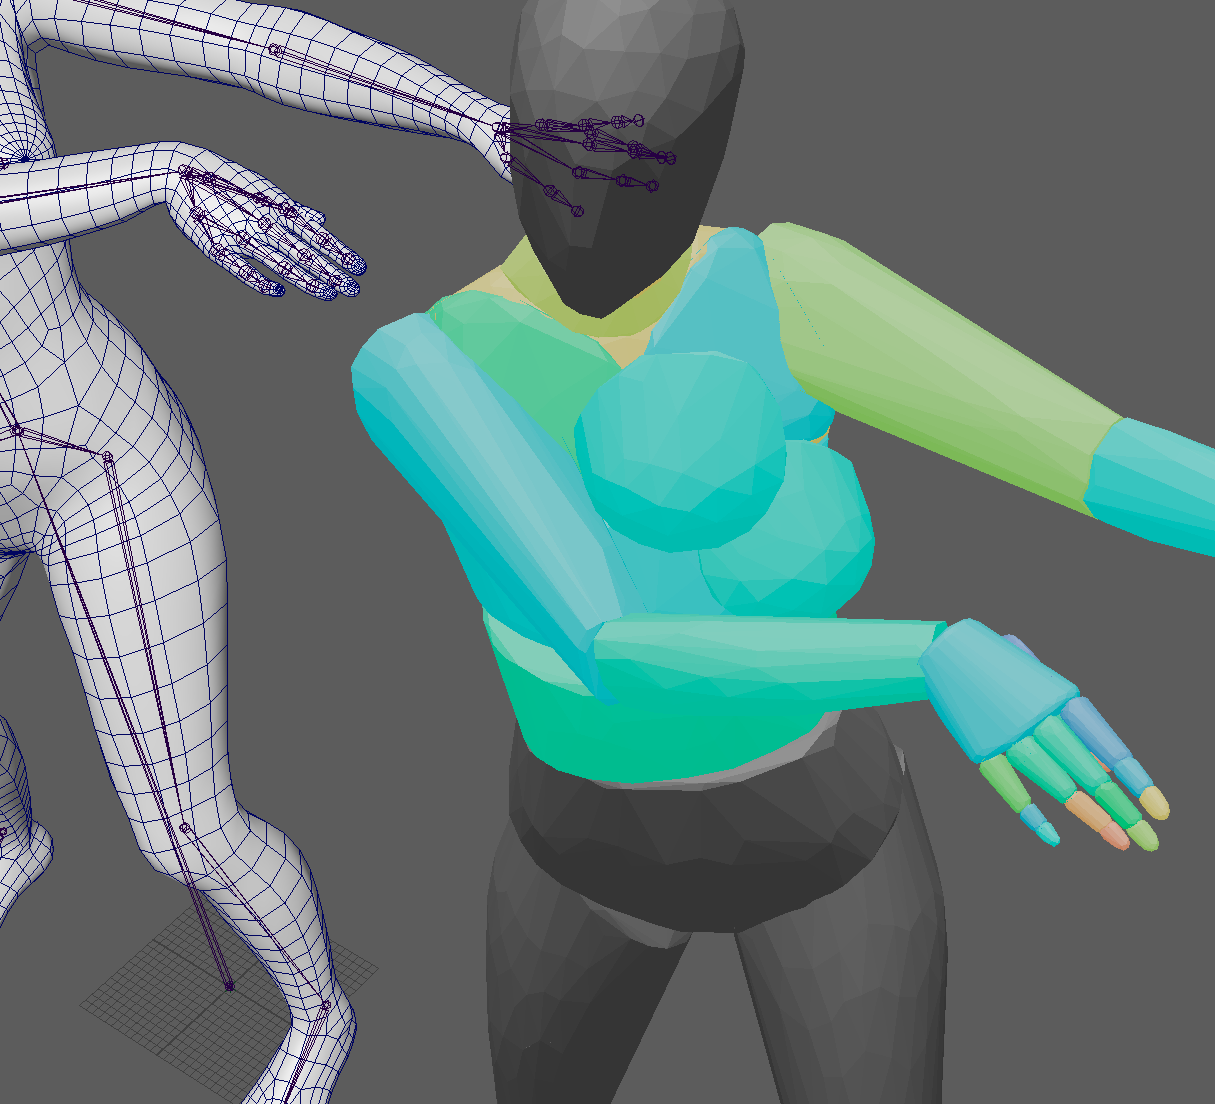
The problem was that the breast collision geometry prevented the arms to close properly. So I tried activating the “Soft” translate option for the breast controllers, but because there is not limit to the translation, the breasts would move to places it shouldn’t.
Why there is rotation limits for the joints but no translation limits??
Anyway, my workaround was to bake different simulation layers. One with the arms that don’t intersect the body (even tho the animation will be different) and then bake each breast individually.
Some problem I found: the “Use selection” box in the bake settings seems not to be working. I would expect to bake ONLY the selected control, but it doesn’t. It bakes the entire model again, so I had to manually remove all the joints from that particular layer after the baking.
Also you cannot select more than one controller at the time, I had to bake an individual layer for each breast (and then removing the unwanted joints manually).
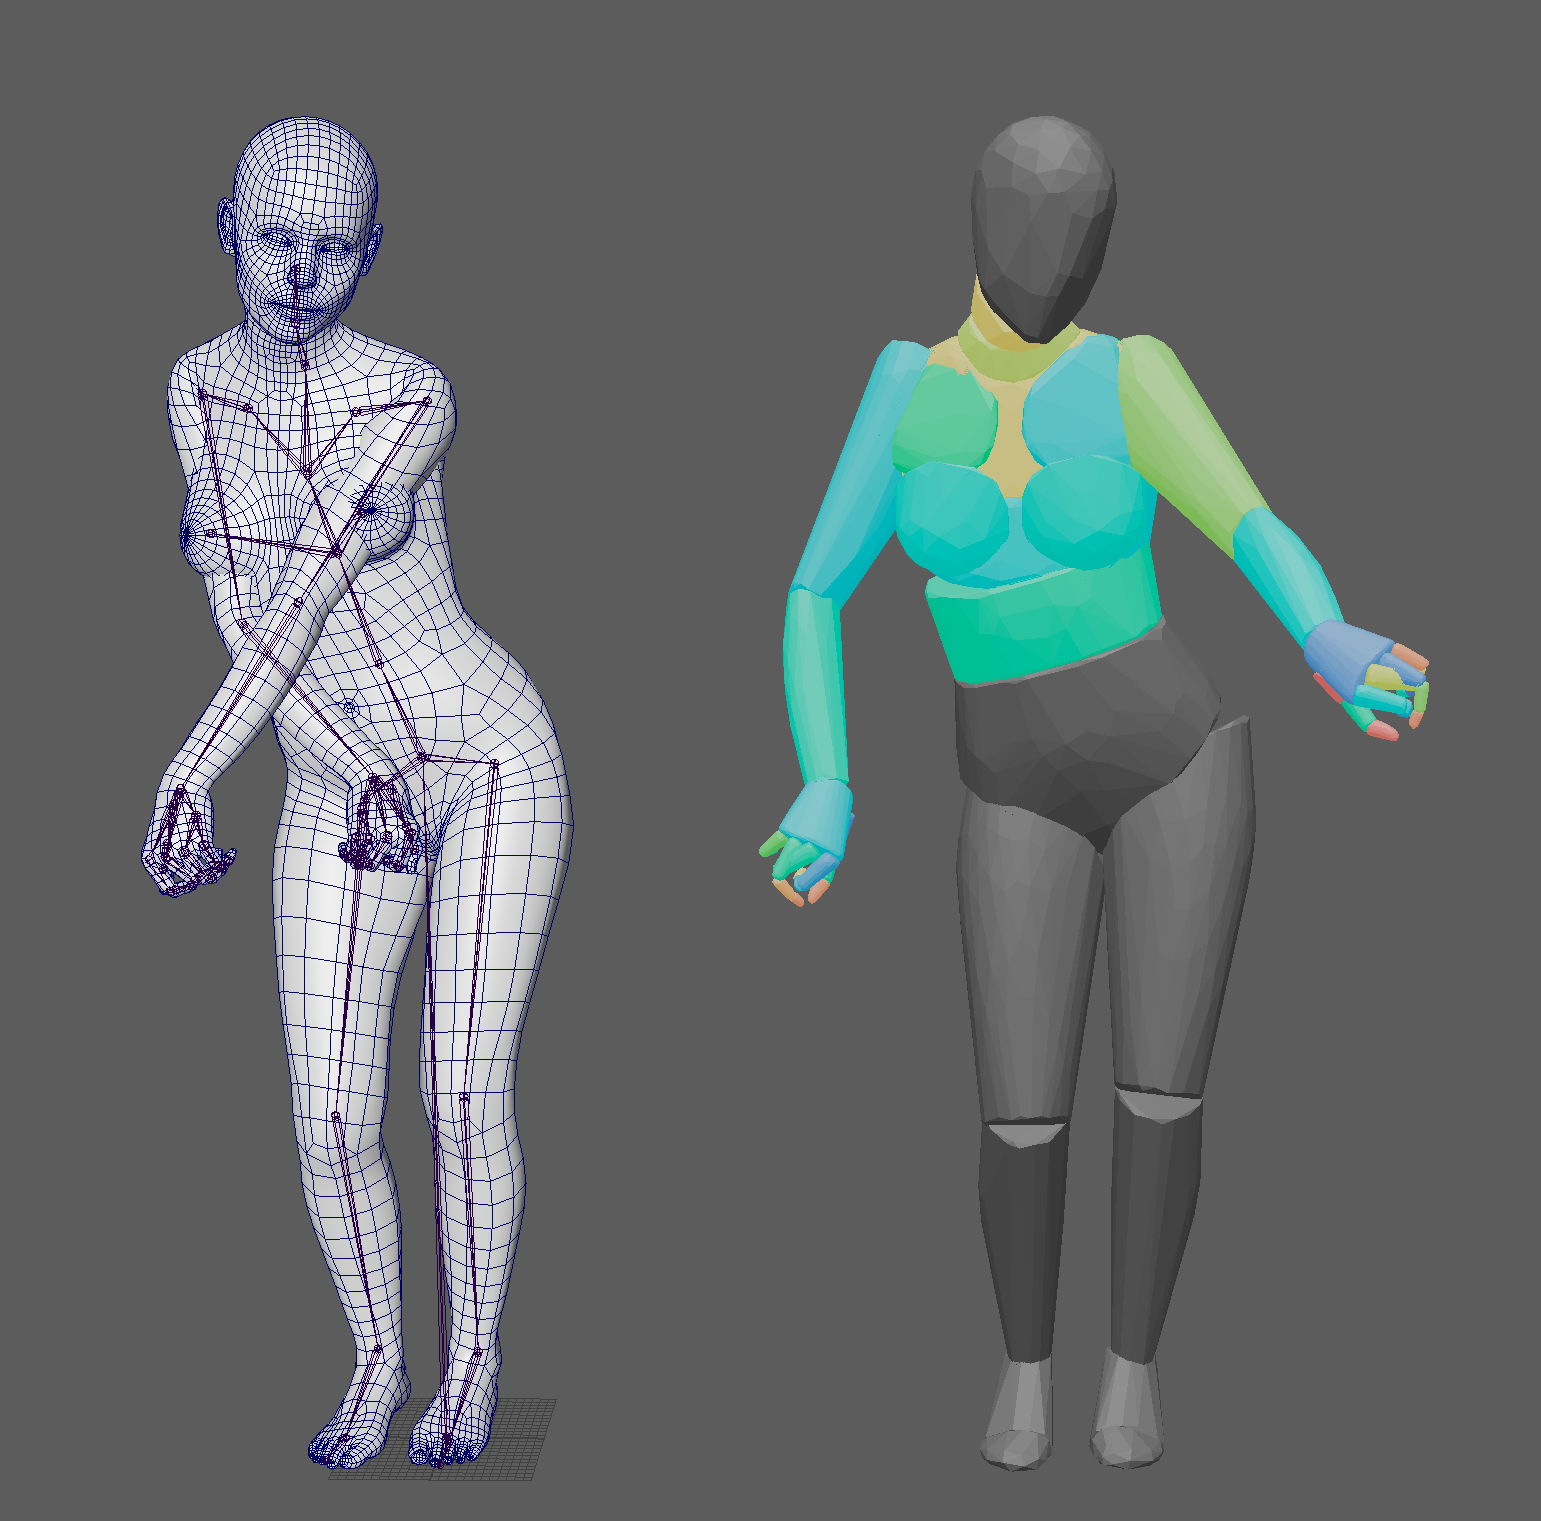
In the end this is the result I got:
Not safe for work
The hands motion is not the same as the video, but an animator could easily fix it. I just wanted something that wasn’t visibly broken.
As for the future, I’m curious about the soft deformation and how it will be implemented. If it only lives inside Maya (or Blender) than it’s not very useful because I cannot export it in a game engine.
The only way I can think of is to bake the deformer into joints. Something similar to SSDS (Skinning Decomposition with Similarity Transformations) that automatically generates joints placed strategically to bake the simulation into.
Anyway, I look forward to it.
Thanks for the great feedback and for posting the results! (Although try to avoid posting anything not suitable for a 5-year old to see; this is a public forum.)
I’ve got good news here, it’ll be in the next release.
There are methods of doing this in minutes. Had you seen this?
Would love to dive deeper into this. If you’ve got ideas for how to make it more intuitive we would love to hear it. What about it did you find confusing? We’ve tried making it simpler by only displaying one axis at a time, and by being symmetrical be default. Would you prefer all axes being visible at once, and for limits to be asymmetrical per default?
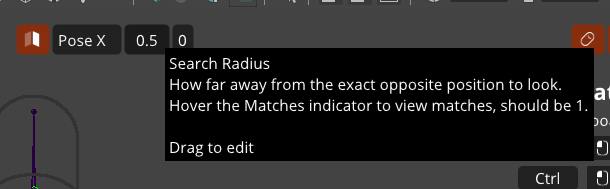
This is based on the model/controls being symmetrical. There’s a value you can tweak to increase the search range for a symmetrical control if the controls are nearly symmetrical.
Nobody has asked for it. And we’d need a good reason to add it, to avoid adding things that are never used. Soft contacts would handle this case for the upcoming release, so there’s still no good reason to add it.
Thanks for reporting this, will investigate this. It should do what you expected.
Try to avoid posting nudity, kids are on this forum too.
It won’t deform geometry, only let geometry intersect as though it deformed. Deformation is still left to Maya, at least for the time being.