Dragon Rig Setup

Dragon Rig

In this tutorial, we’ll learn about importing a Ragdoll setup for this dragon here, made with Truong’s Dragon Rig.

Written for Ragdoll 2022.02.14 and above.

Estimated Time

  • :clock1: 5 minutes

You will learn

  • :heavy_check_mark: How to import a .rag file
  • :heavy_check_mark: How to import an optional file for polygonal collision meshes
  • :heavy_check_mark: How to play around with the result

Where to find help

If you find or run into any issues with this tutorials, here’s what you can do.


Download

Let’s start off by downloading the .rag file, along with the optional file for collision meshes. These meshes were generated in Maya 2020, but should work well in just about any version of Maya.

Inside, you’ll find…

image

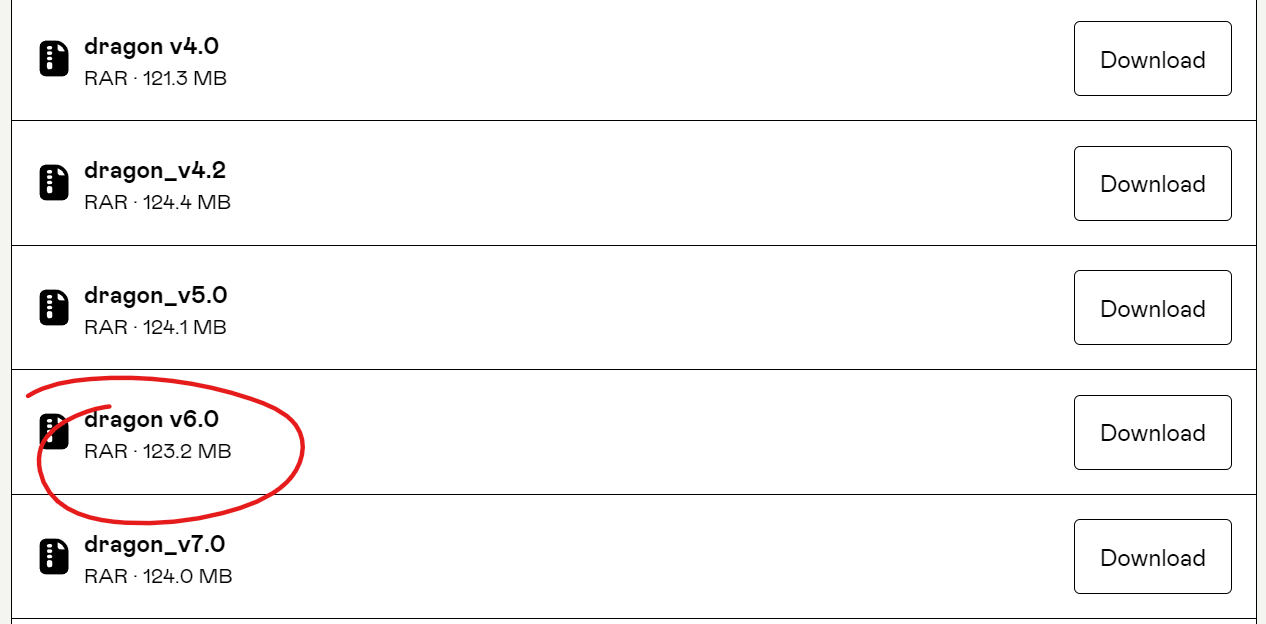
Next, we’ll need the rig itself.

Make sure you download version 6 of this rig.


Referencing the Rig

Next, let’s get the rig into Maya.

Make note of the Namespace
We’ll reference it, such that it gets a namespace we can match with our .rag file.


Import Meshes

Next, we’ll import the collision meshes.

What’s important here is that the meshes retain their original name, and that we also give them the same namespace as the rig.

Namespace

  1. Select all meshes
  2. Open the Namespace Editor
  3. Add all meshes to the rig namespace, in this case _:

Import Physics

The stage is set! Let’s import our .rag file now.

  1. Ragdoll → Import Physics
  2. Load the downloaded dragon.rag
  3. Set Match By to Name
  4. Choose the namespace of your referenced rig
  5. Ensure all entries light up, and that a match is found for every rig control
  6. Press Import Physics

Troubleshoot

If the meshes could not be found, Ragdoll will use the geometry found on the controllers themselves. The NURBS curves.

Heads Up
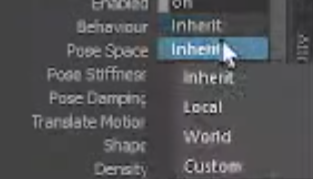
In Ragdoll 2022.02.17 and below, it will receive the incorrect scale and will appear to have been blown up! To fix this, set all Markers to Shape Type = Capsule

  1. Ragdoll → Select → Markers
  2. Shape Type = Capsule

Play

And that’s it! From here you can animate this dragon, and record the results back onto the rig once you’re happy. :partying_face:

5 Likes

We made a livestream about the setup of this dragon here!

Tips and Tricks

A few mishaps took place during this session, primarily related to a bug in the beta Jason was using during the stream that caused overlapping neighbours to collide. You won’t experience these issues on any current version of Ragdoll.

Here are a few more tips and tricks for your own dragons.

Start Small

Before mapping out all fingers at once, here are a few steps you can take towards success.

  1. Only assign markers to the outline of the wing. Make the inner-most marker the thickest, and make each child narrower and narrower until the tip
  2. At this point, you should be able to flap those wings, then add one of the fingers, and see how it affects the motion.
  3. At this point, you can expect that finger to be too heavy already. Try keeping fingers smaller and smaller the further out they go. You can also experiment with mass and custom densities at this point.

Short Joints

Try to avoid sections in a rig with great differences in length. For example, a very long forearm followed by a really short hand, followed by a long finger. Like this one.

image

Inbetween each limb, Ragdoll essentially creates a little motor. Like a propeller motor. And more of these motors are chained after one another the greater the power the inner most motor needs in order to lift all subsequent fingers. The second hindrance is that when the radius of a finger goes too small, the propeller would also become increasingly small and unable to produce as much power.

Thin Fingers

Speaking of thing shapes, another major hindrance was the exceedingly thin fingers. Here’s an example of a successful setup by @Leo_99 in the Discord server.

Notice how each finger goes smaller and smaller, making them both lighter and its parent stronger.

1 Like

Alongside the new Retargeting UI, I recently put together an updated tutorial of setting up dragons with Ragdoll. Both accounting for the challenges encountered during our livestream, and utilising the new UI for some extra flare.

1 Like

Forgive me if I’m missing something, but all the dragon stuff(and most of the existing tutorials for RD) I can find out there is with the older “Dynamic” and custom space etc paradigm of RD. In fact the documentation section of “learn .ragdolldynamics.com” references the older version, aside from the release notes I guess, which I’m having trouble finding the release that this was changed at the moment. Is there something that exists that would help me translate the old RD to the new RD? I guess it was the introduction of translation and rotation stiffness that took the place of “Dynamic” and pose spaces? Maybe I’m just still in a very noob phase and can’t quite grasp the concept well enough to be able to mimic the old way with the new way, but that’s what I’m trying to do.

If you could point out where in the documentation you find references to attributes that no longer exists we can patch that up asap.

Your next port to call is the Search mechanism on the forum; we make a concerted effort to categorise and organise questions such that answers can be searched for.

https://forums.ragdolldynamics.com/search?expanded=true&q=pose%20space

image
This is what I’m referring to. This was a fundamental change in how markers work, right? Can’t remember what release this was, but most tutorials I’ve come across pre-2023 use these instead of what we have now, which is “Animated”, “user group”, “simulated” etc. This is where I have difficulty doing a 1 to 1 translation of the old way to the new way.

The Behaviour attribute is there, and got a cosmetic change to the options:

Now Before
Animated Kinematic
Simulated Dynamic

The Pose Space attribute is only Local now, the World option can be achieved with Pin Constraints.

What would be the new way to blend into simulated from “Animated”? In the dragon demo, Jason shows that he can blend custom world space from animated to simulated basically. How can we do that now?

Dynamic doesn’t really seem to be synonymous with simulated, because jason switches the whole character to dynamic and the wings still respect keyed animation. This looks a lot different than simulated, because simulated would mean that it doesn’t inherit any keyed animation right?

Hey @Leethul, this is a common task and question on this forum, have a look at these two to get started.

Local is the default, and Pin Constraint is how you can achieve the old “World” mode.

In the Wyvern example that ships with Ragdoll, here’s what animating the Rotate Stiffness looks.

There are a few Pin Constraints in there already, keeping it from falling. These are the equivalent of having those controls set to “World” in the past.

To have the entire character set to “World”, you can assign a Pin Constraint to every control. Either select all of them, or use the “Select All Markers” command from the menu to apply it to the entire scene.

With Rotate Stiffness still active on the Marker, both the Marker stiffness and Pin Constraints are active. This is what the old “Custom” mode meant. Our reasoning was that “Custom” didn’t make it clear what it actually meant, and although it was more convenient to have a single attribute to perform the actions of both Local and World, we felt it made the overall experience - especially for beginners - more difficult.

It’s strictly a name change on that particular attribute; the actual behaviour/implementation is unaffected.