PS: I converted and uploaded the videos here to avoid the extra clicks and download size, from 100 mb to 8 mb. You can use free tools such as Handbrake to reduce the size of your videos to <10 mb each, it’ll load faster and make it more pleasant to browse the topic for users.
It’s sad you are not on insta. I am posting updates there frequently, tagging ragdoll dynamics, a lot of people are interested in your plugin, asking questions
When you post here, you’ll get feedback and advice in return, what’s not to like? You should ditch the vertical video format too, the result is real tiny. In this case, you can save on performance and node management by connecting all of the simulated Markers to a single jaw Marker instead; you’ll get the same result and it’ll look cooler too.
Tell them to come here, problem solved.
When you post here, you’ll get feedback and advice in return, what’s not to like?
I know what you mean about gathering community in one place.
2007-2013 I created and was leading largest russian-spoken internet resource for artists.
Until russia attacked my country and I left the project then closed it in 2015. https://www.youtube.com/watch?v=XXbV_687dsg
But before that I was able to build an incredible international forum community of talented people that share same interest and passion in art. It was like having big family around the fireplace.
Not the point.
The point is - time changes, technology changes. You don’t need to go against the stream in the ocean. You better follow it and use it to your advantage.
This is one minor advice from my experience, if I may.
You should ditch the vertical video format too, the result is real tiny.
The reason for vertical format is social media. I have ~500k+ combined followers on different platforms, of Dragon and Me project and the format of media there is vertical. Even youtube is more favorable towards vertical format noways. So doing all videos in horizontal and vertical will add a layer of work that I don’t want/don’t have time to do. The final shortfilm, of course, gonna be horizontal format. WIP videos - vertical so more people can see it.
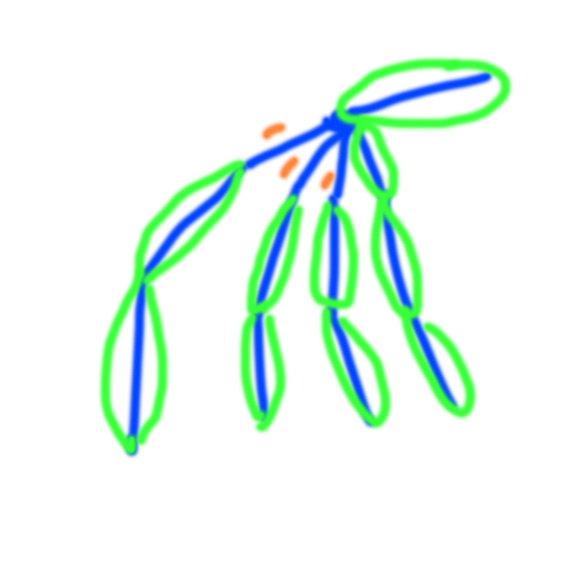
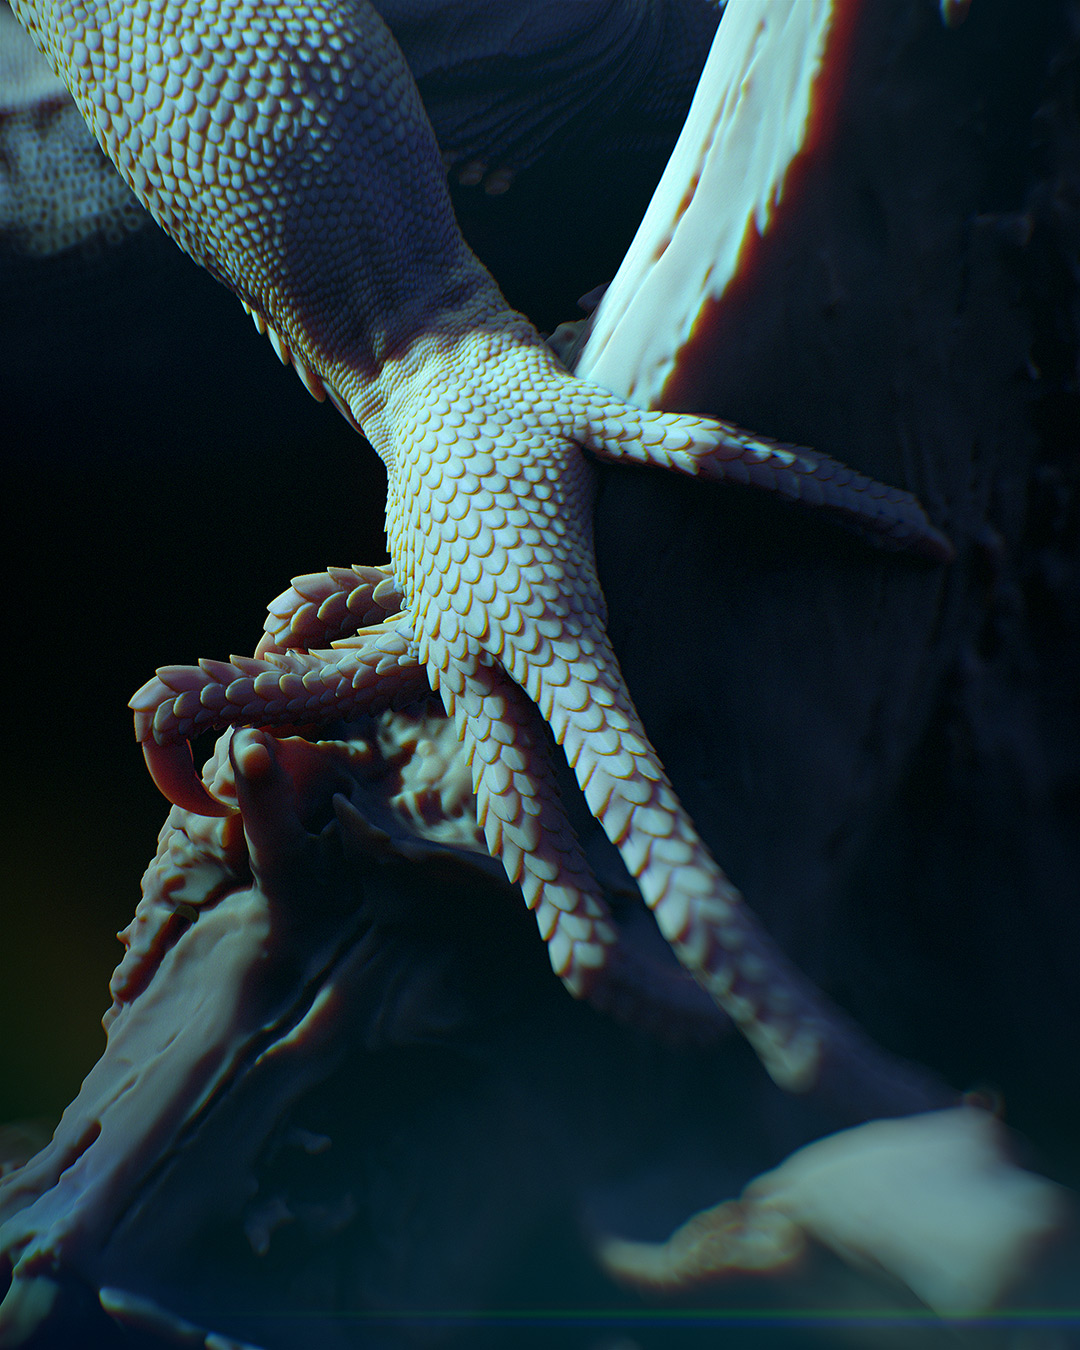
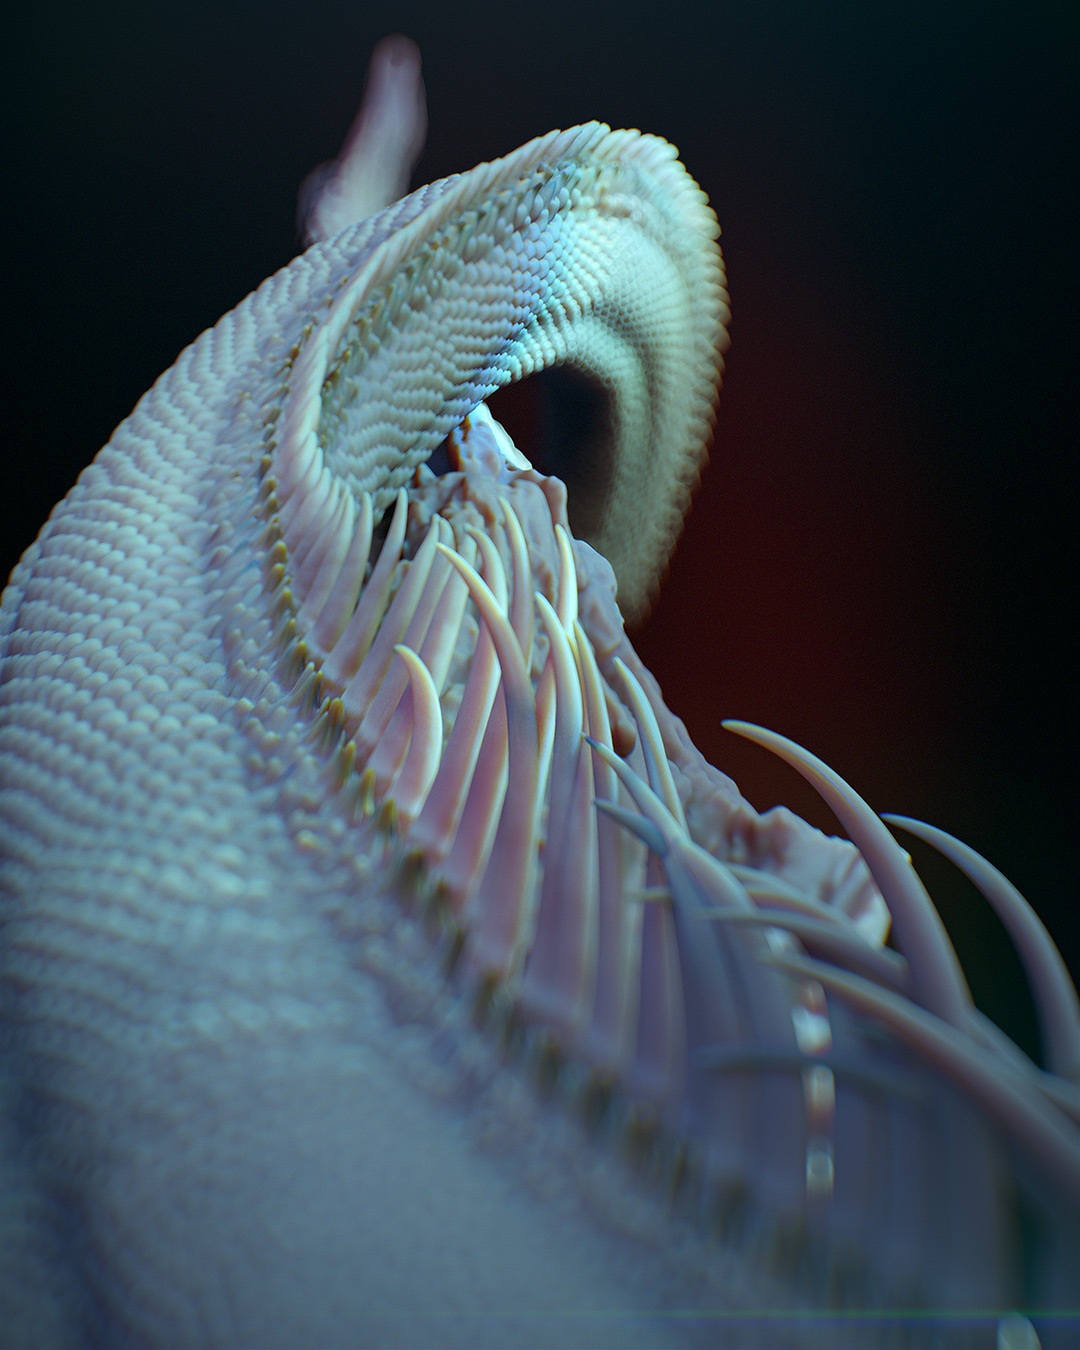
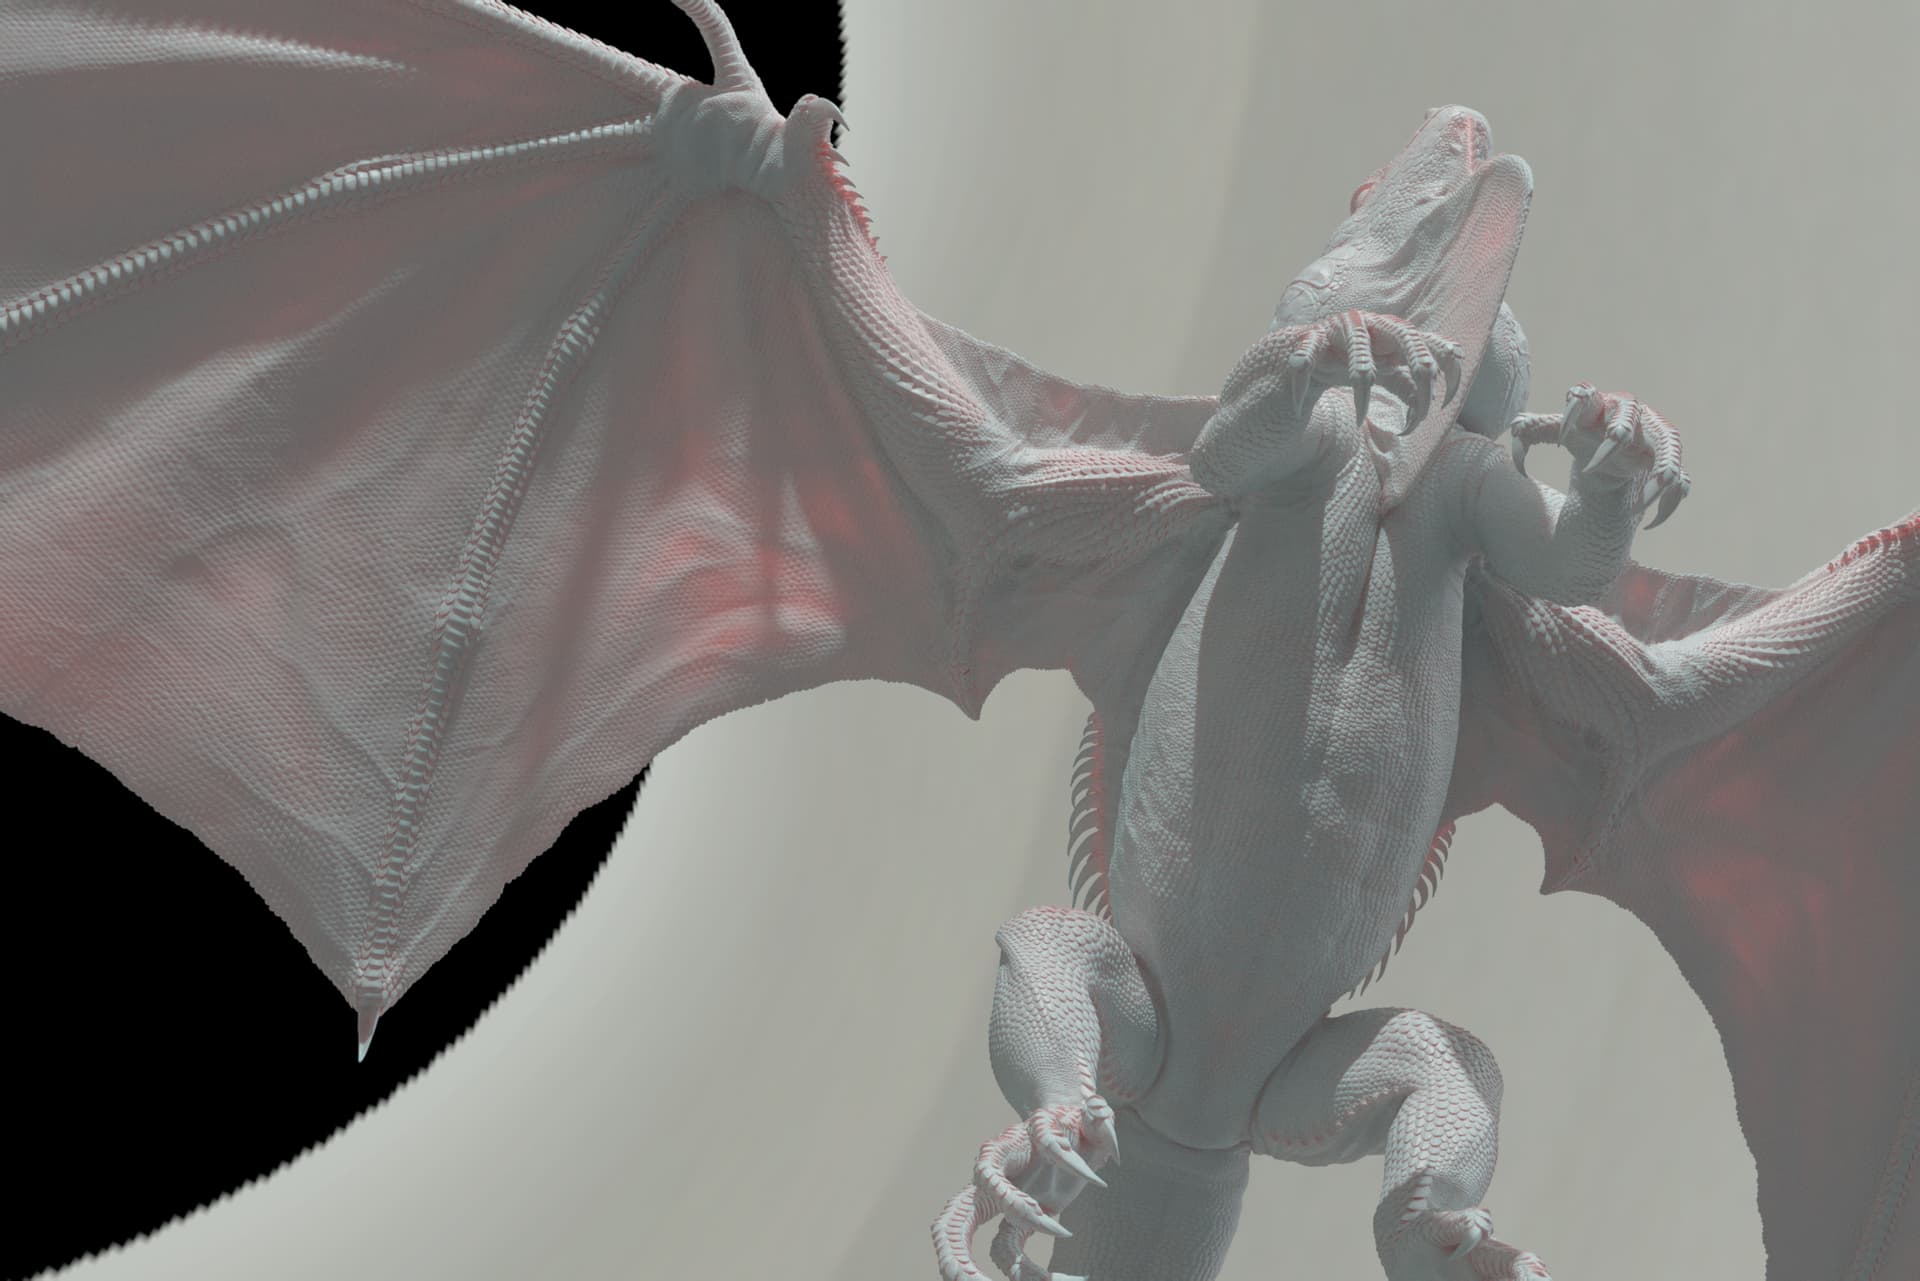
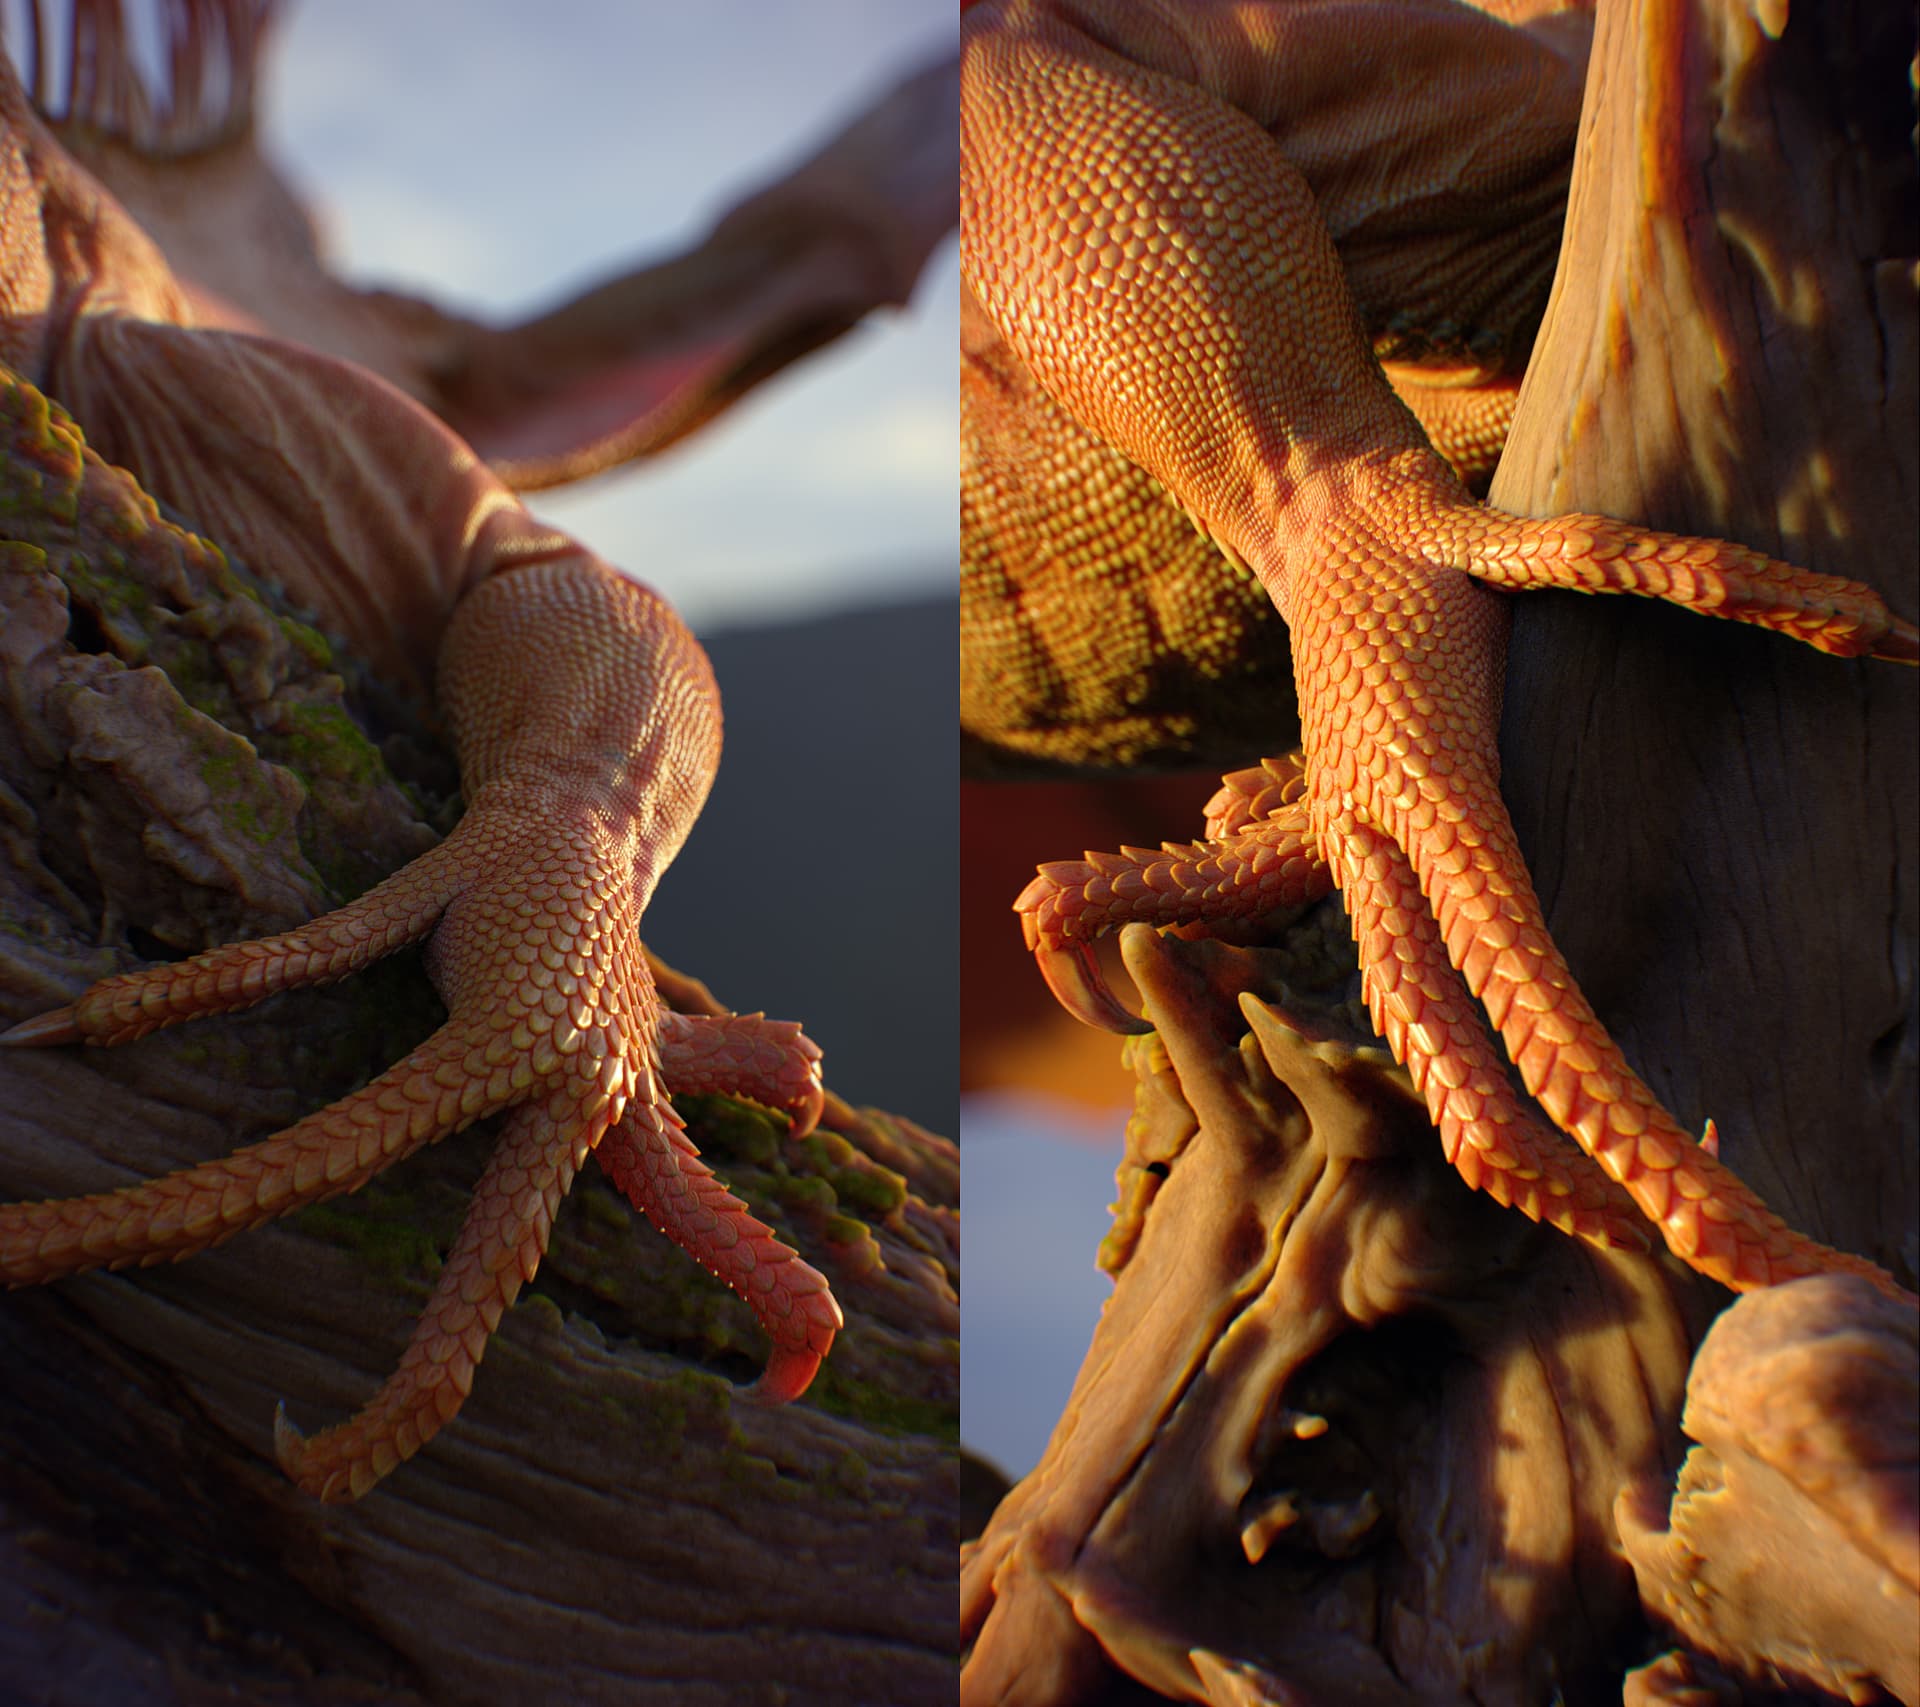
In this case, you can save on performance and node management by connecting all of the simulated Markers to a single jaw Marker instead; you’ll get the same result and it’ll look cooler too.
That’s what tried in the beginning too, but met a problem where the jaw root gives only one strain. The rest of “branches” are disconnected, missing the connecting capsules. See the image, i marked them with orange.
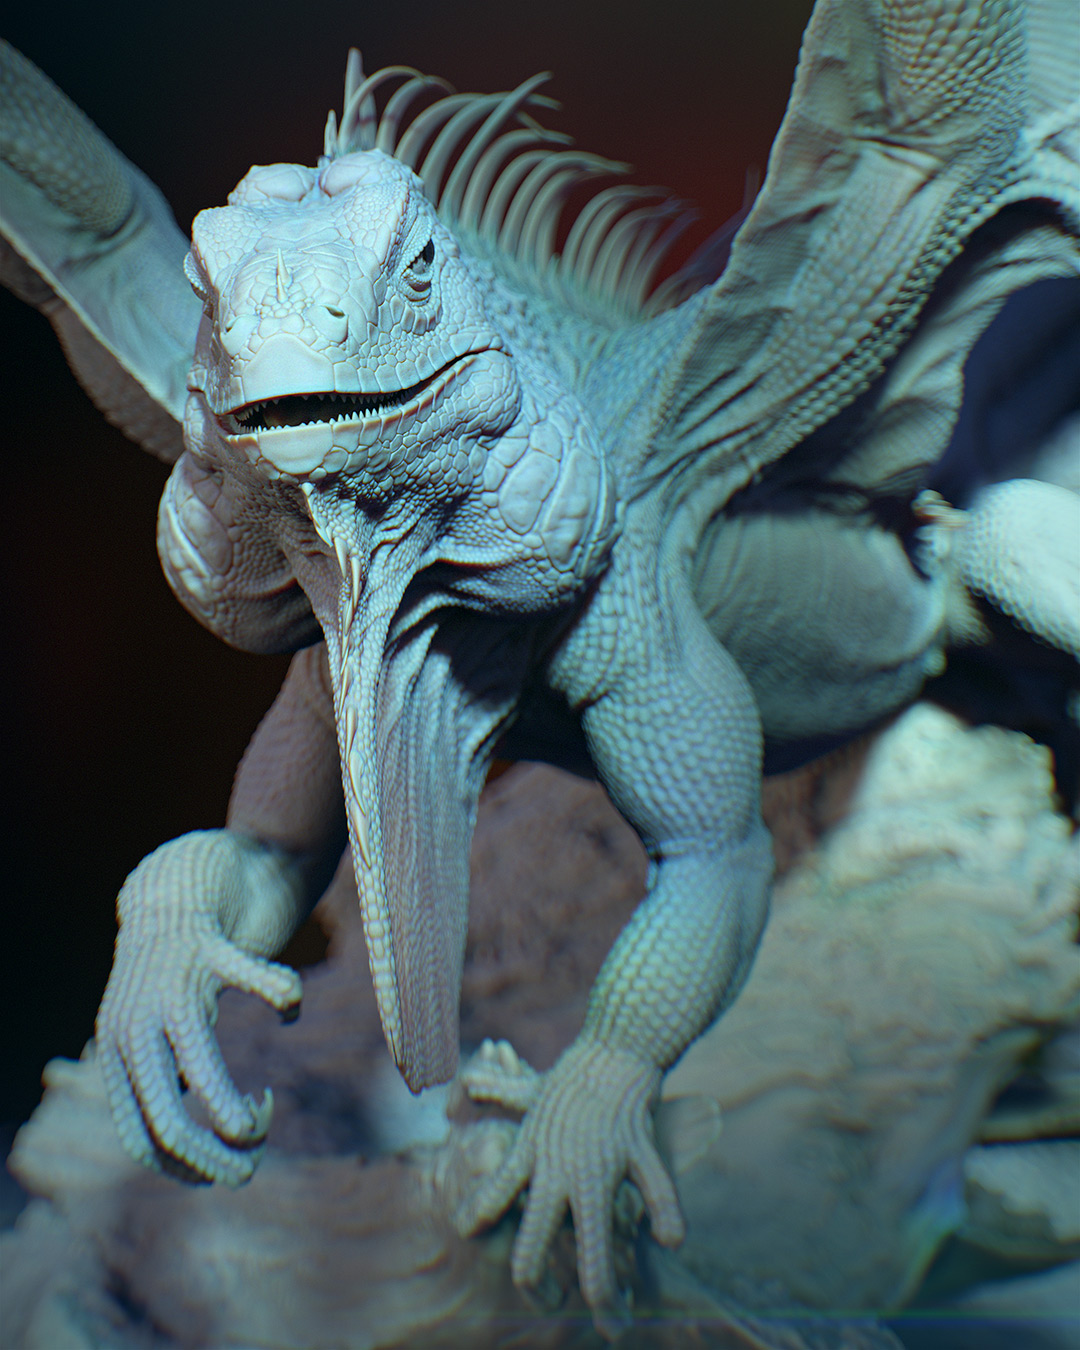
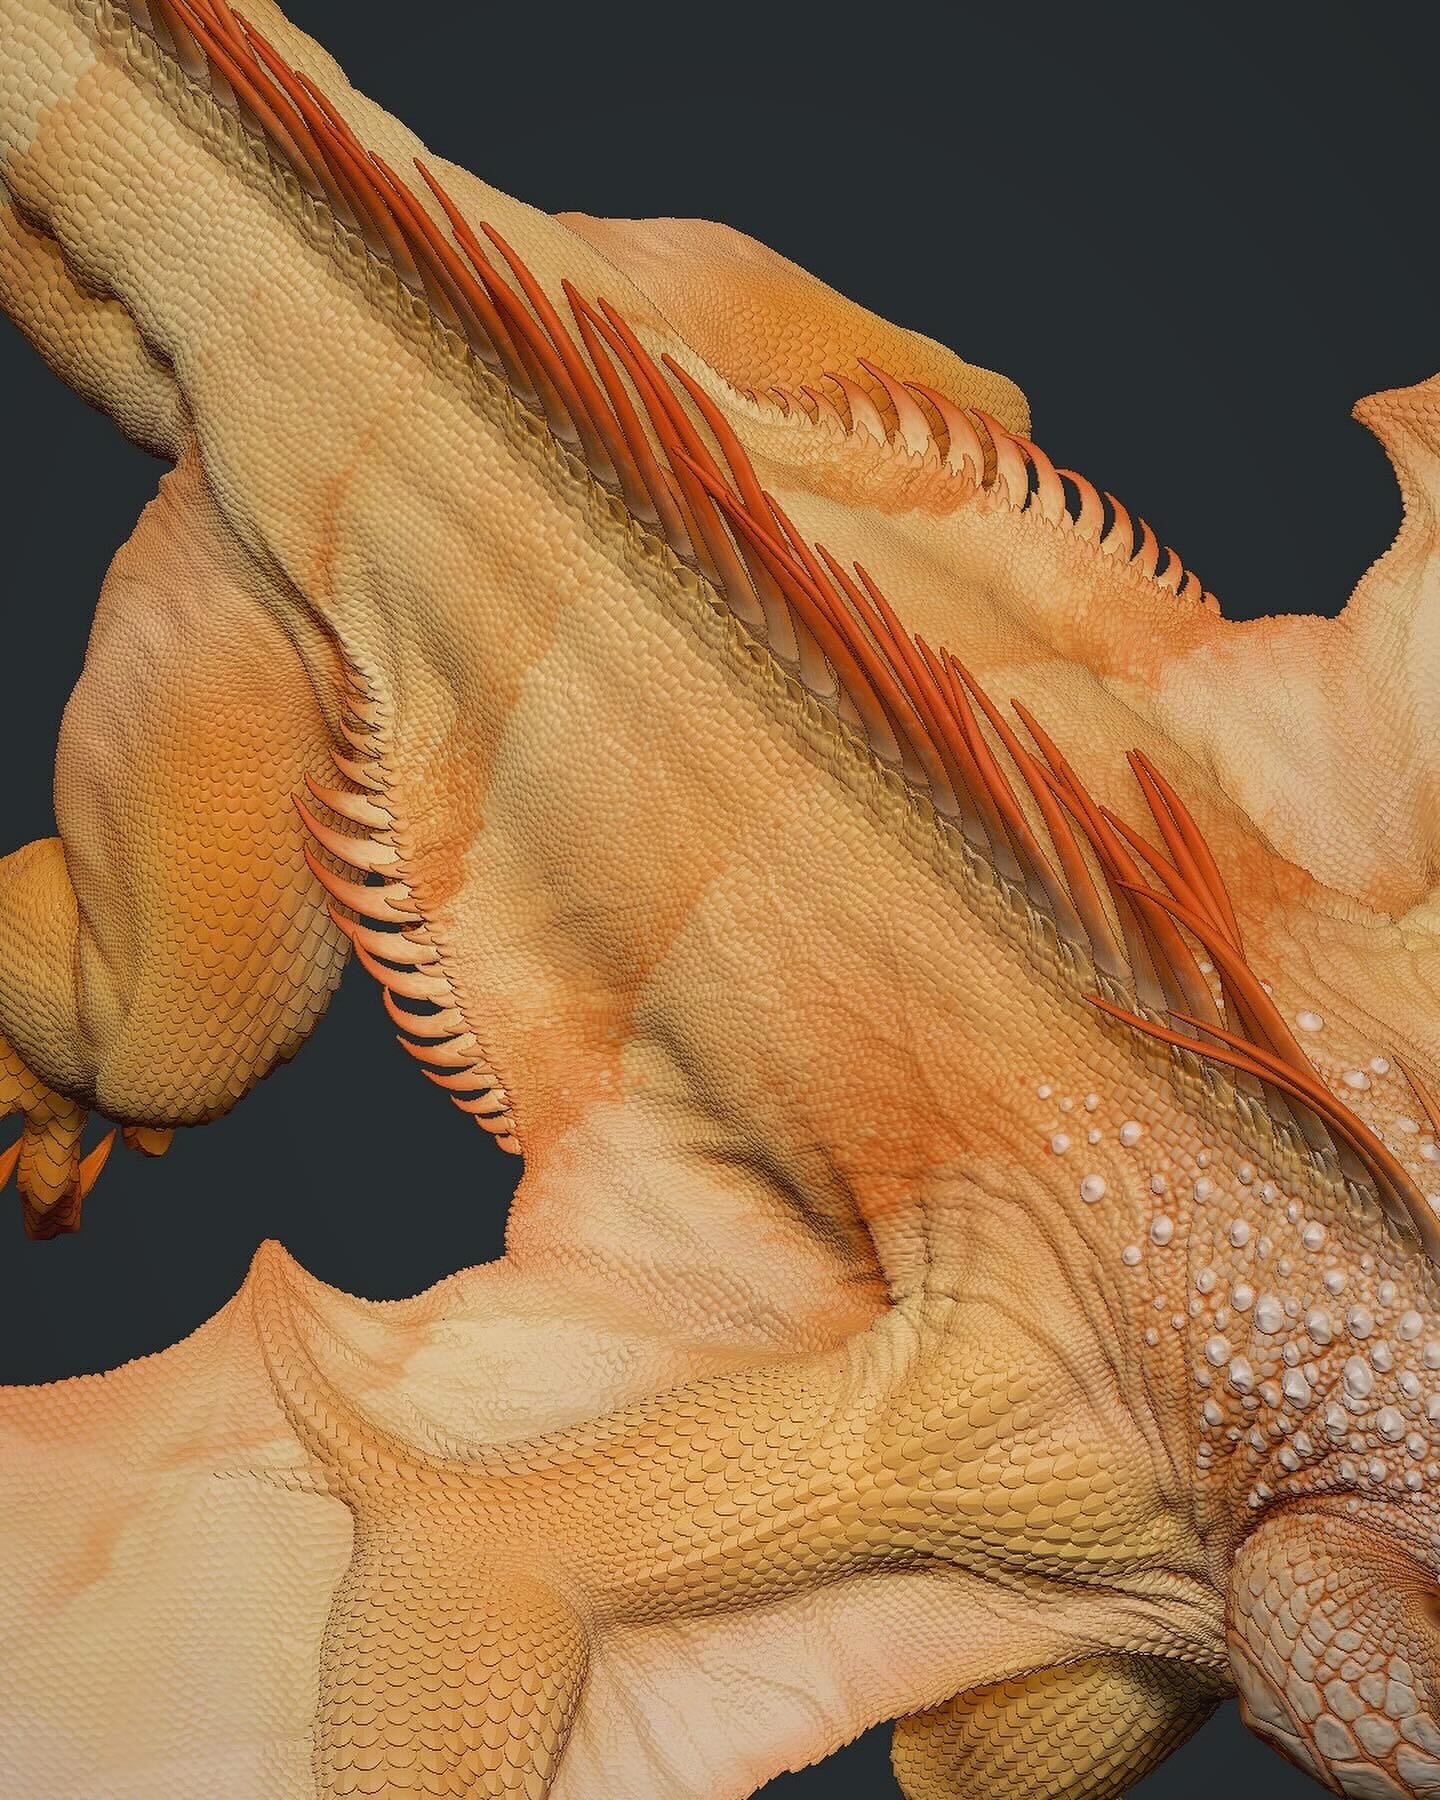
Right now setting the vector displacement map and doing the morph target edits, etc…
Next - texturing in mari and after that is done - I can finally jump on Ragdoll in full scale.
The man himself! WOW
I am so impressed by your works, Jason.
The reason I started this project on the first place is because I saw your animations and said to myself… I want to do the same.
That time I worked only in ZBrush but said to myself - I will learn rigging, i will learn maya and anything it will take!
A separate dream of mine would be if you had the time to play with this rig, perhaps for some kind of demo?
Wow, thanks for the kind words! I’ve also been seeing your progress on Instagram, full on rig too! glad this creature will come to life it truly is an immense amount of work you’ve put in would be honored to make this guy fly . wonder if we can find a ziva guy to put some muscles in there.
Thank you very much, @Jason !
Just sent you an email.
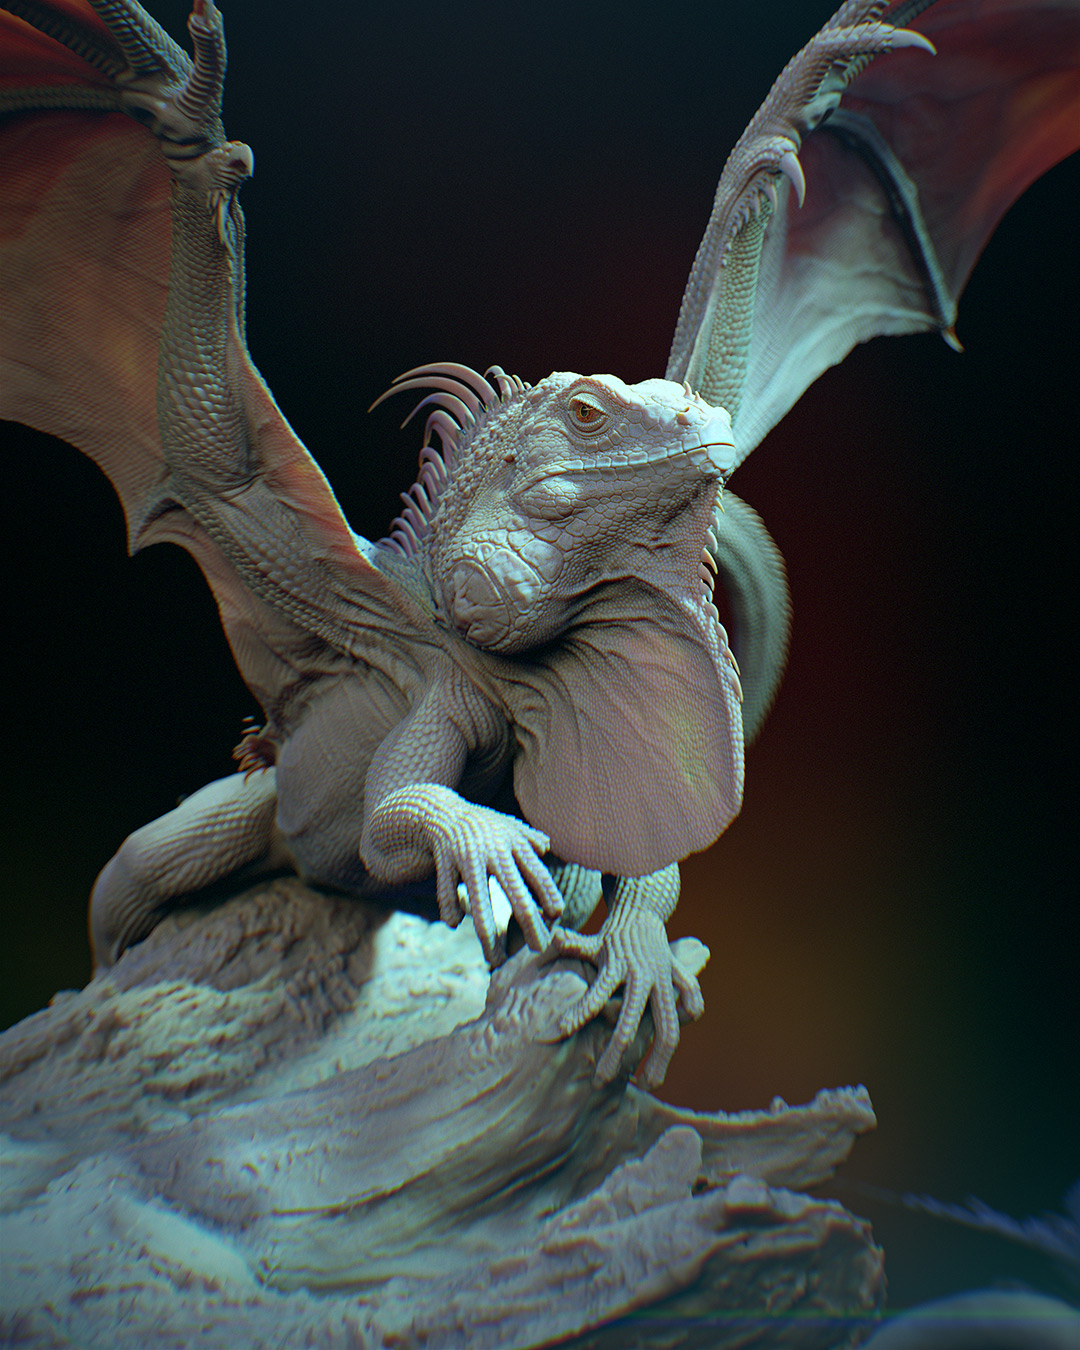
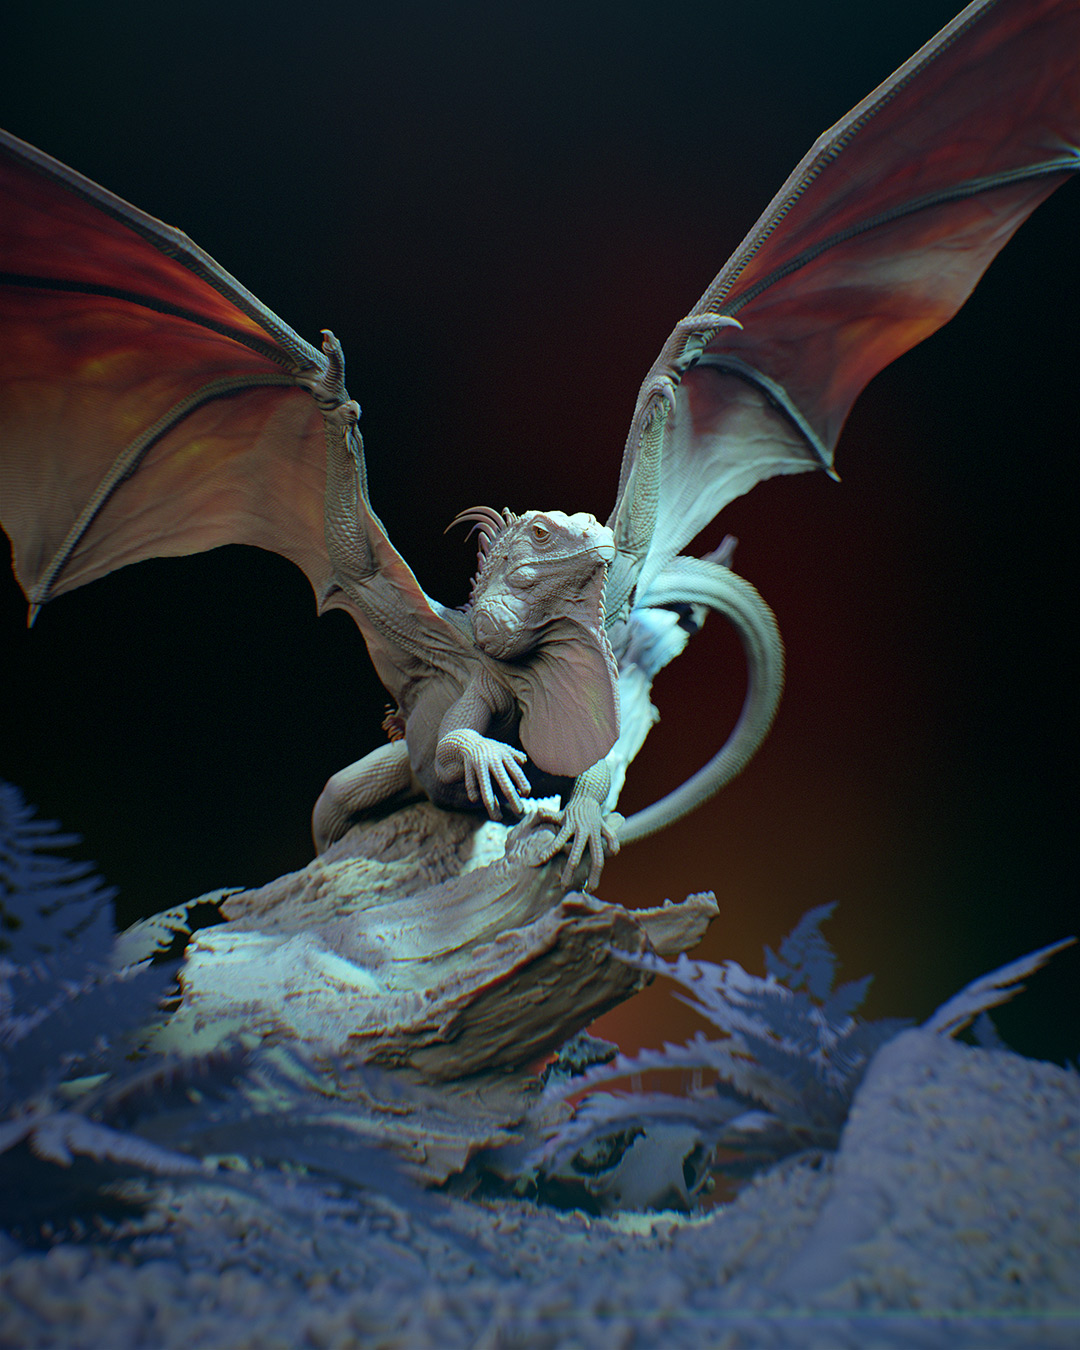
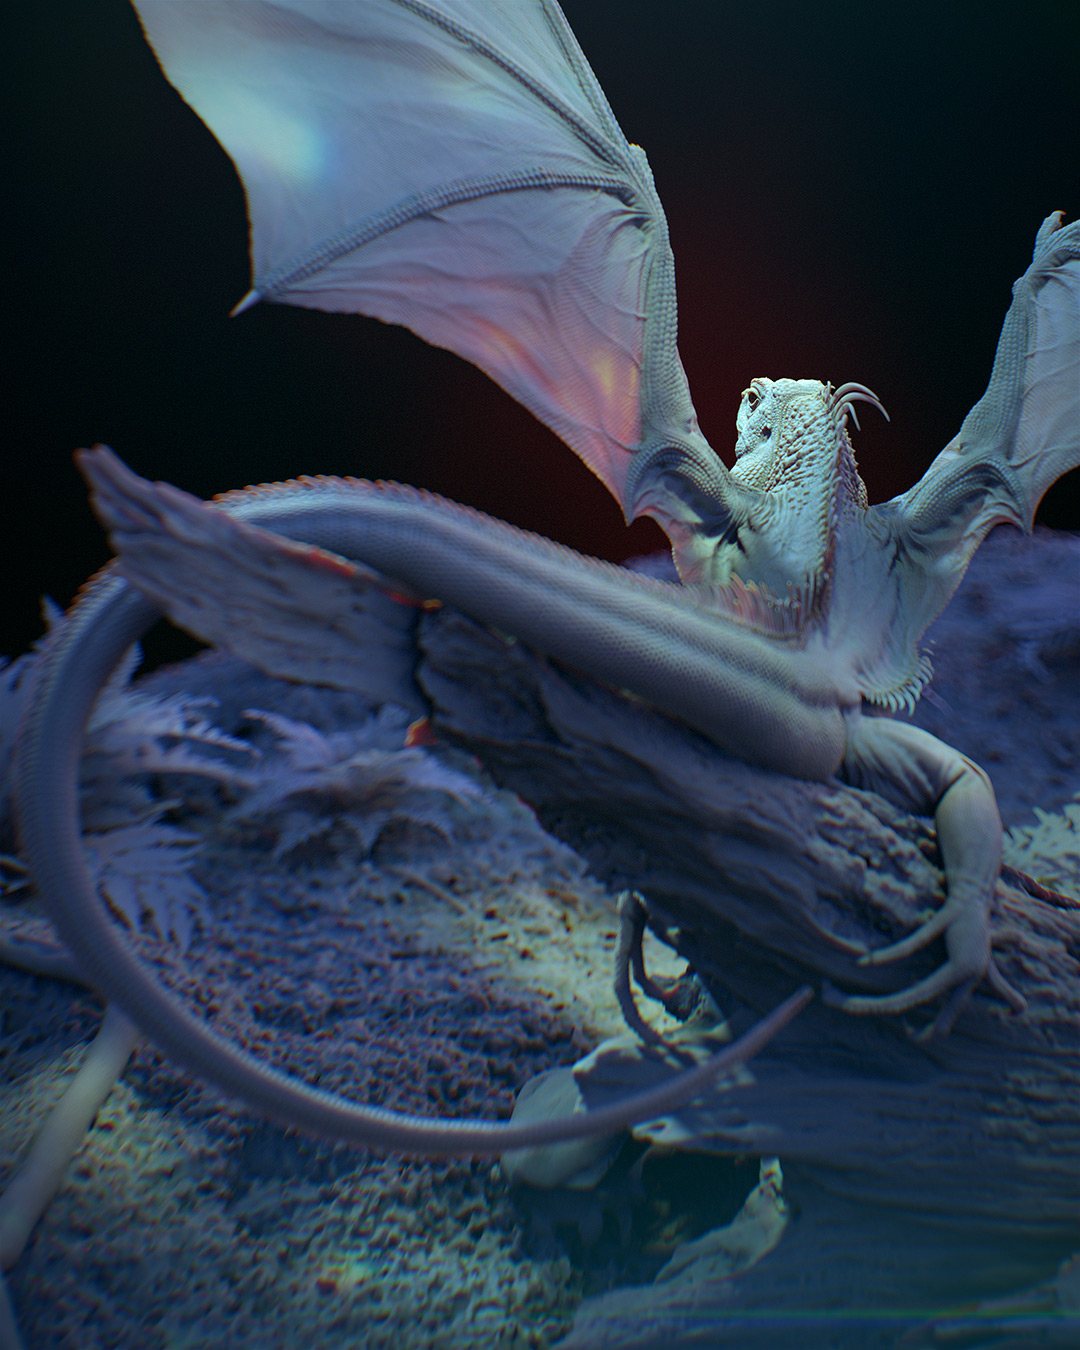
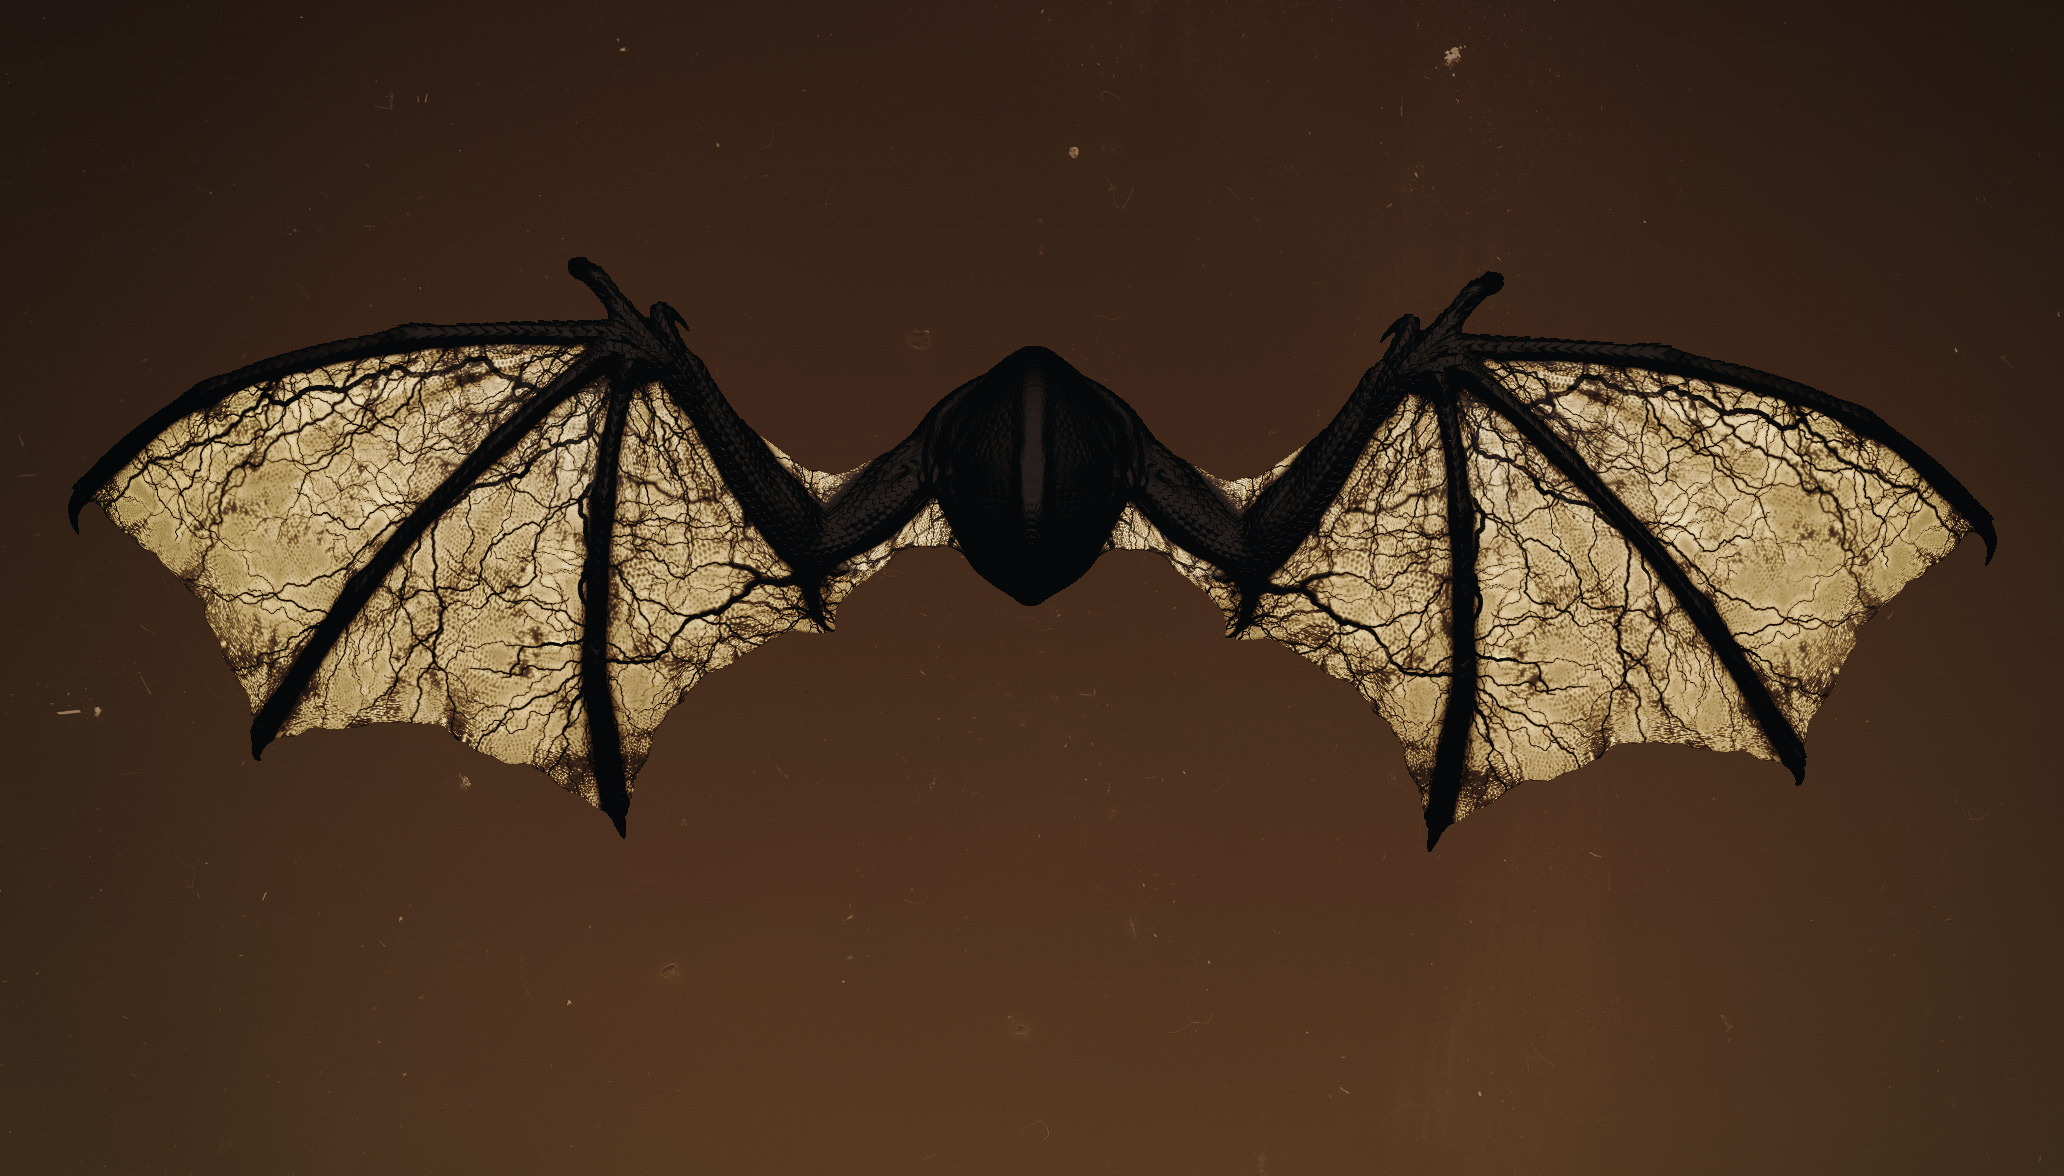
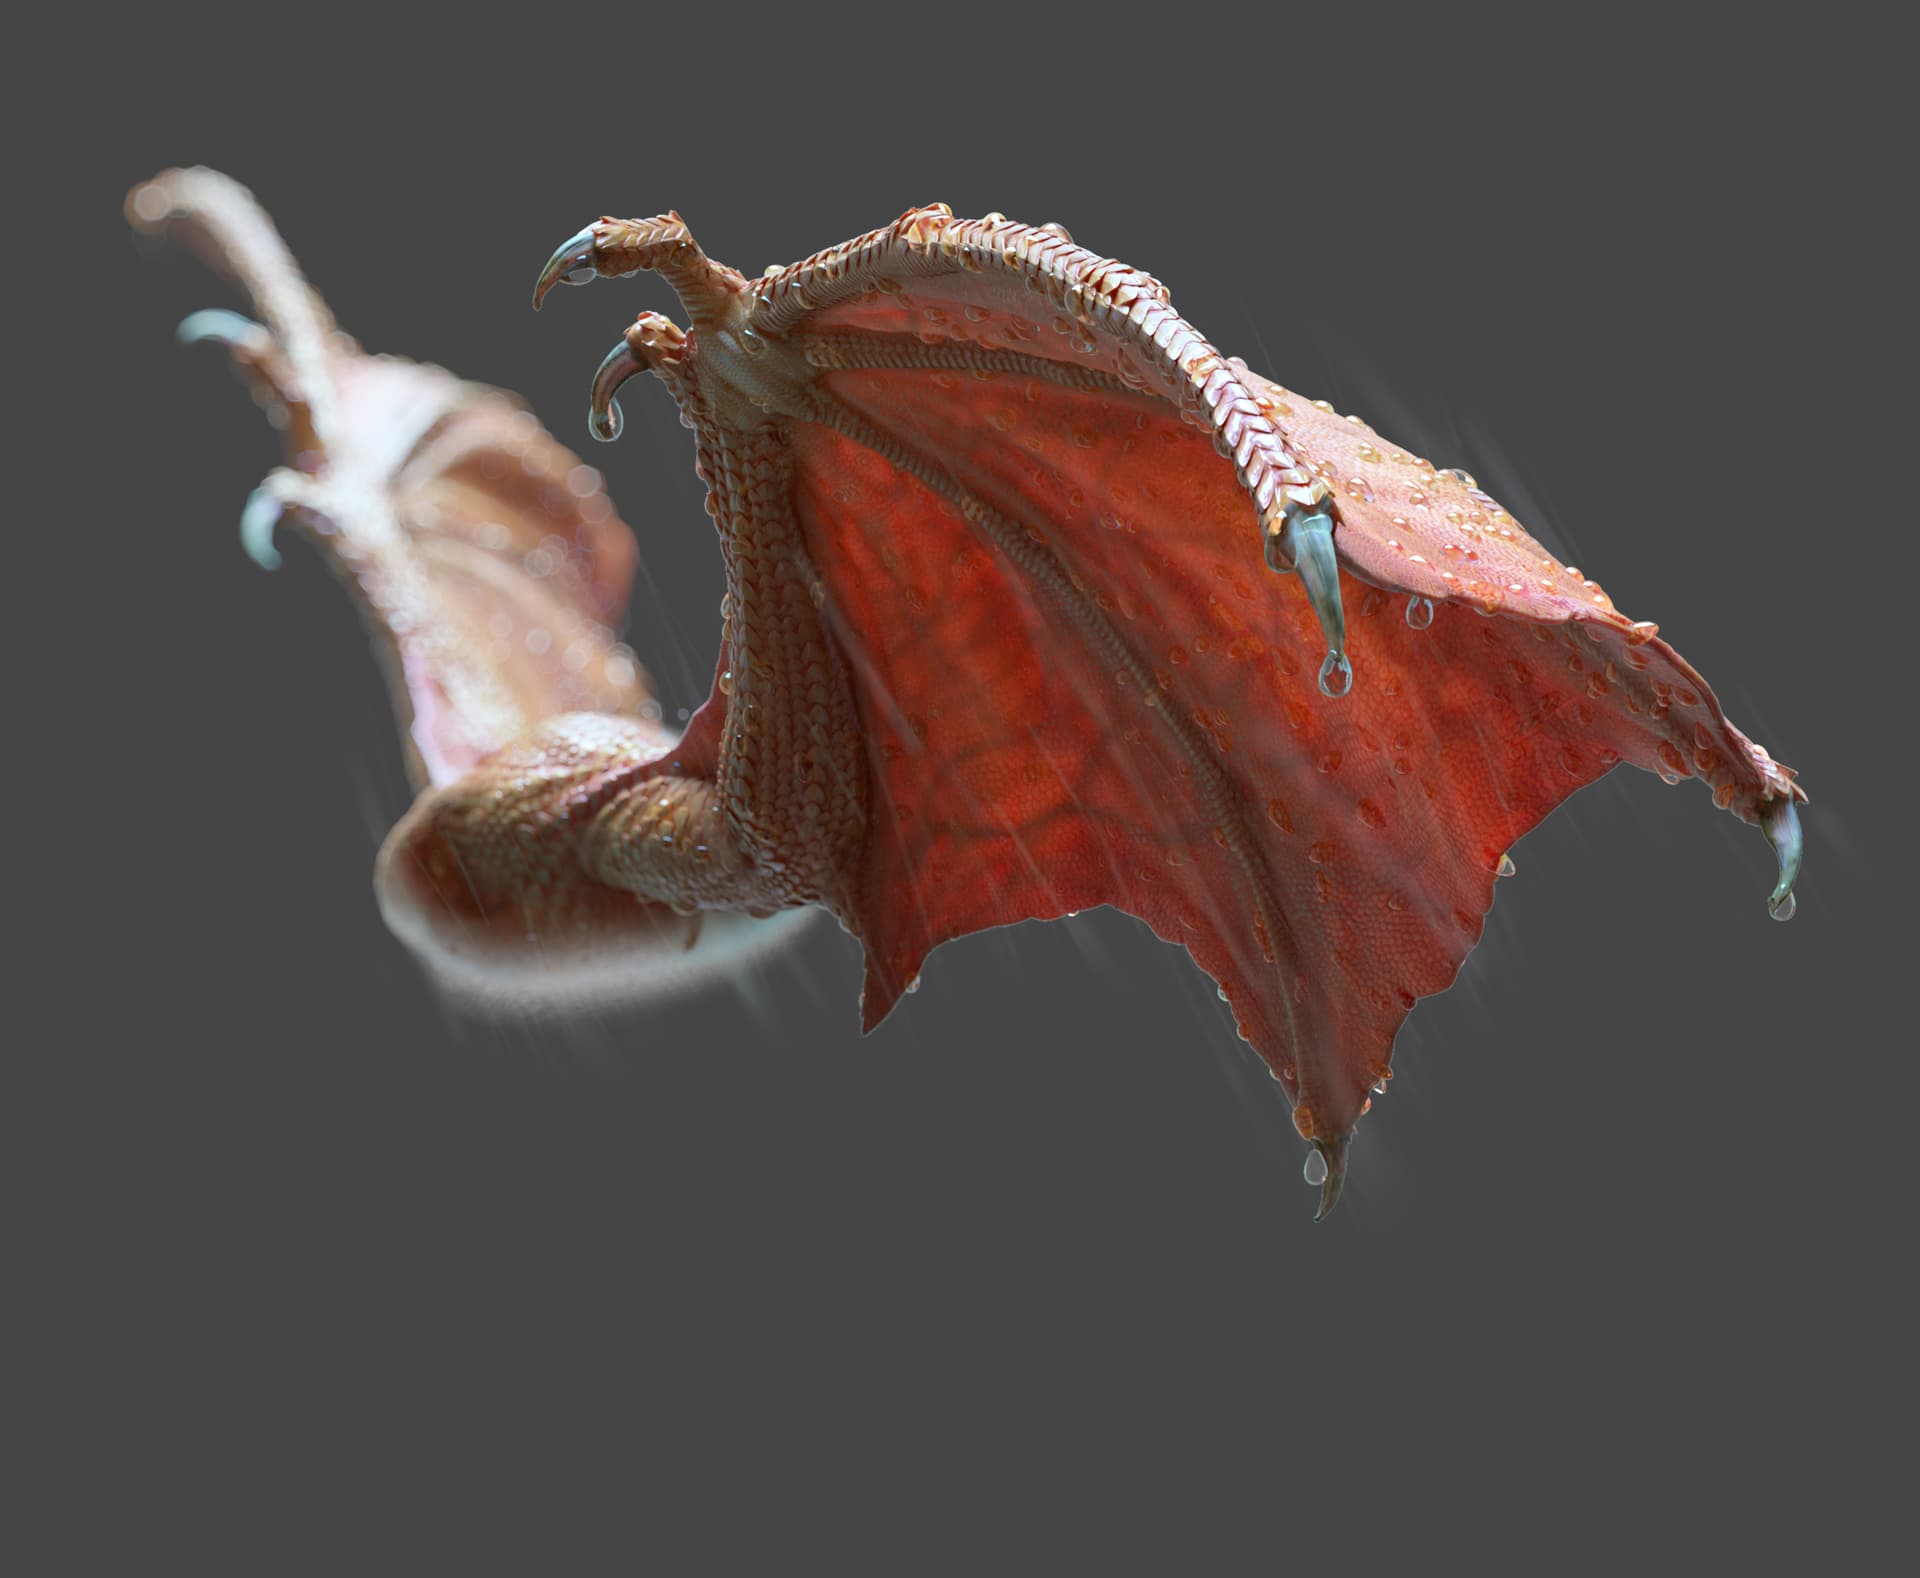
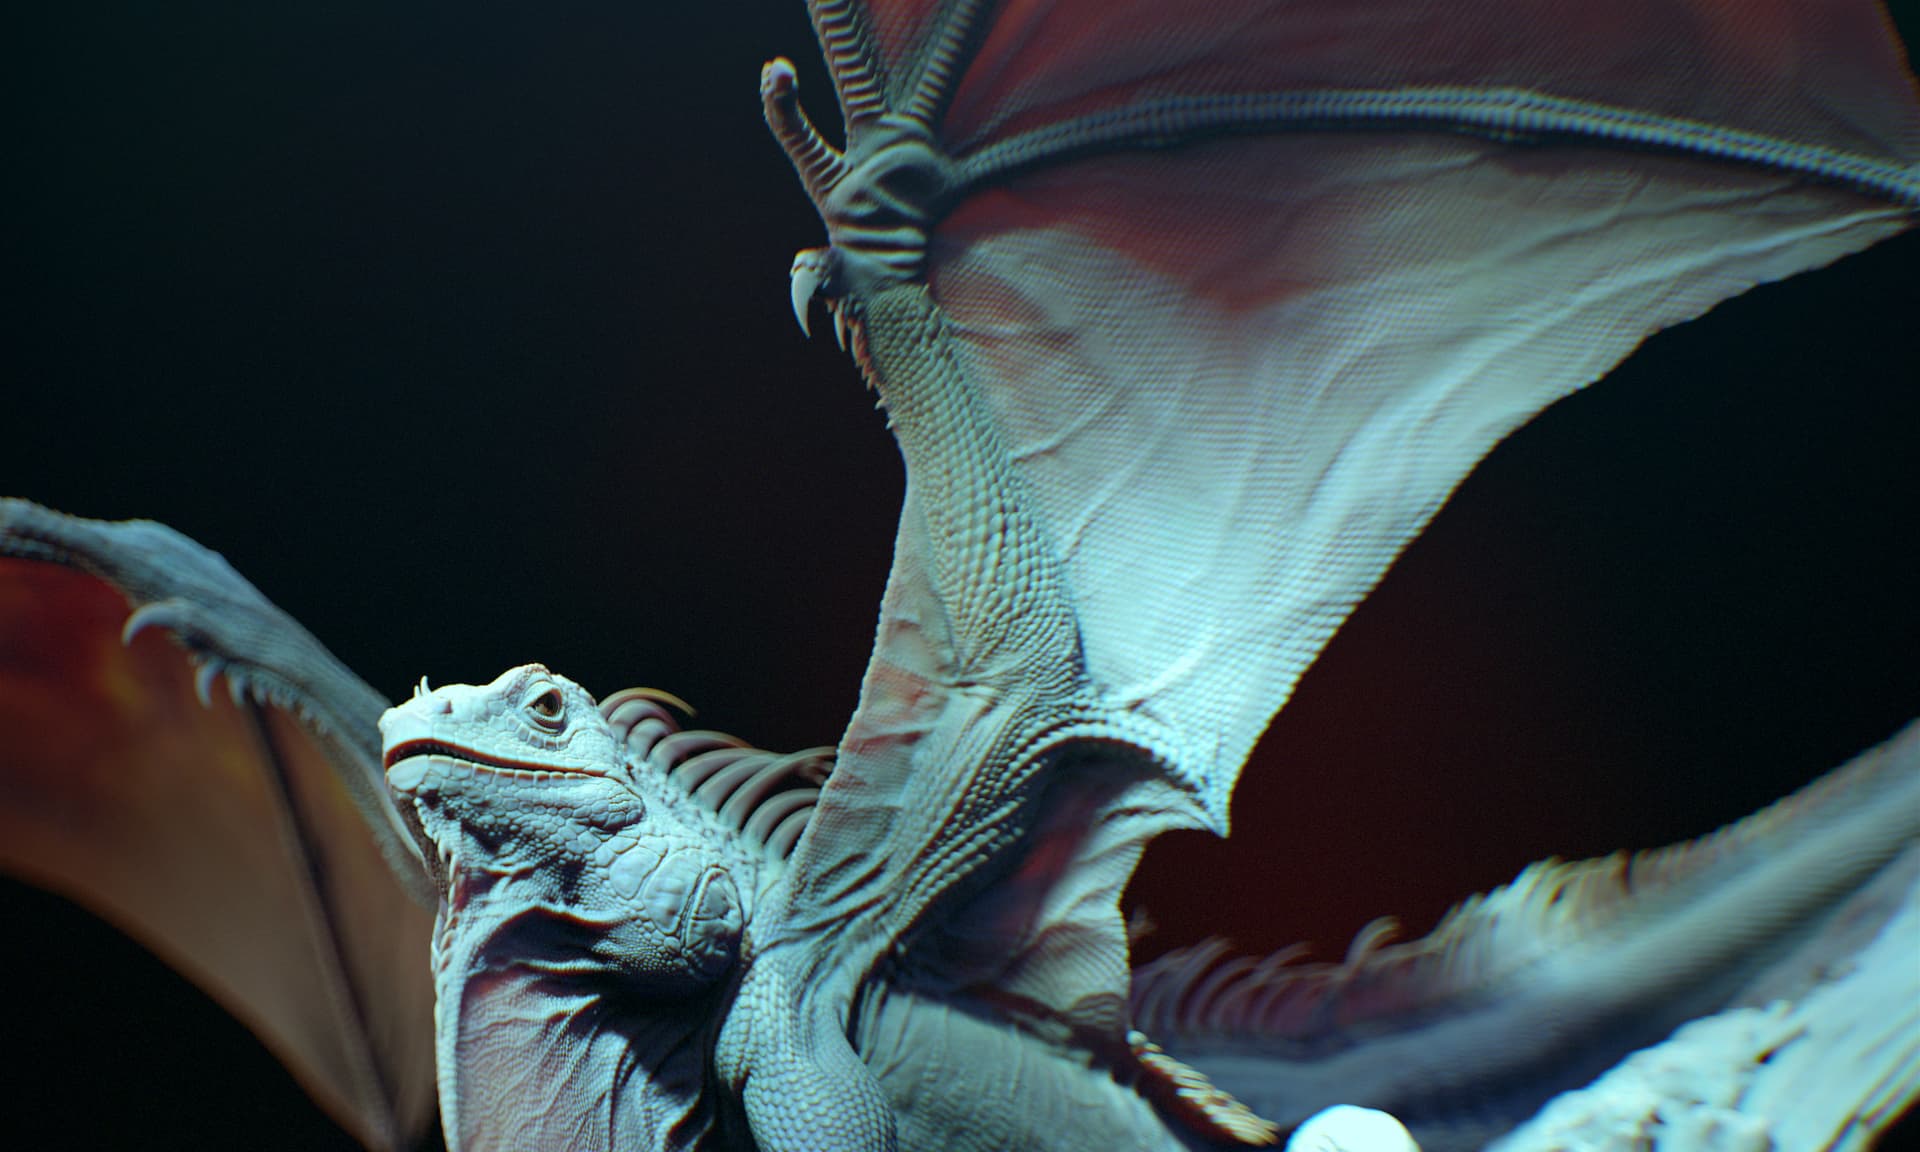
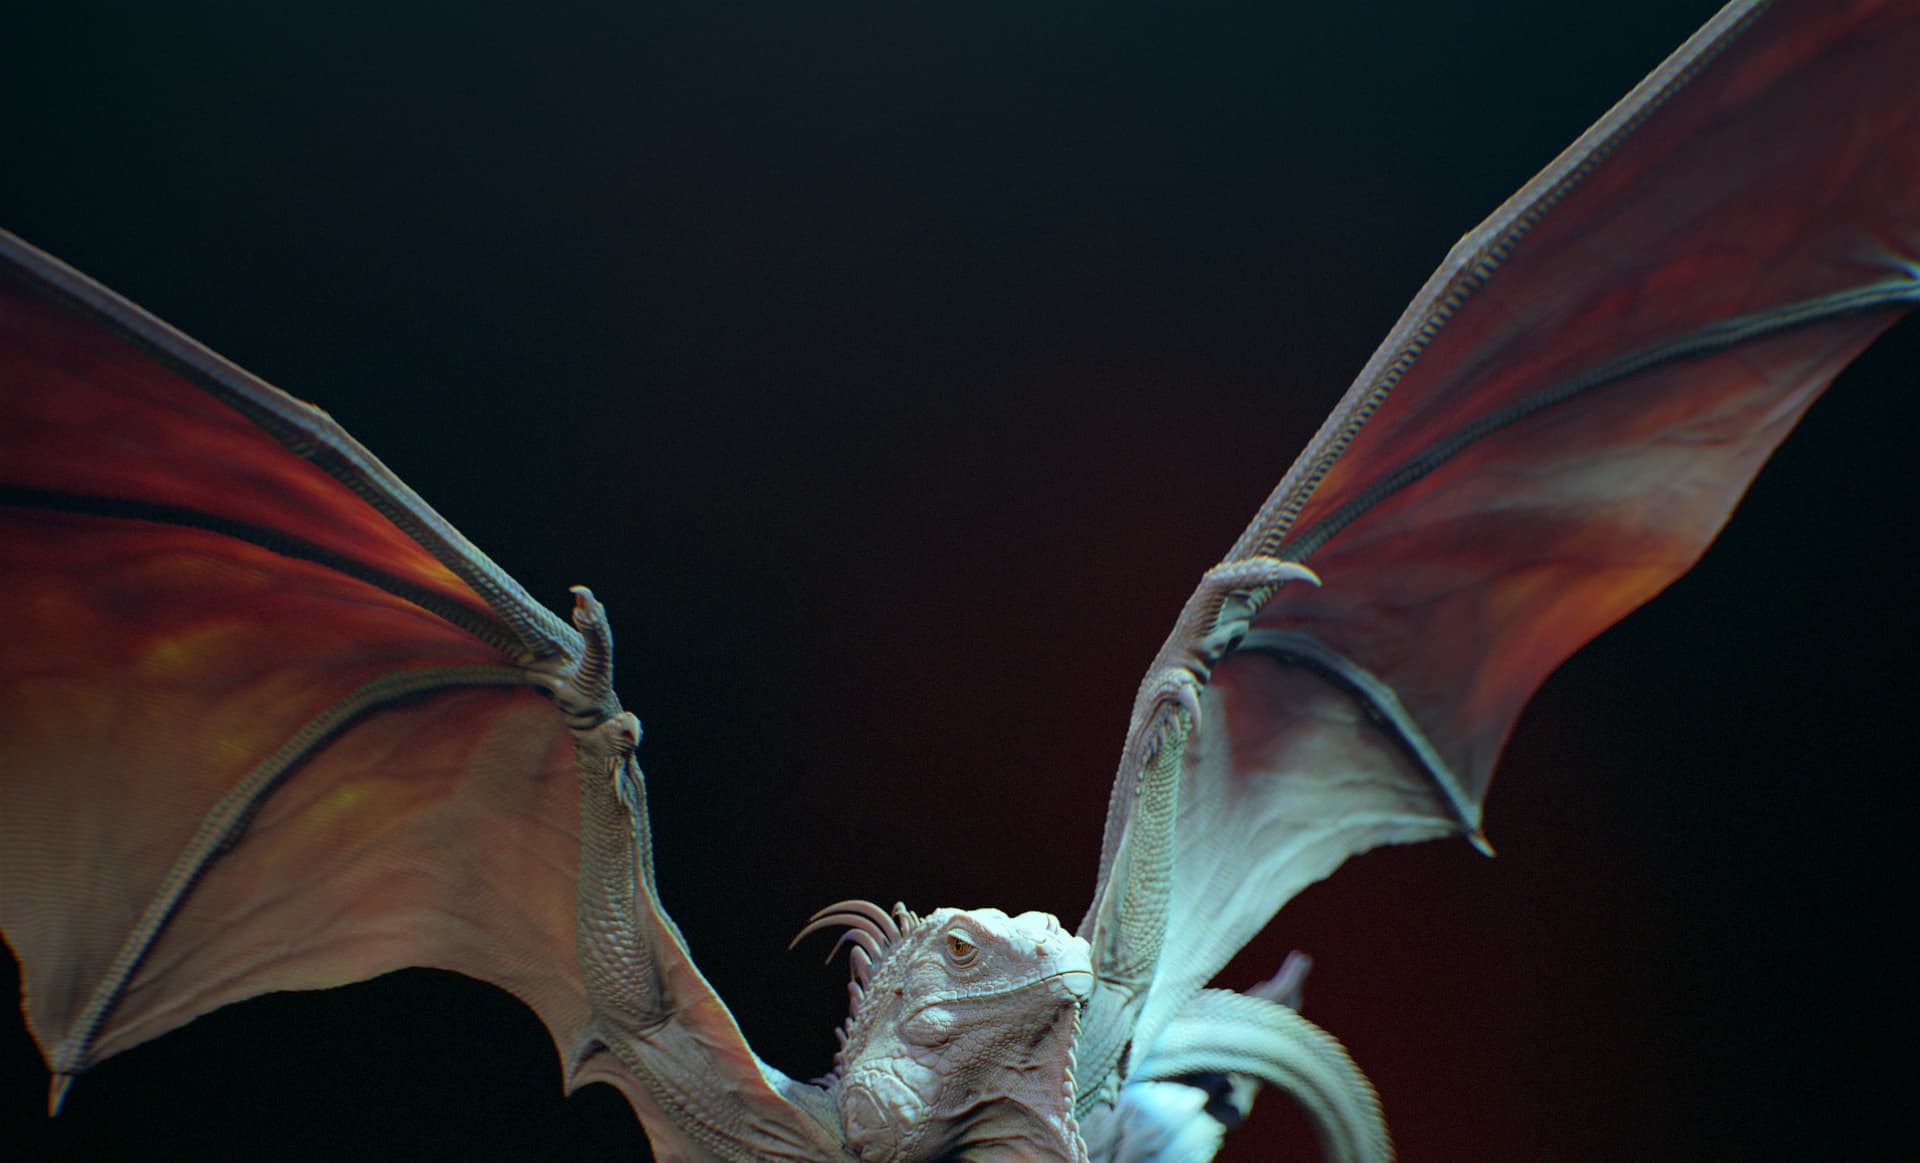
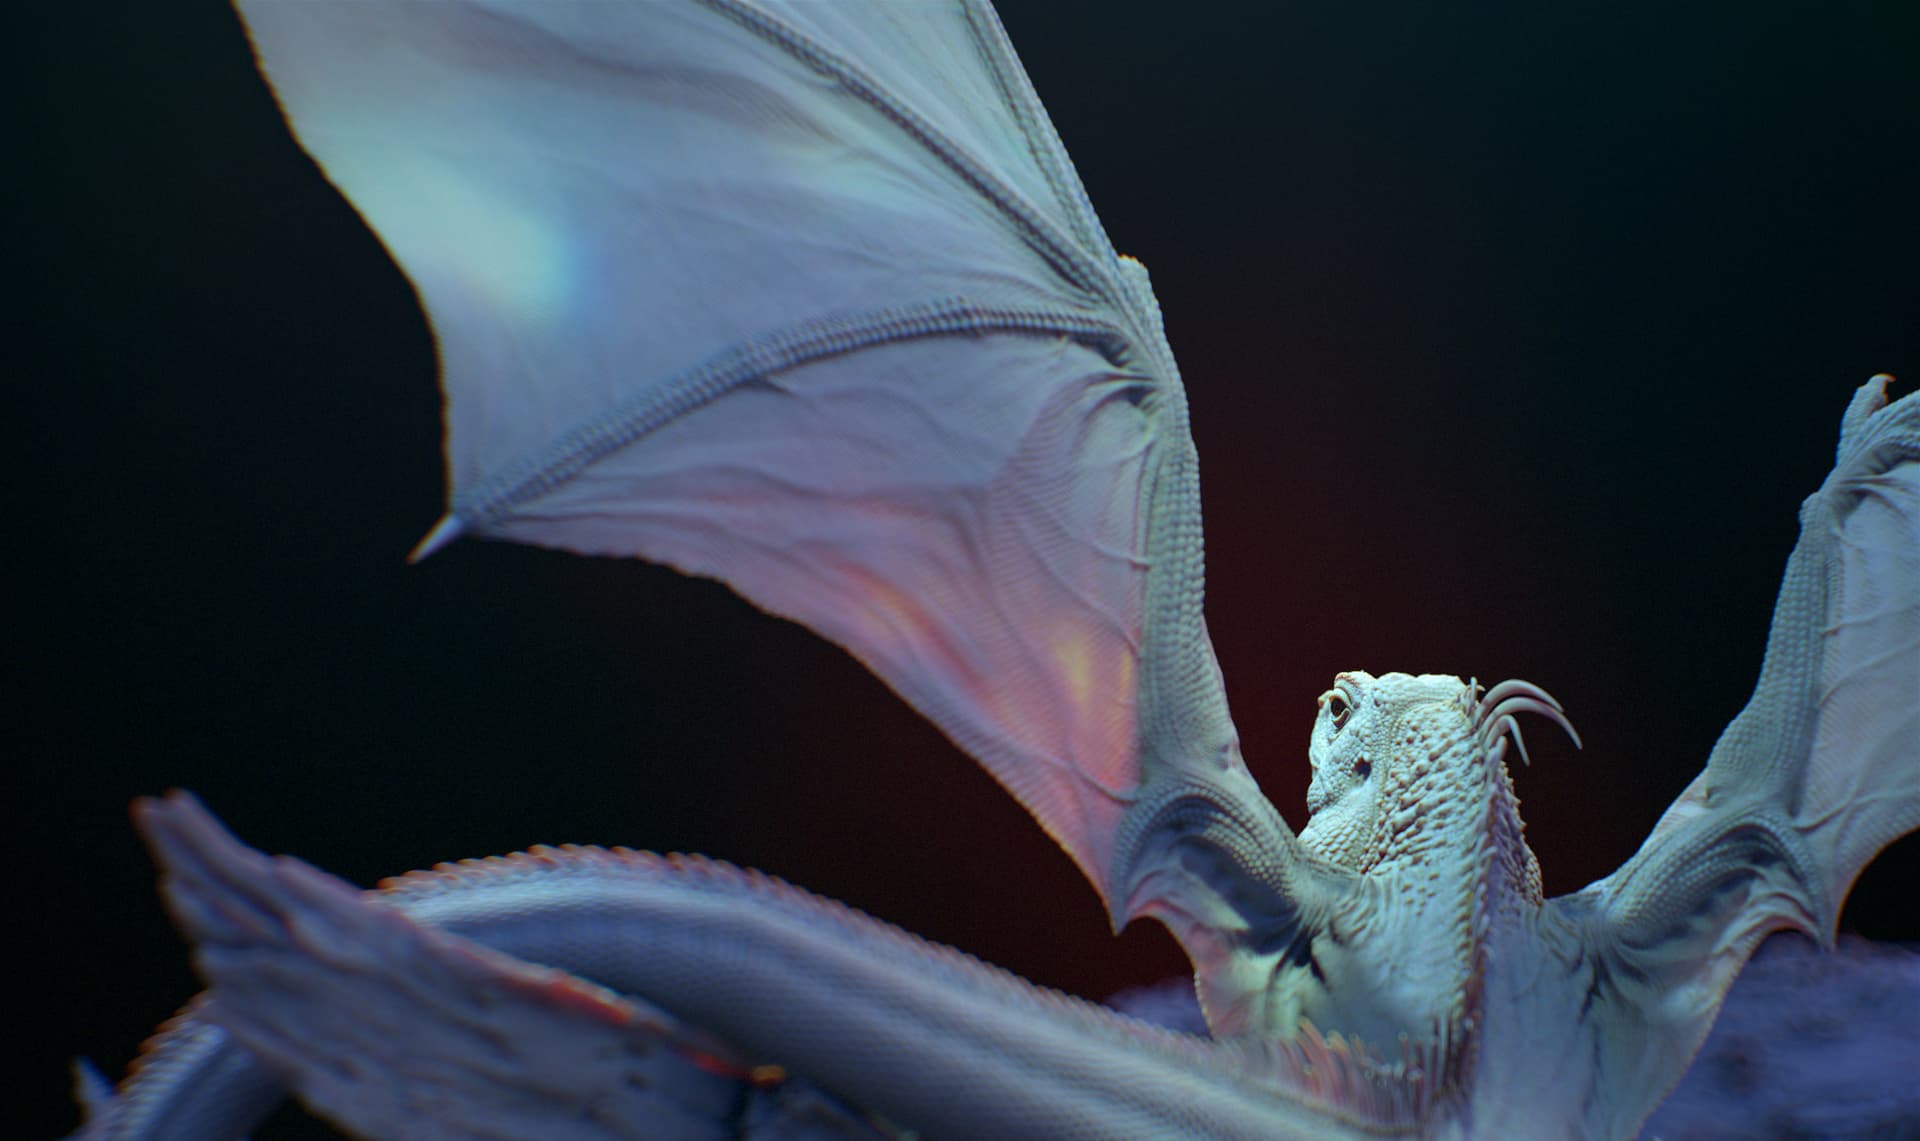
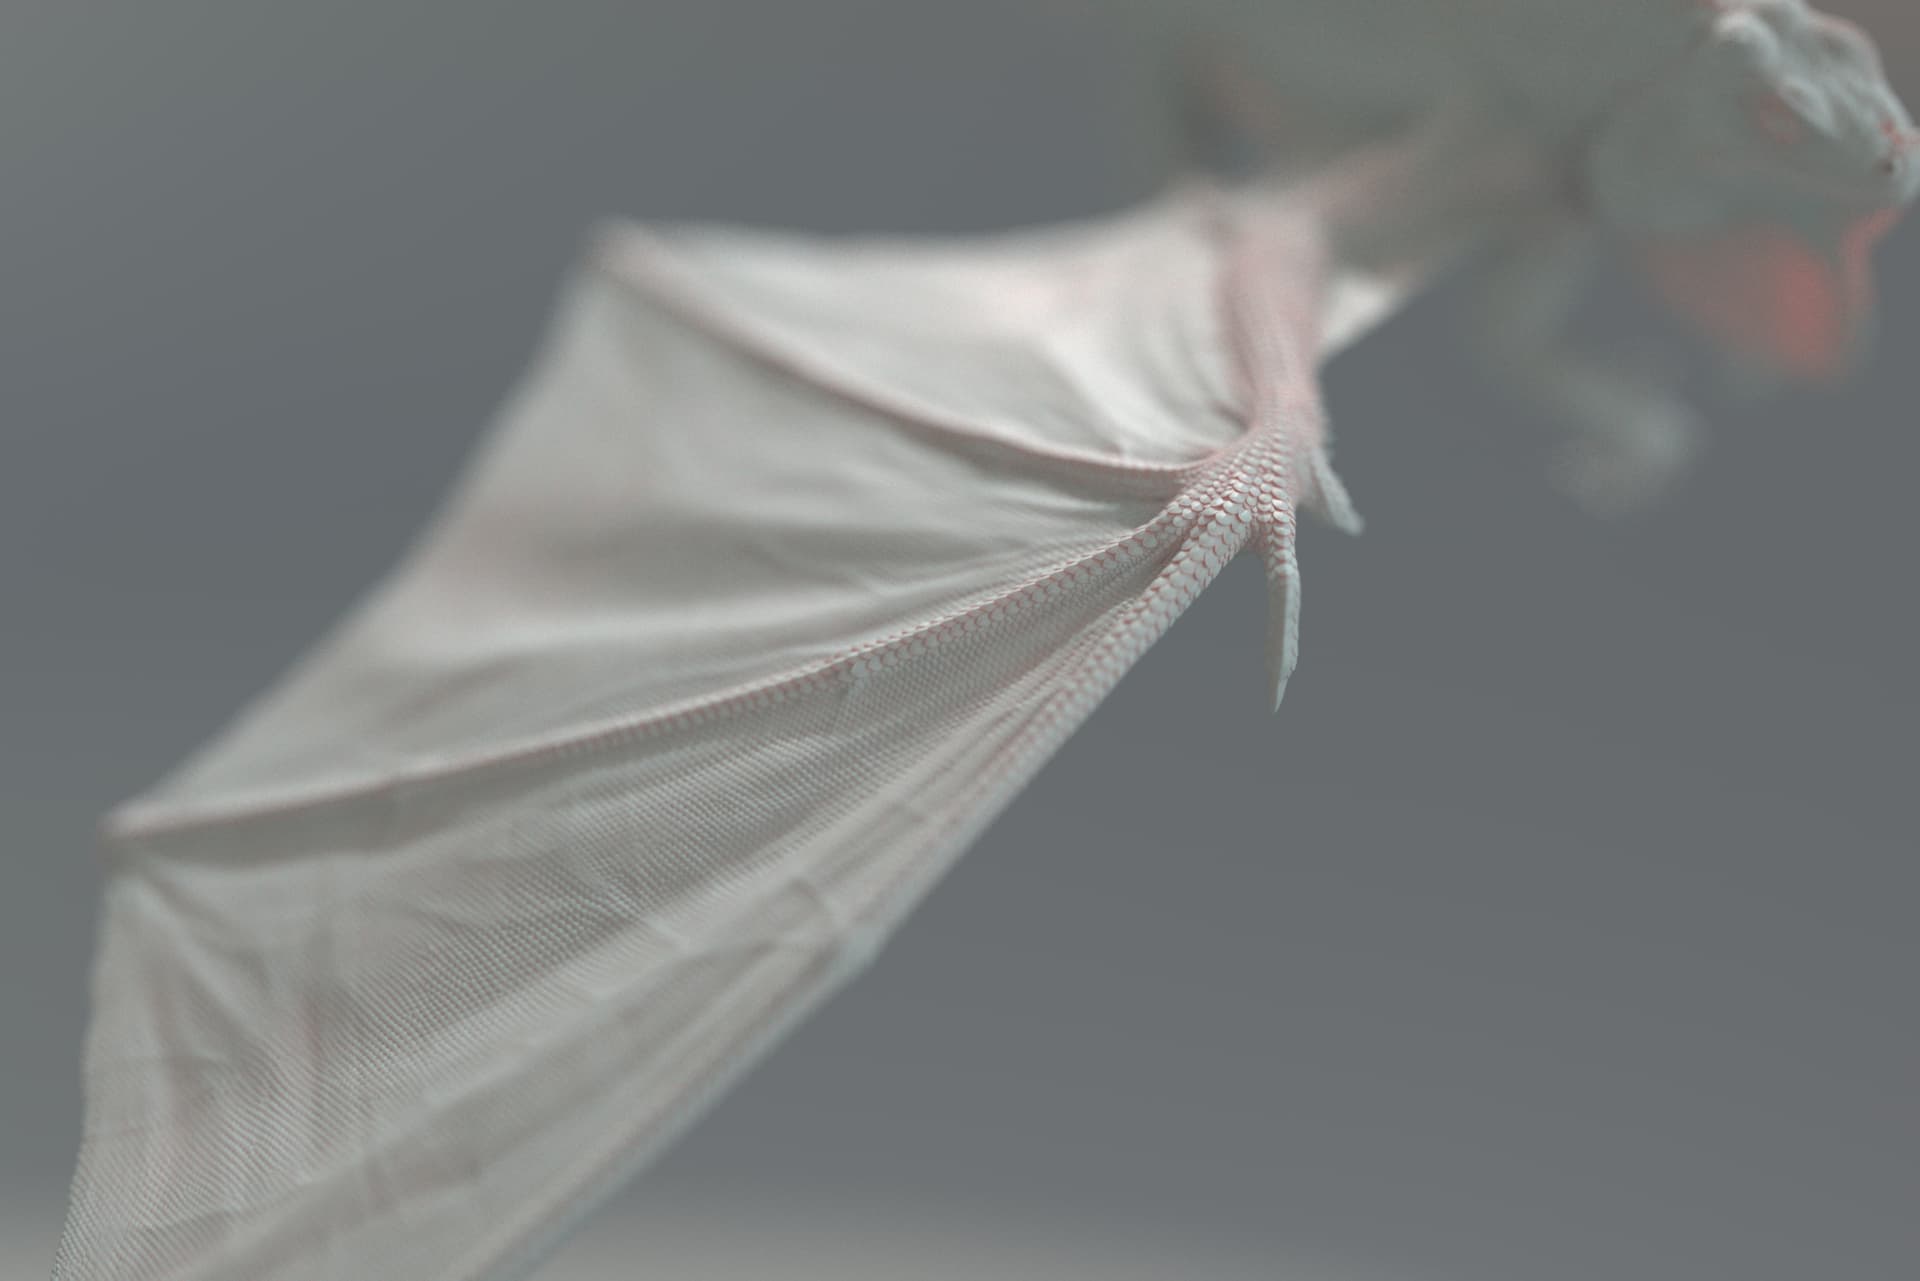
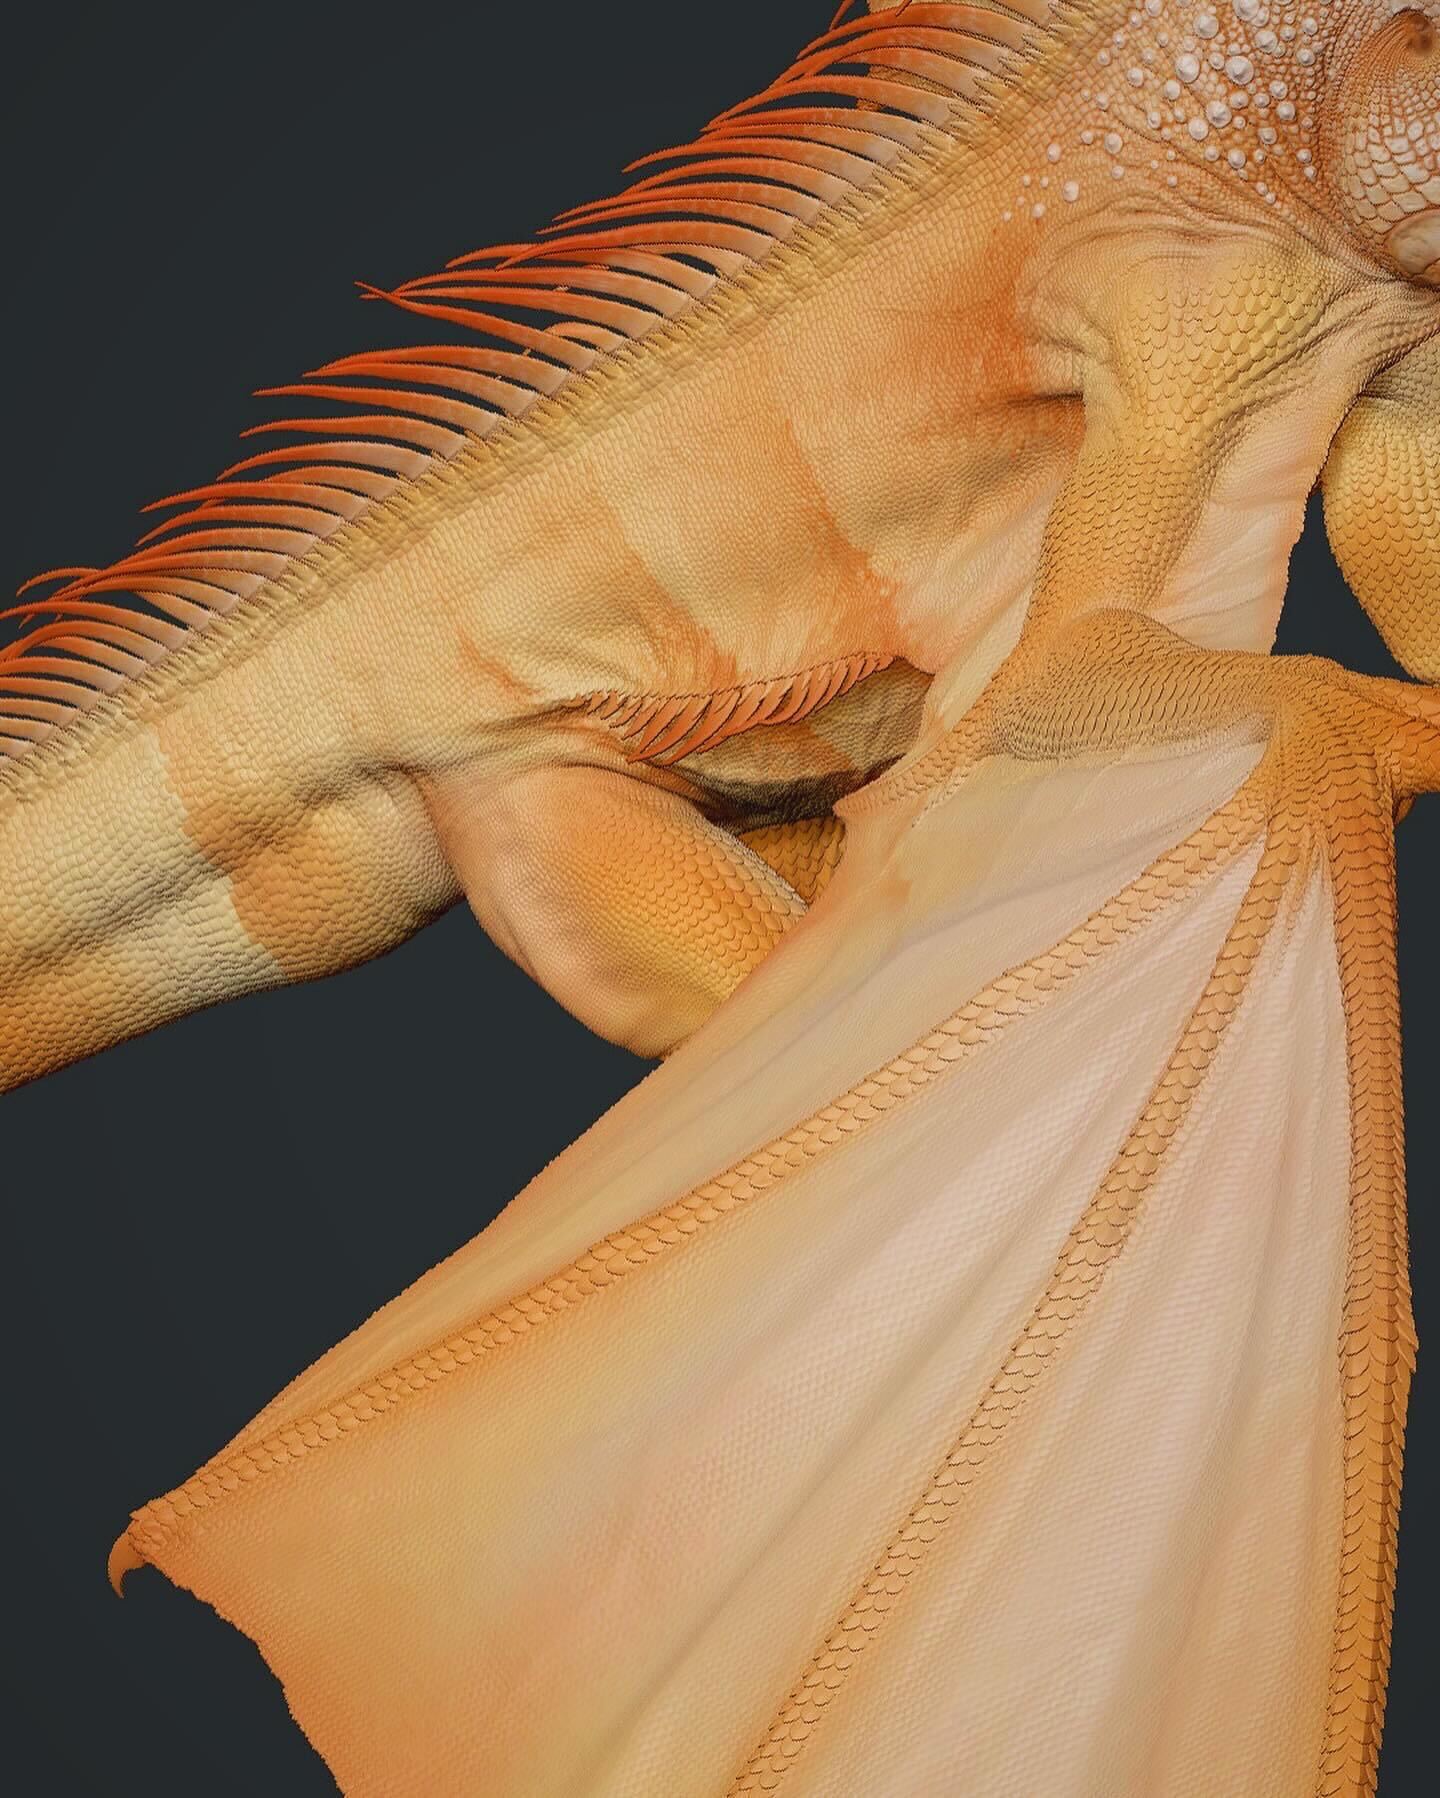
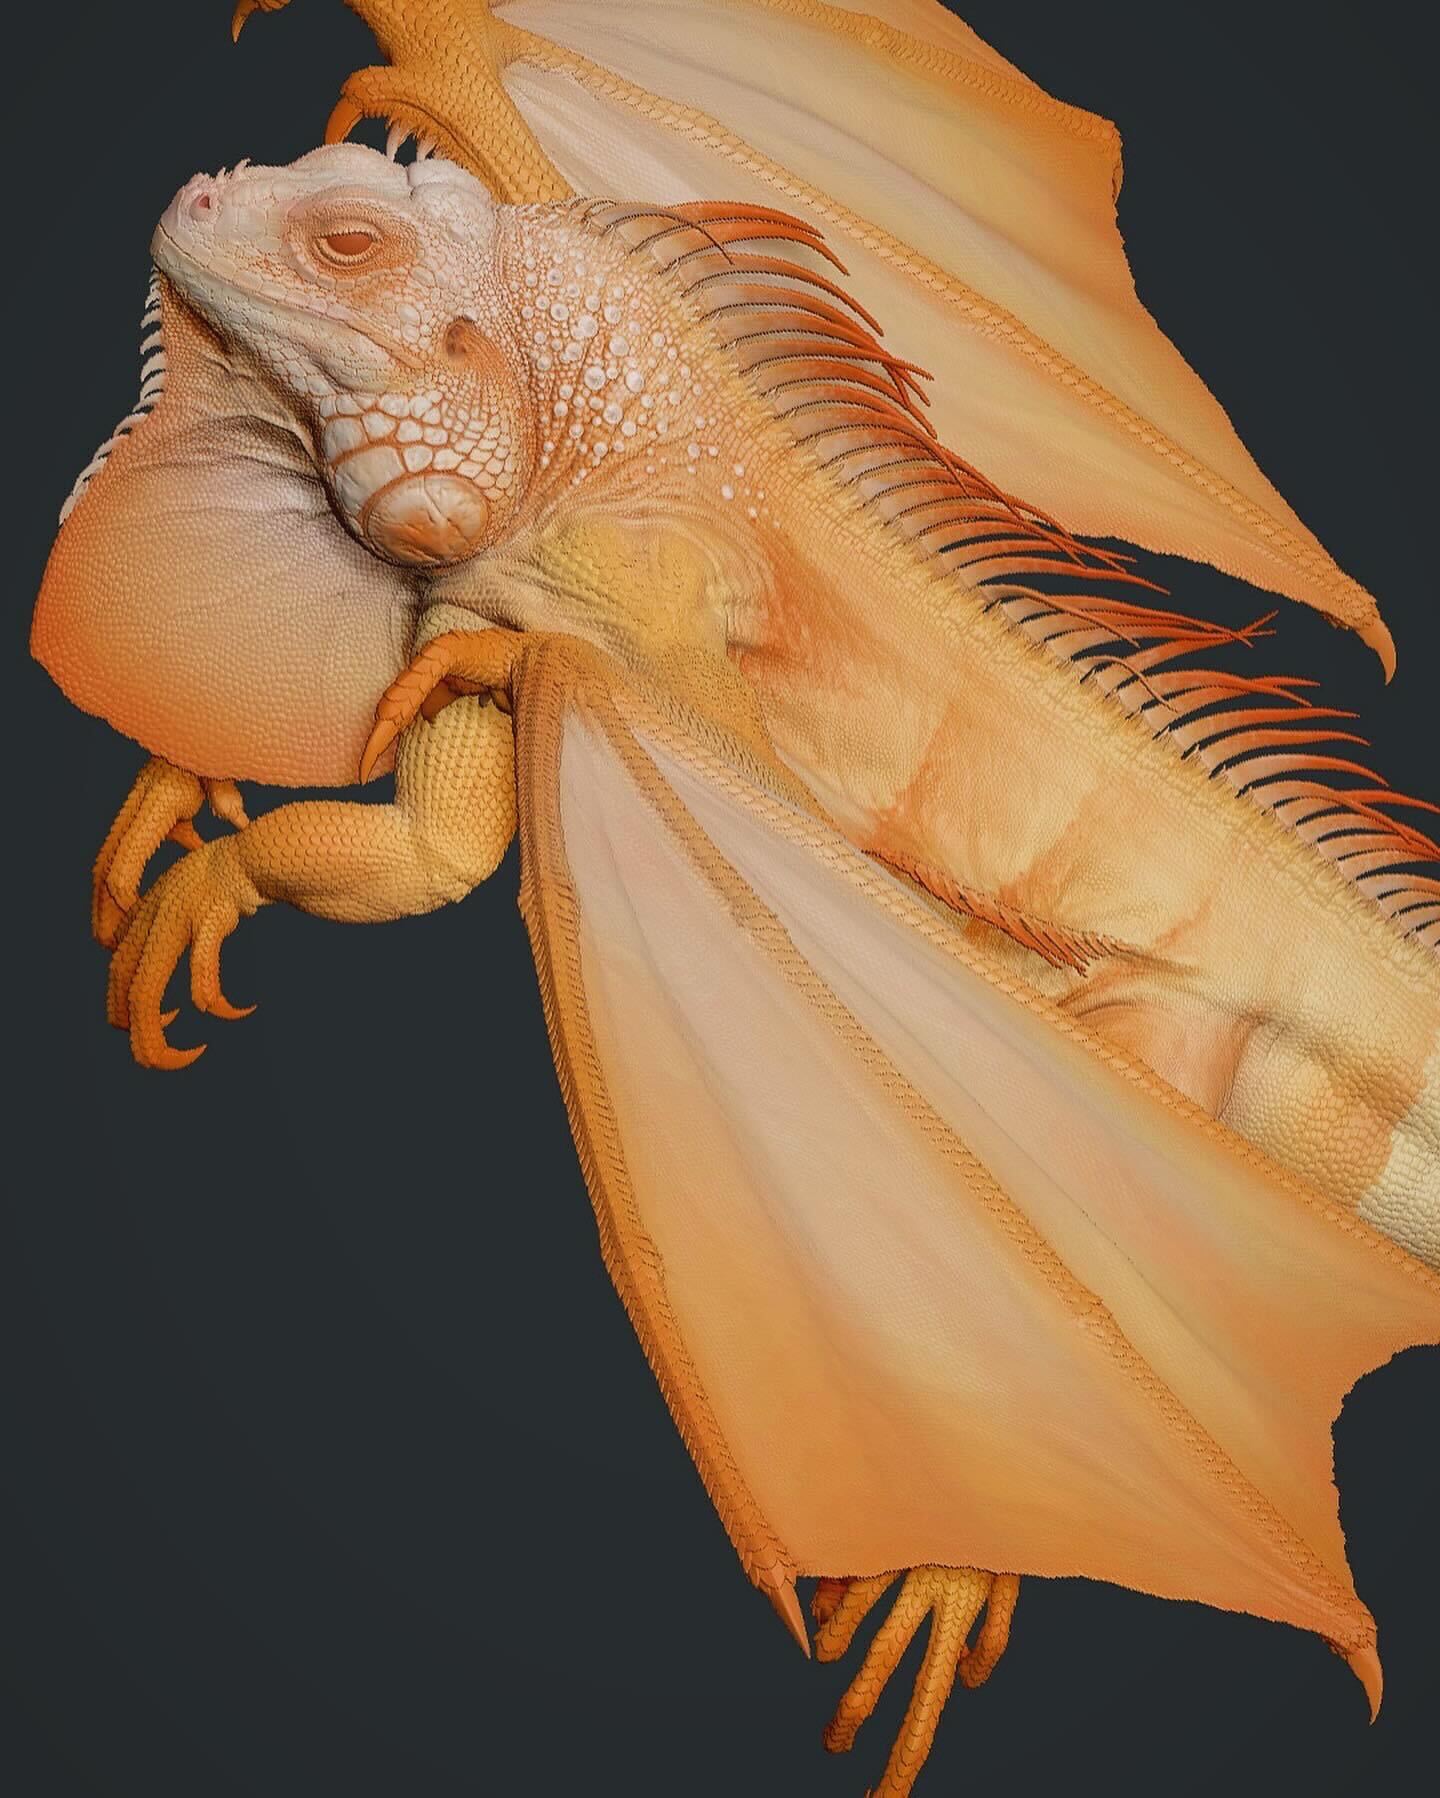
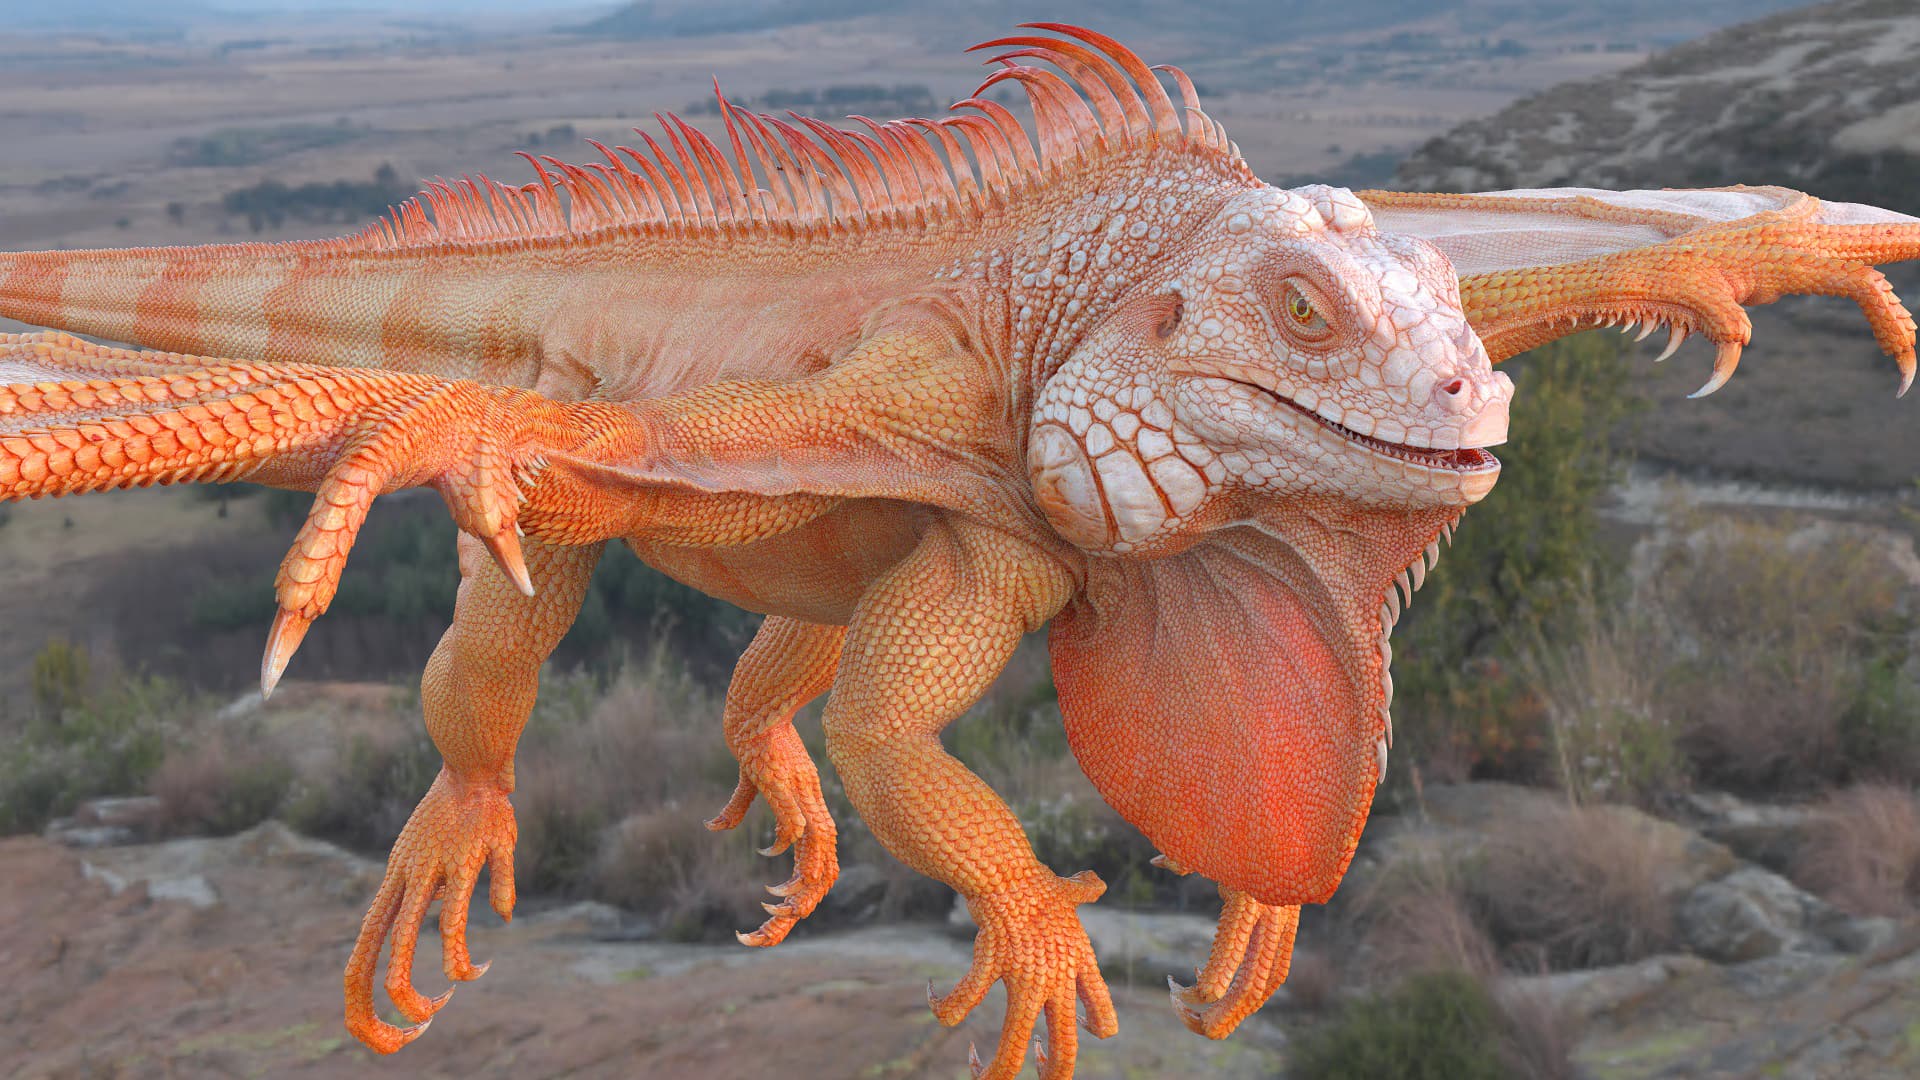
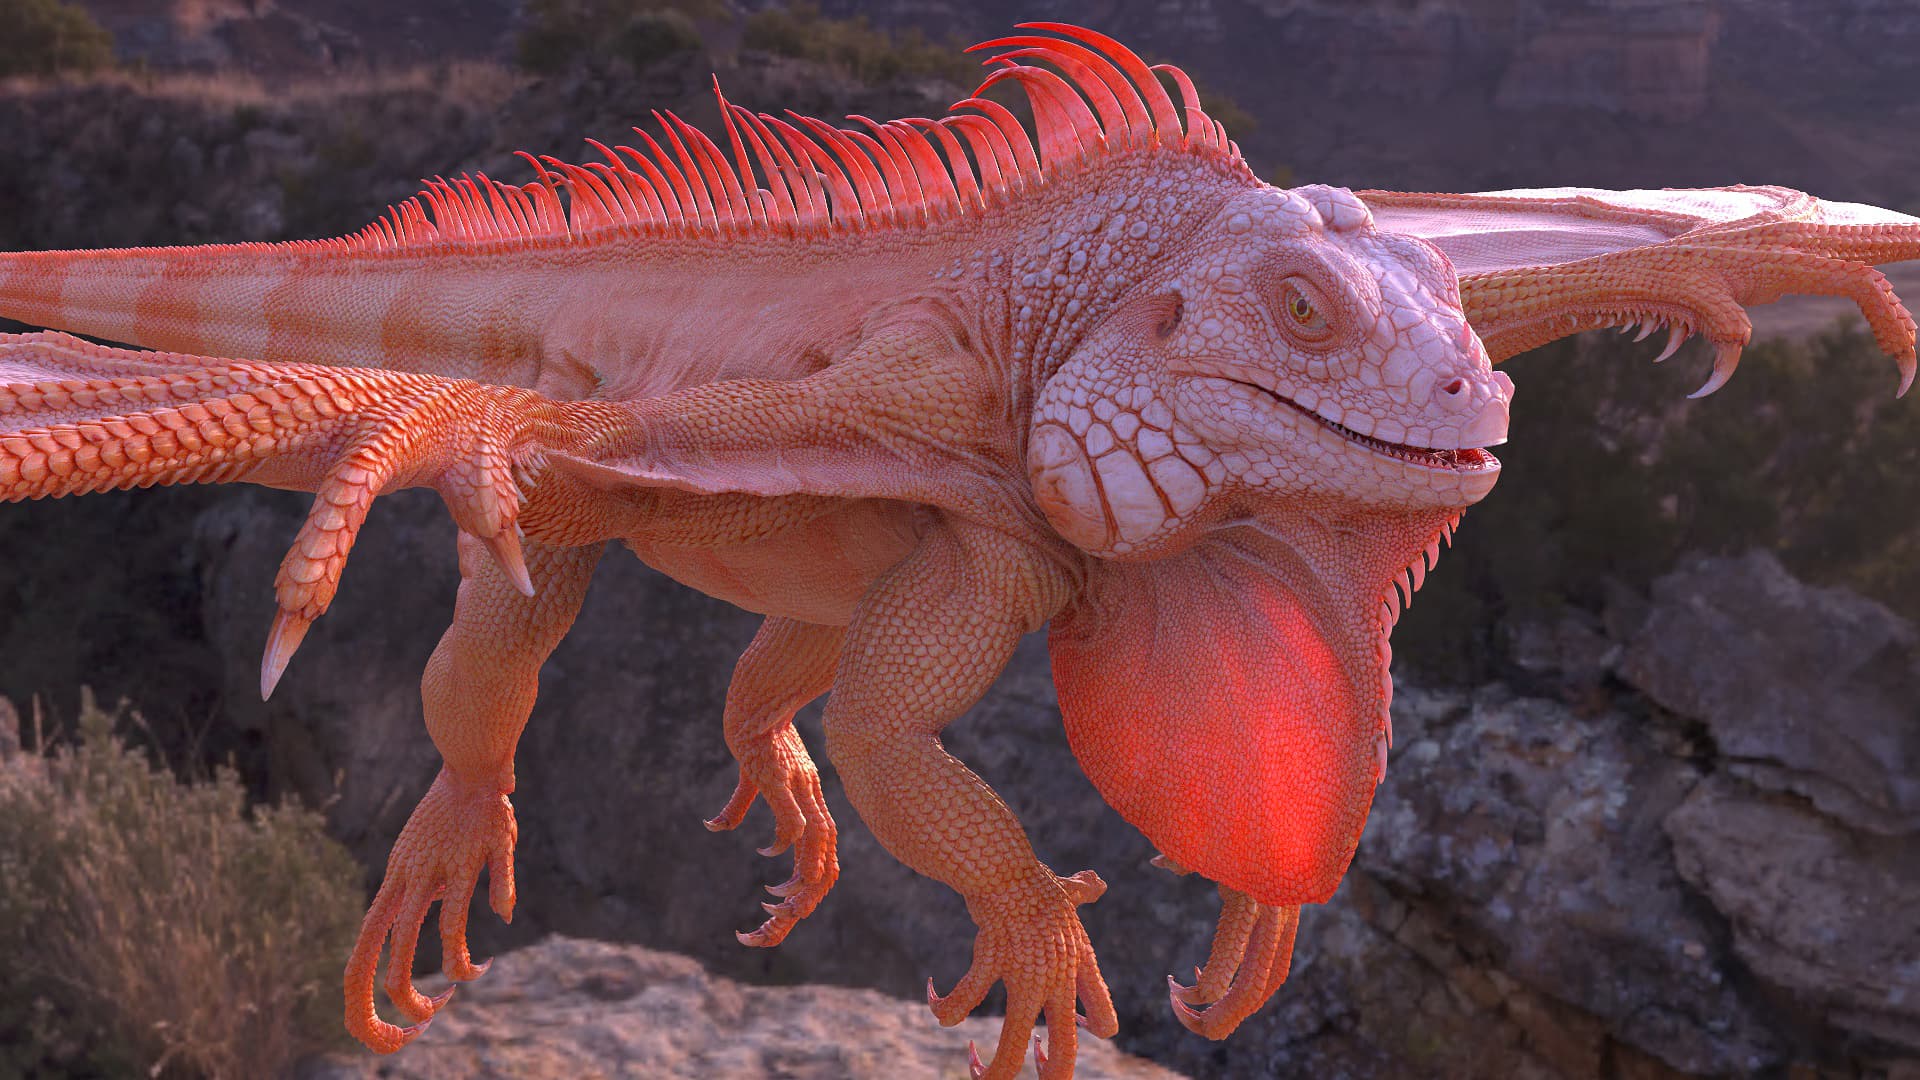
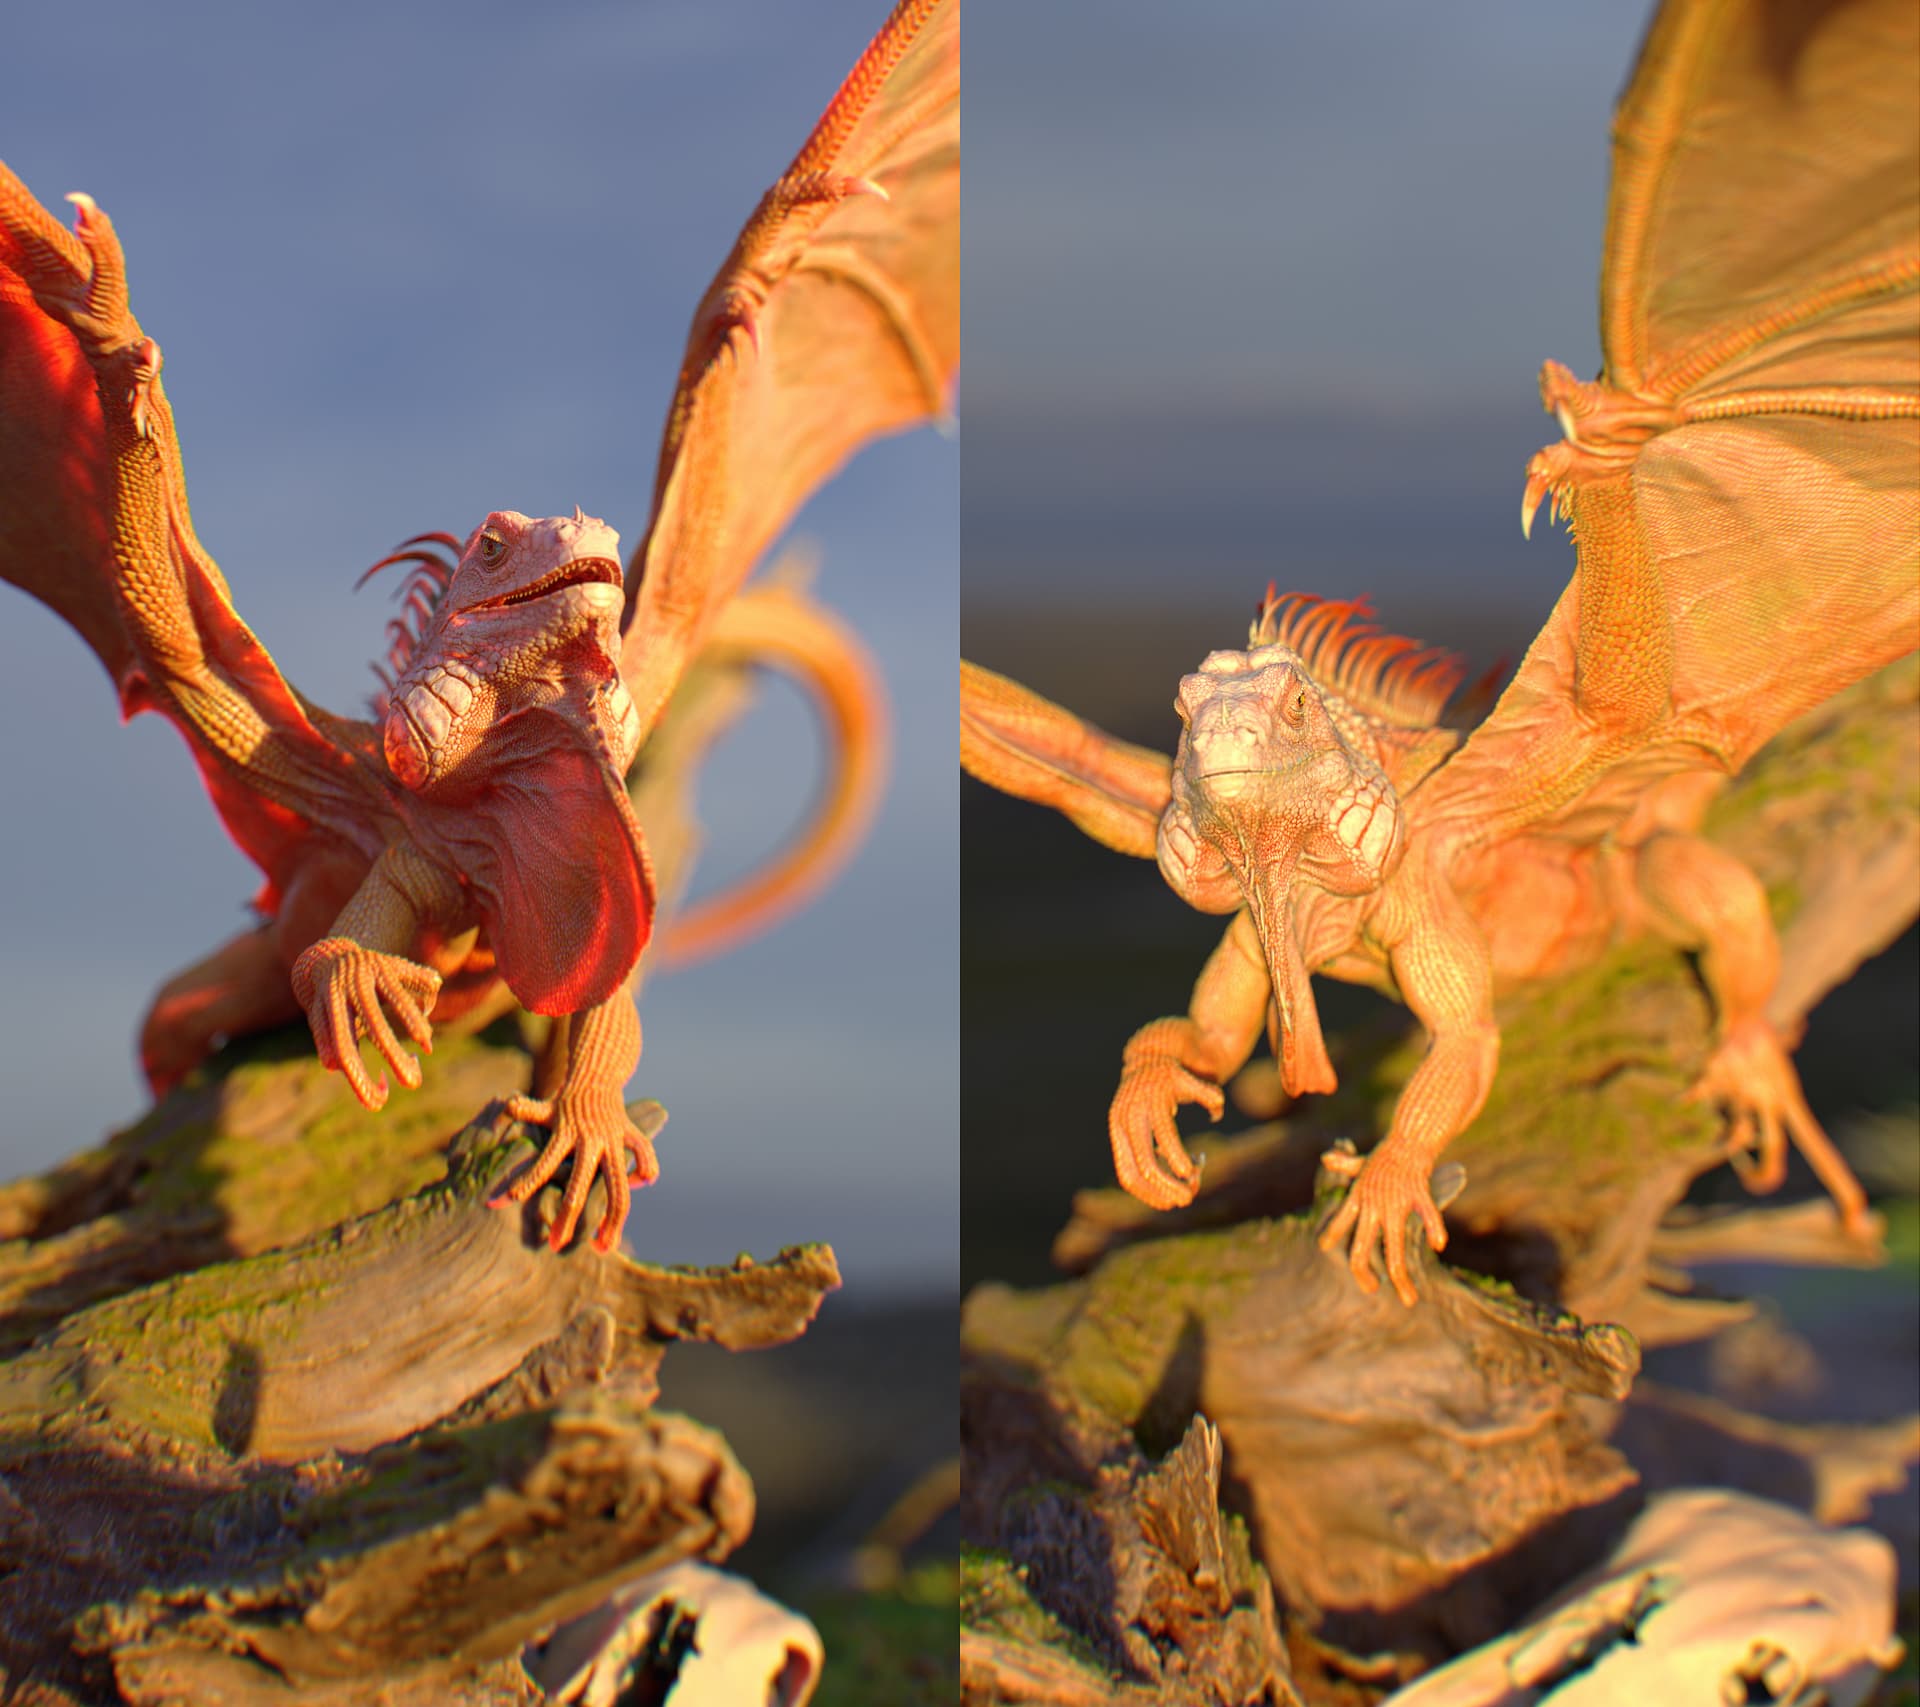
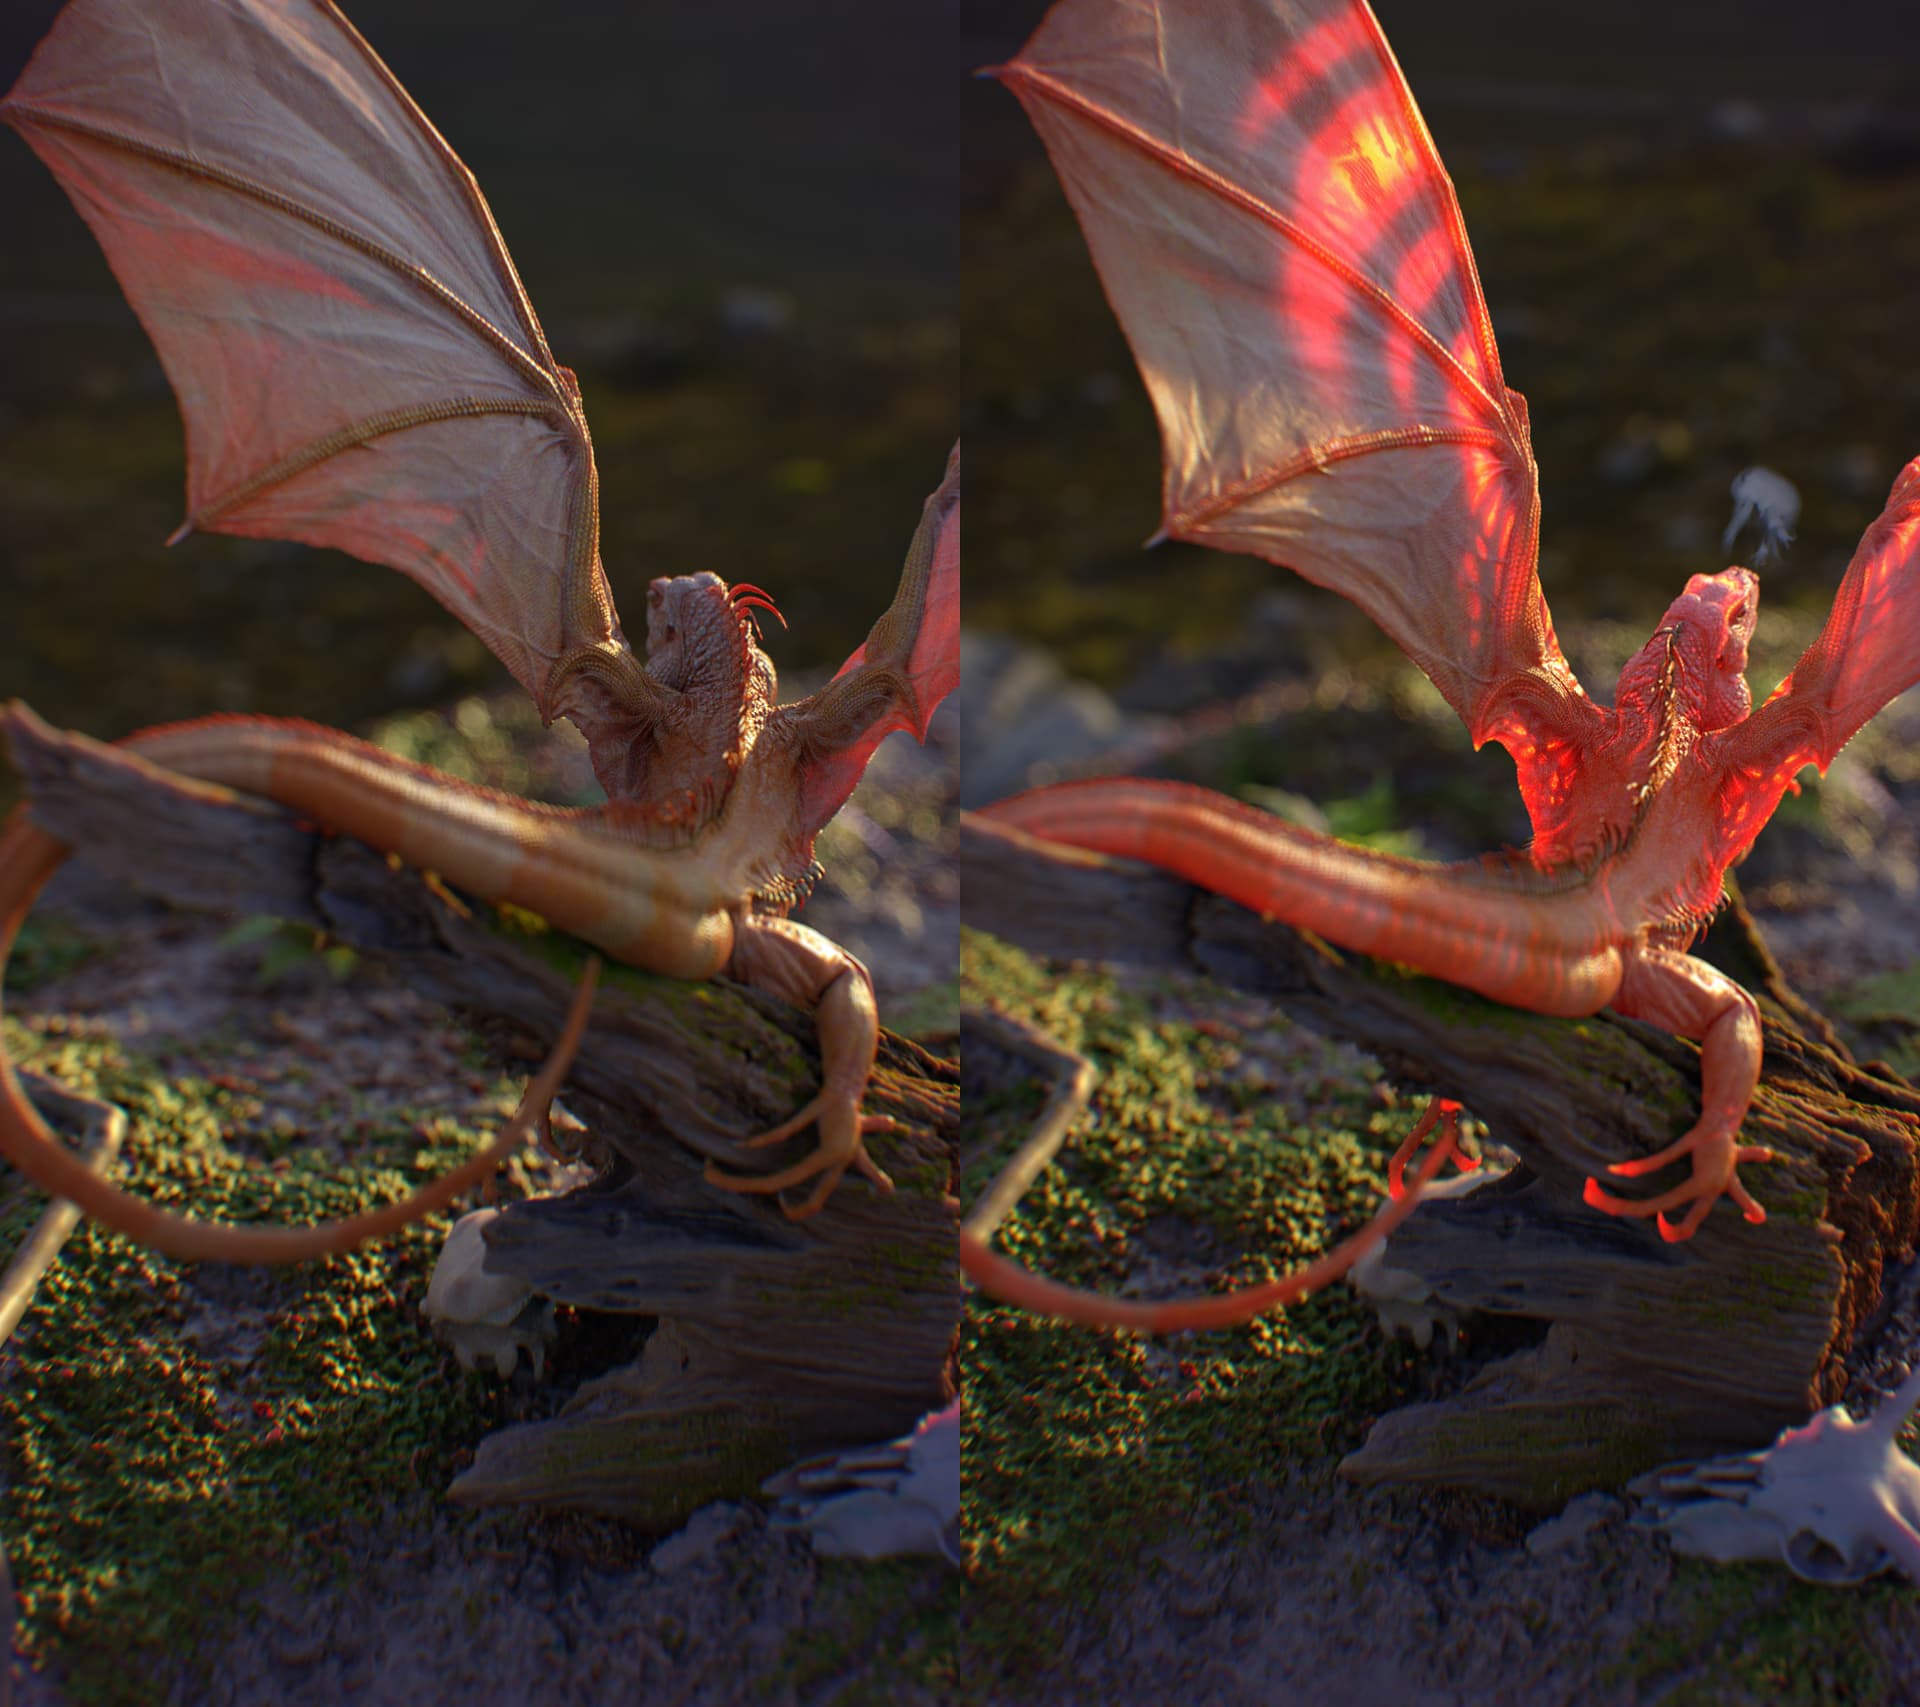
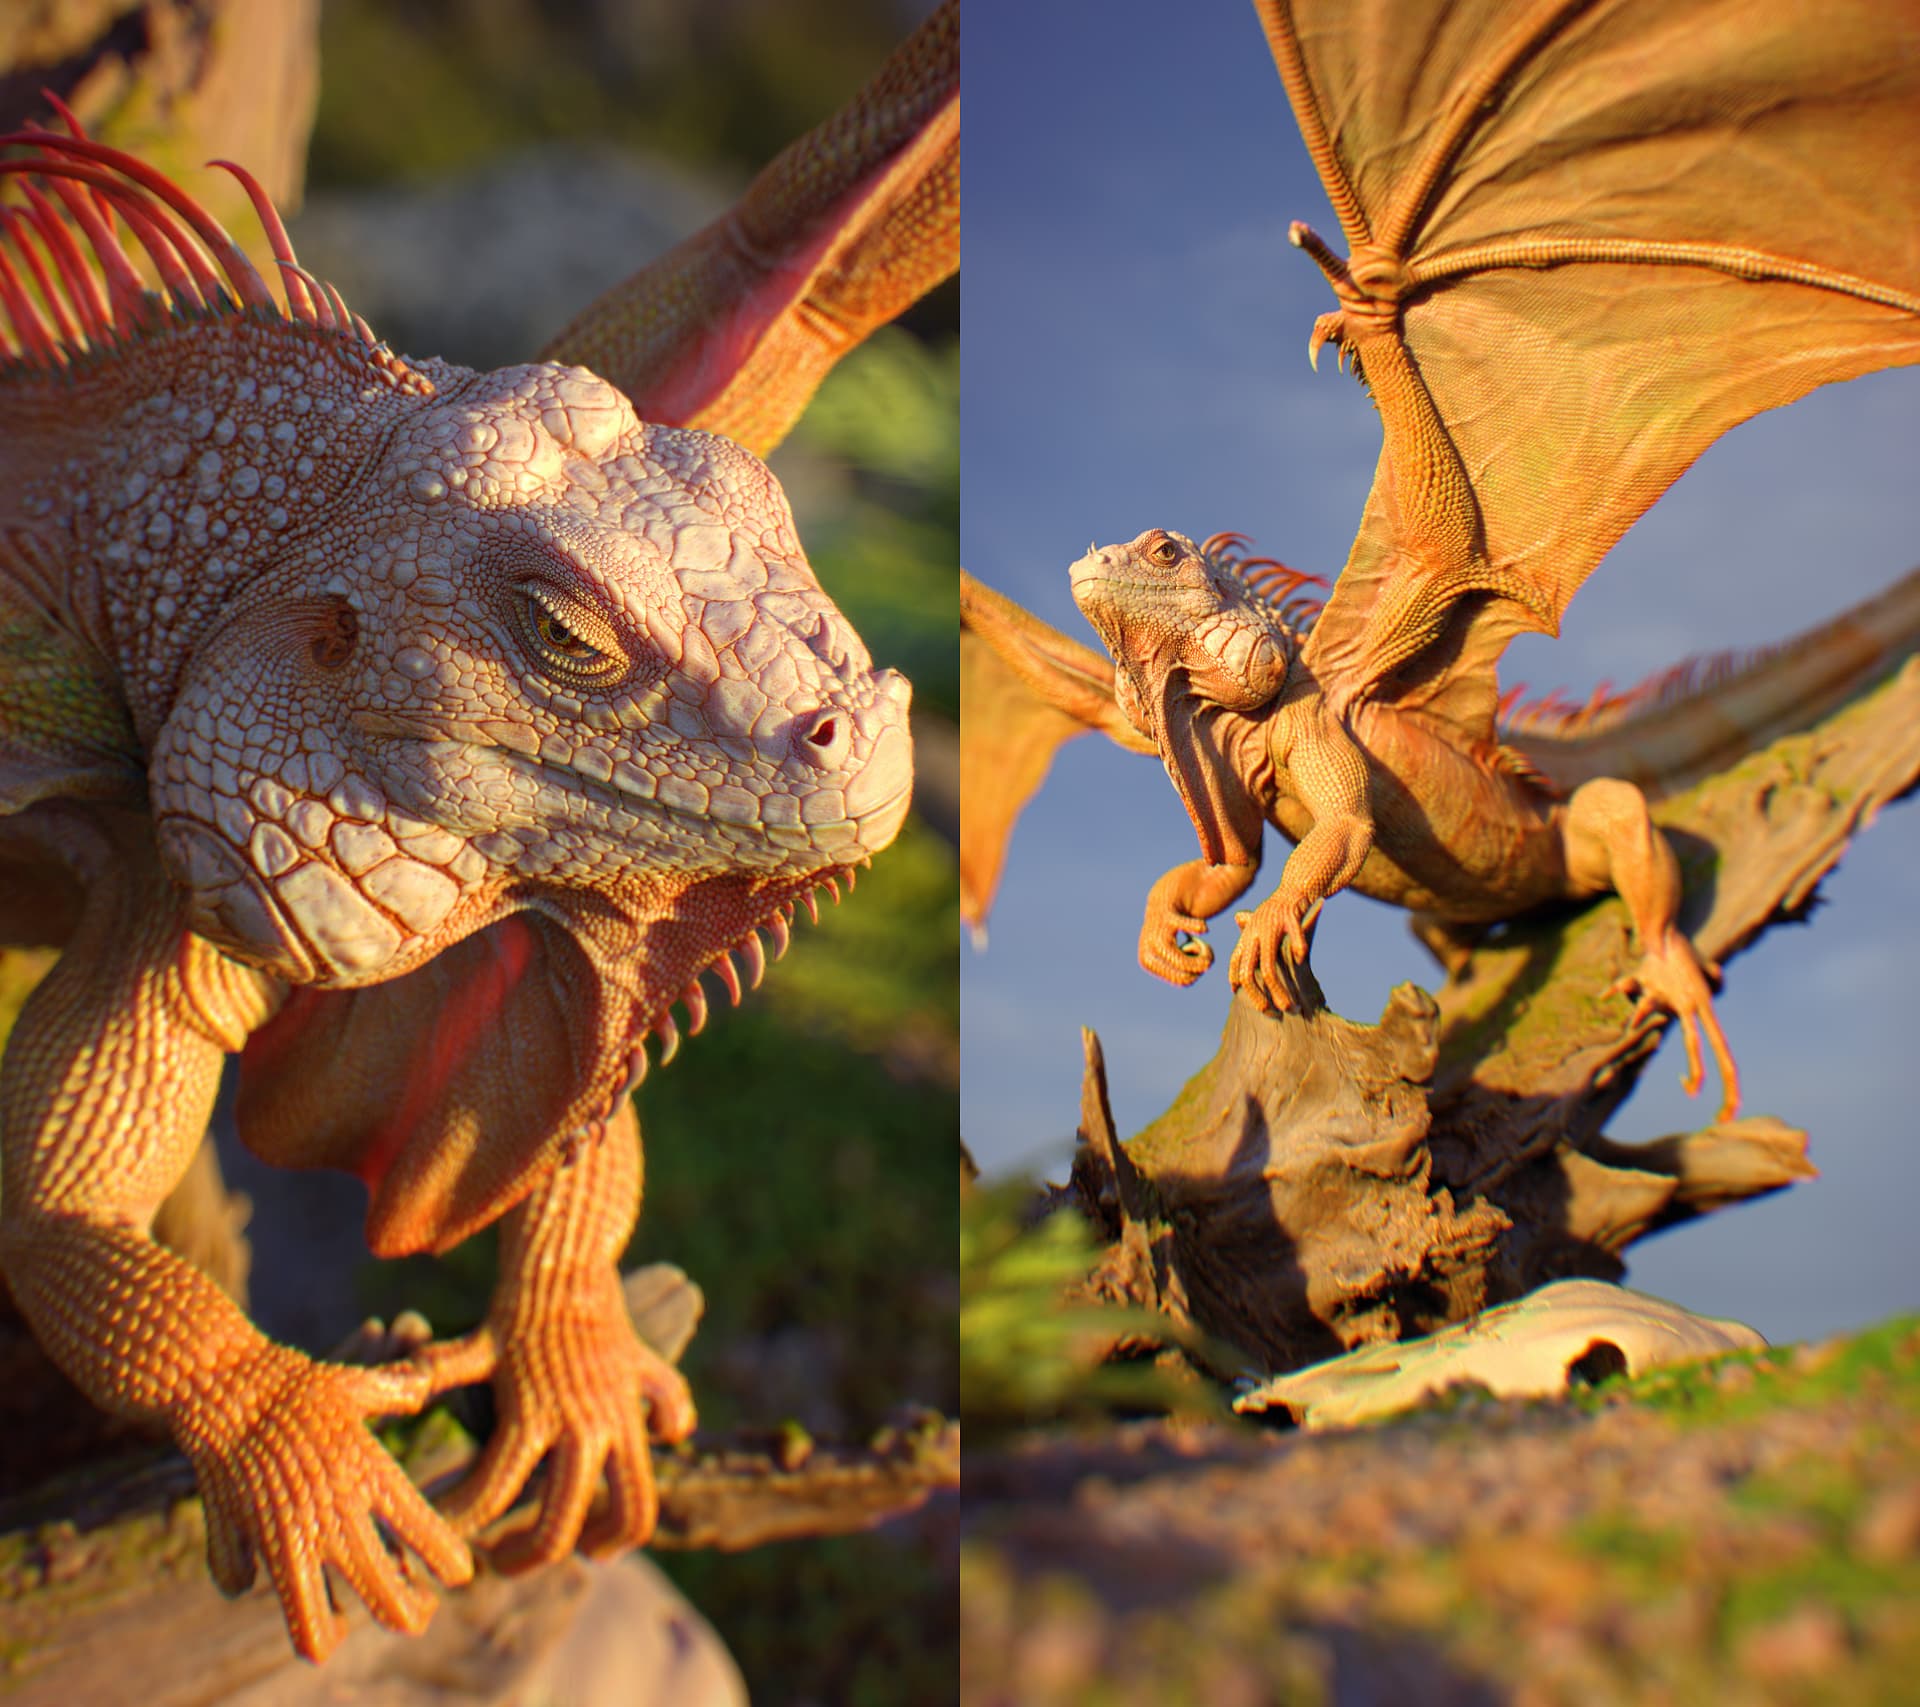
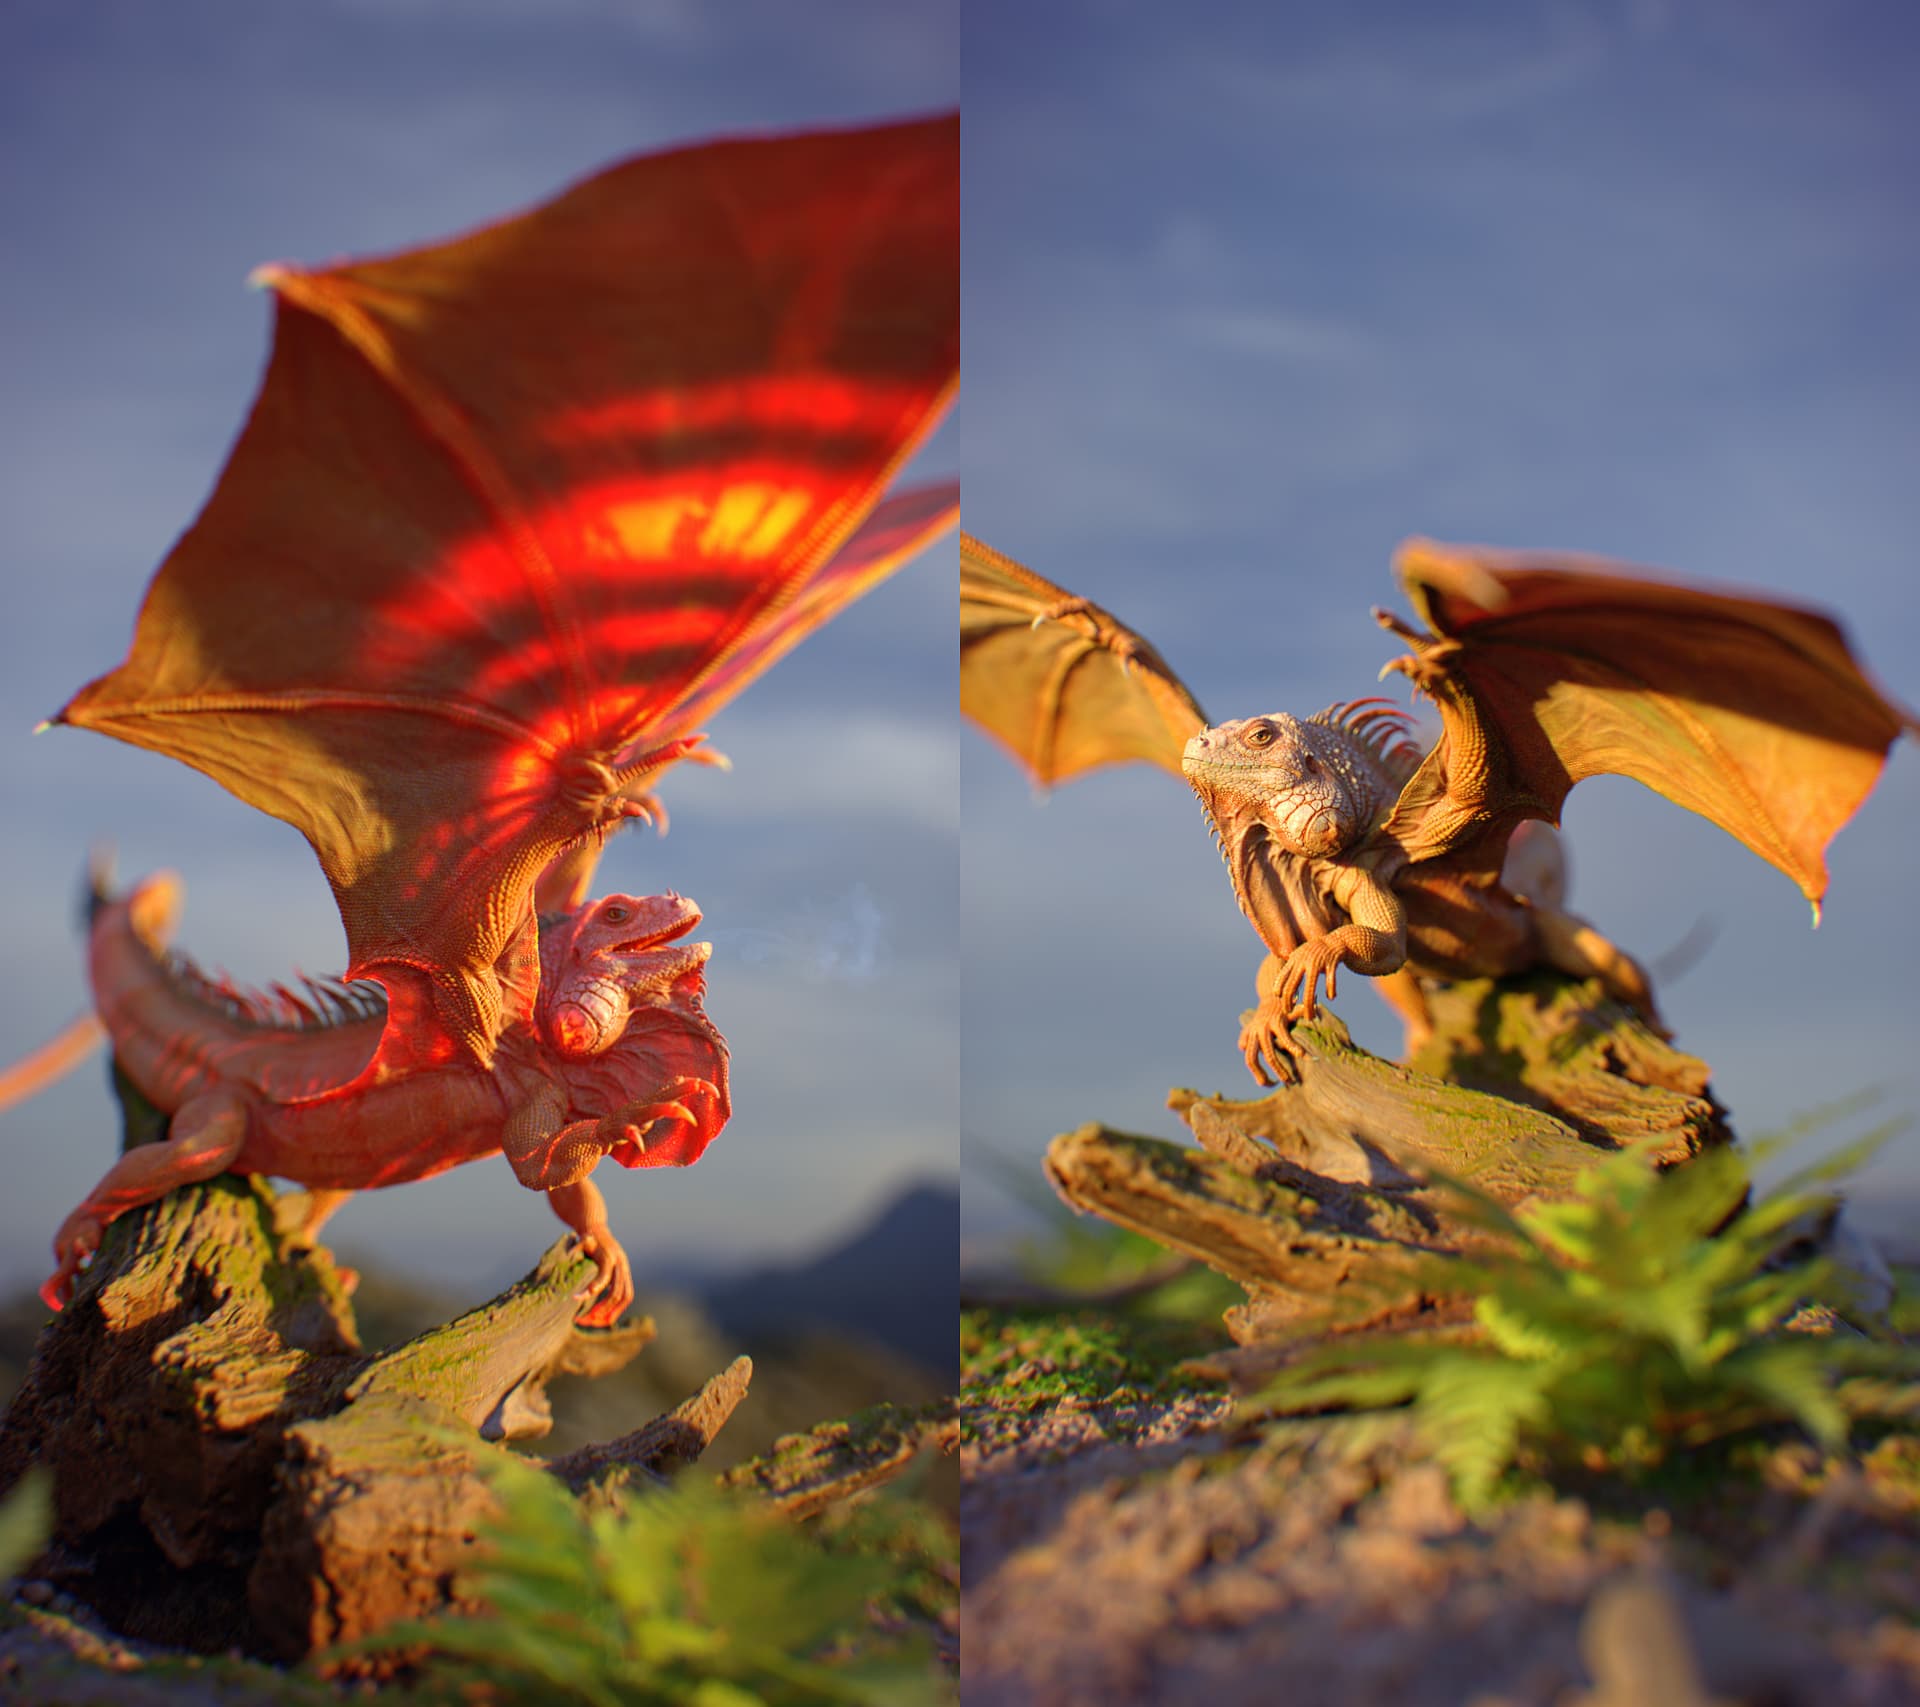
As for the wings, I wanted the vessels to be visible through the SSS.
On my first wings iteration I baked the thickness difference for the vessels as an SSS map, having the geometry of the wing the same thickness everywhere. It looked OK but I was not too happy.
So on the next iteration of the model I sculpted the vessels into the wing membrane for more realistic look.
Fitting and sculpting the same directions of the vessel on both frontal and back surfaces of the membrane was a tricky task but I solved it with making a color blueprint that I applied on one side and it was visible on the other, which let me do the sculpt in the correct places.
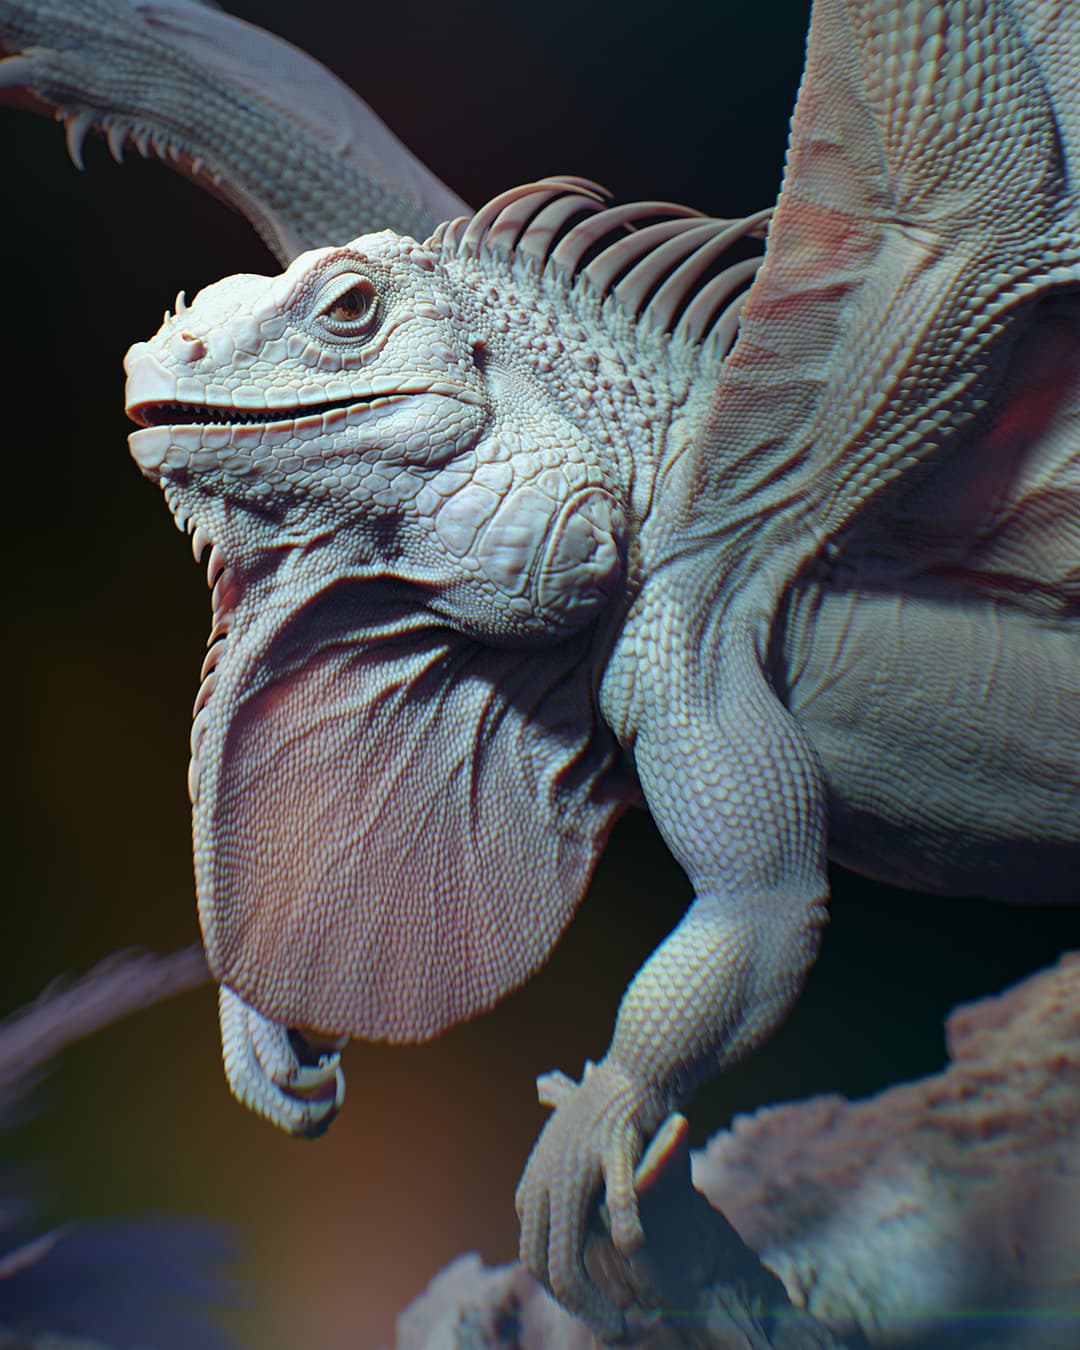
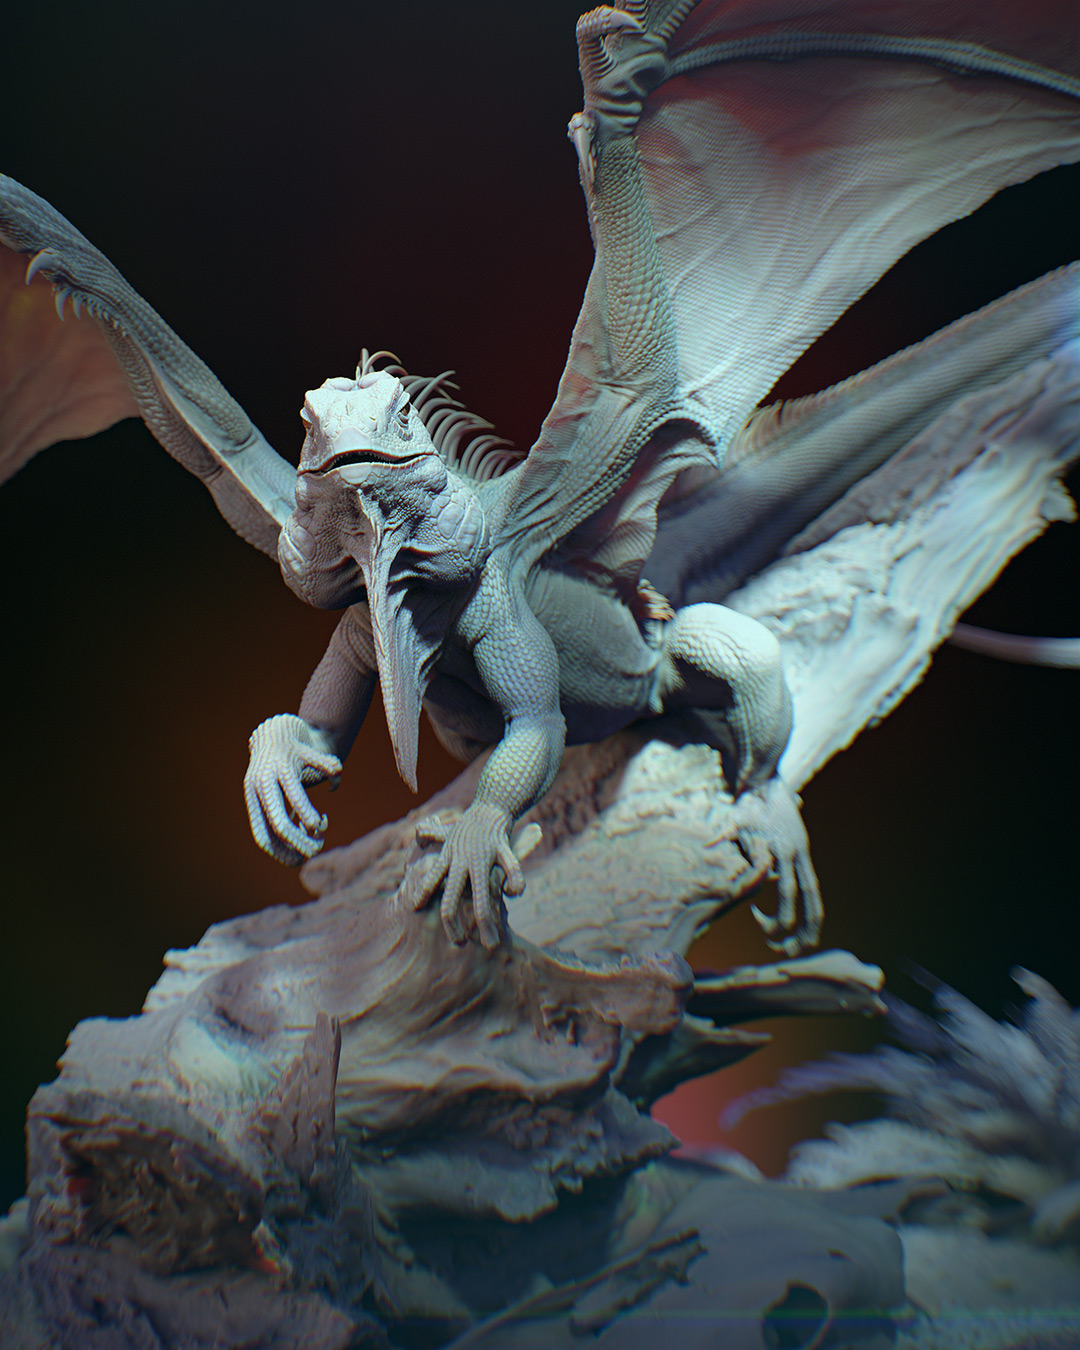
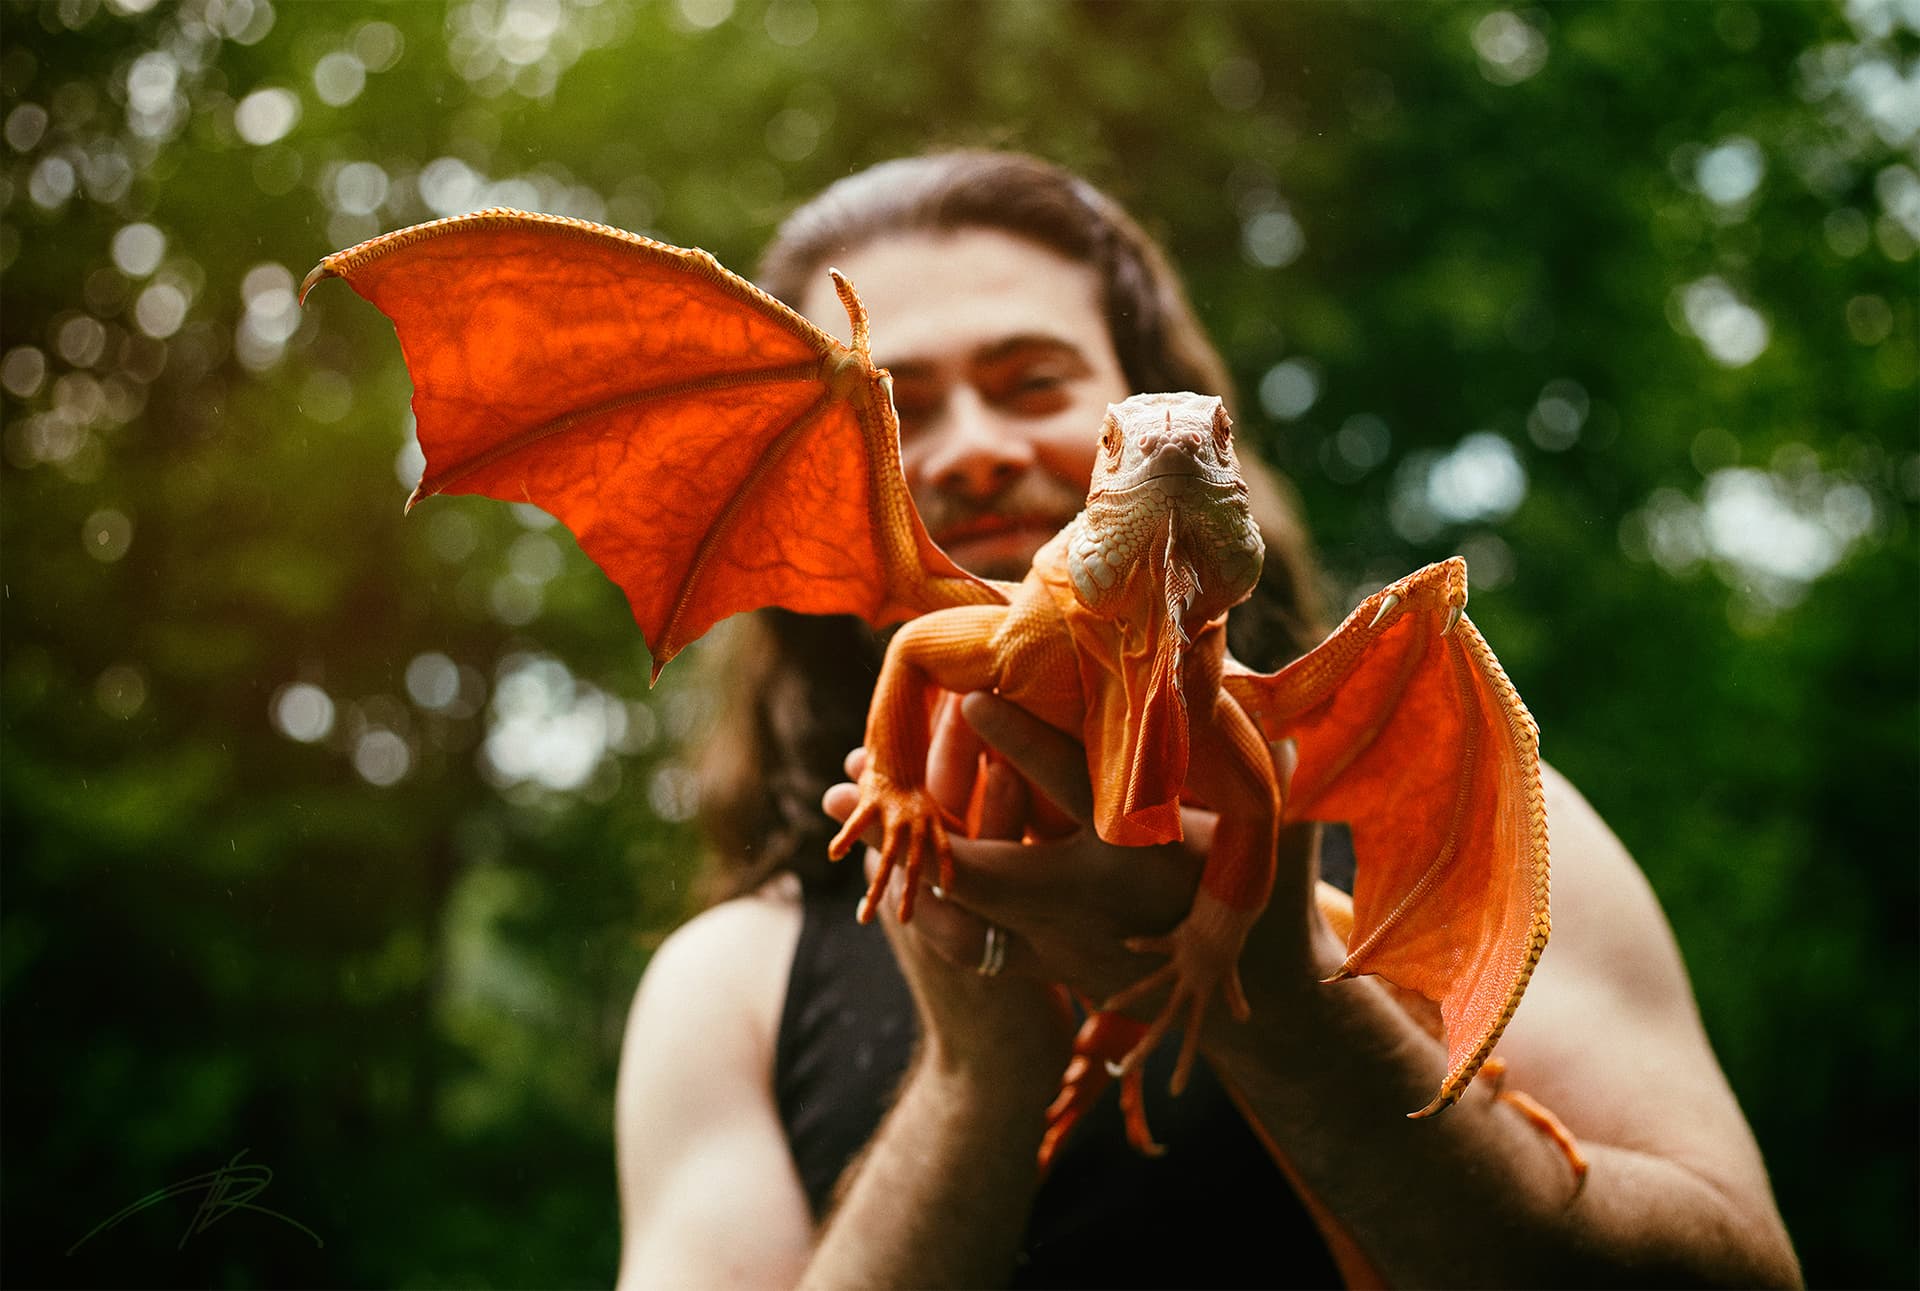
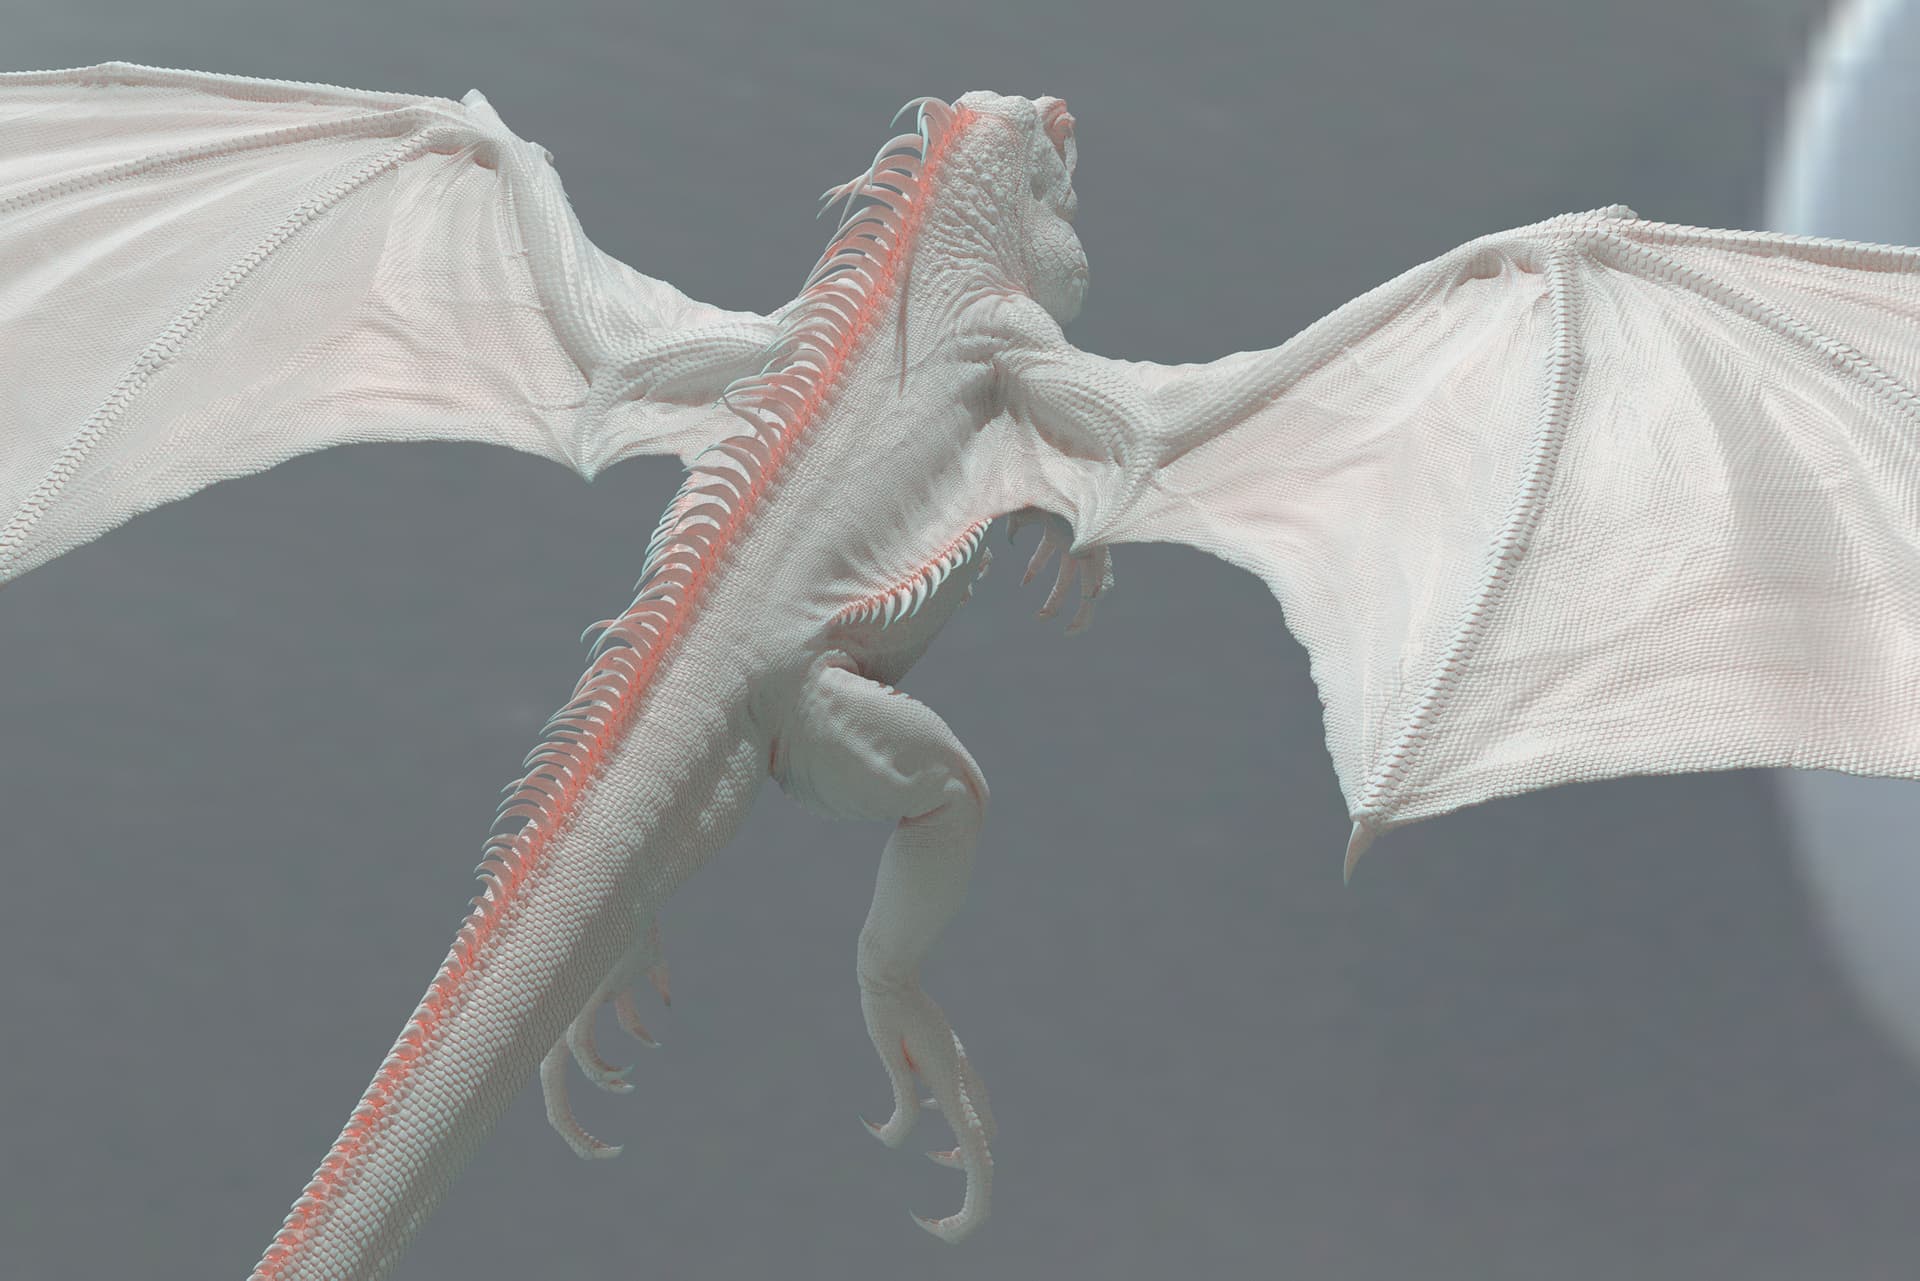
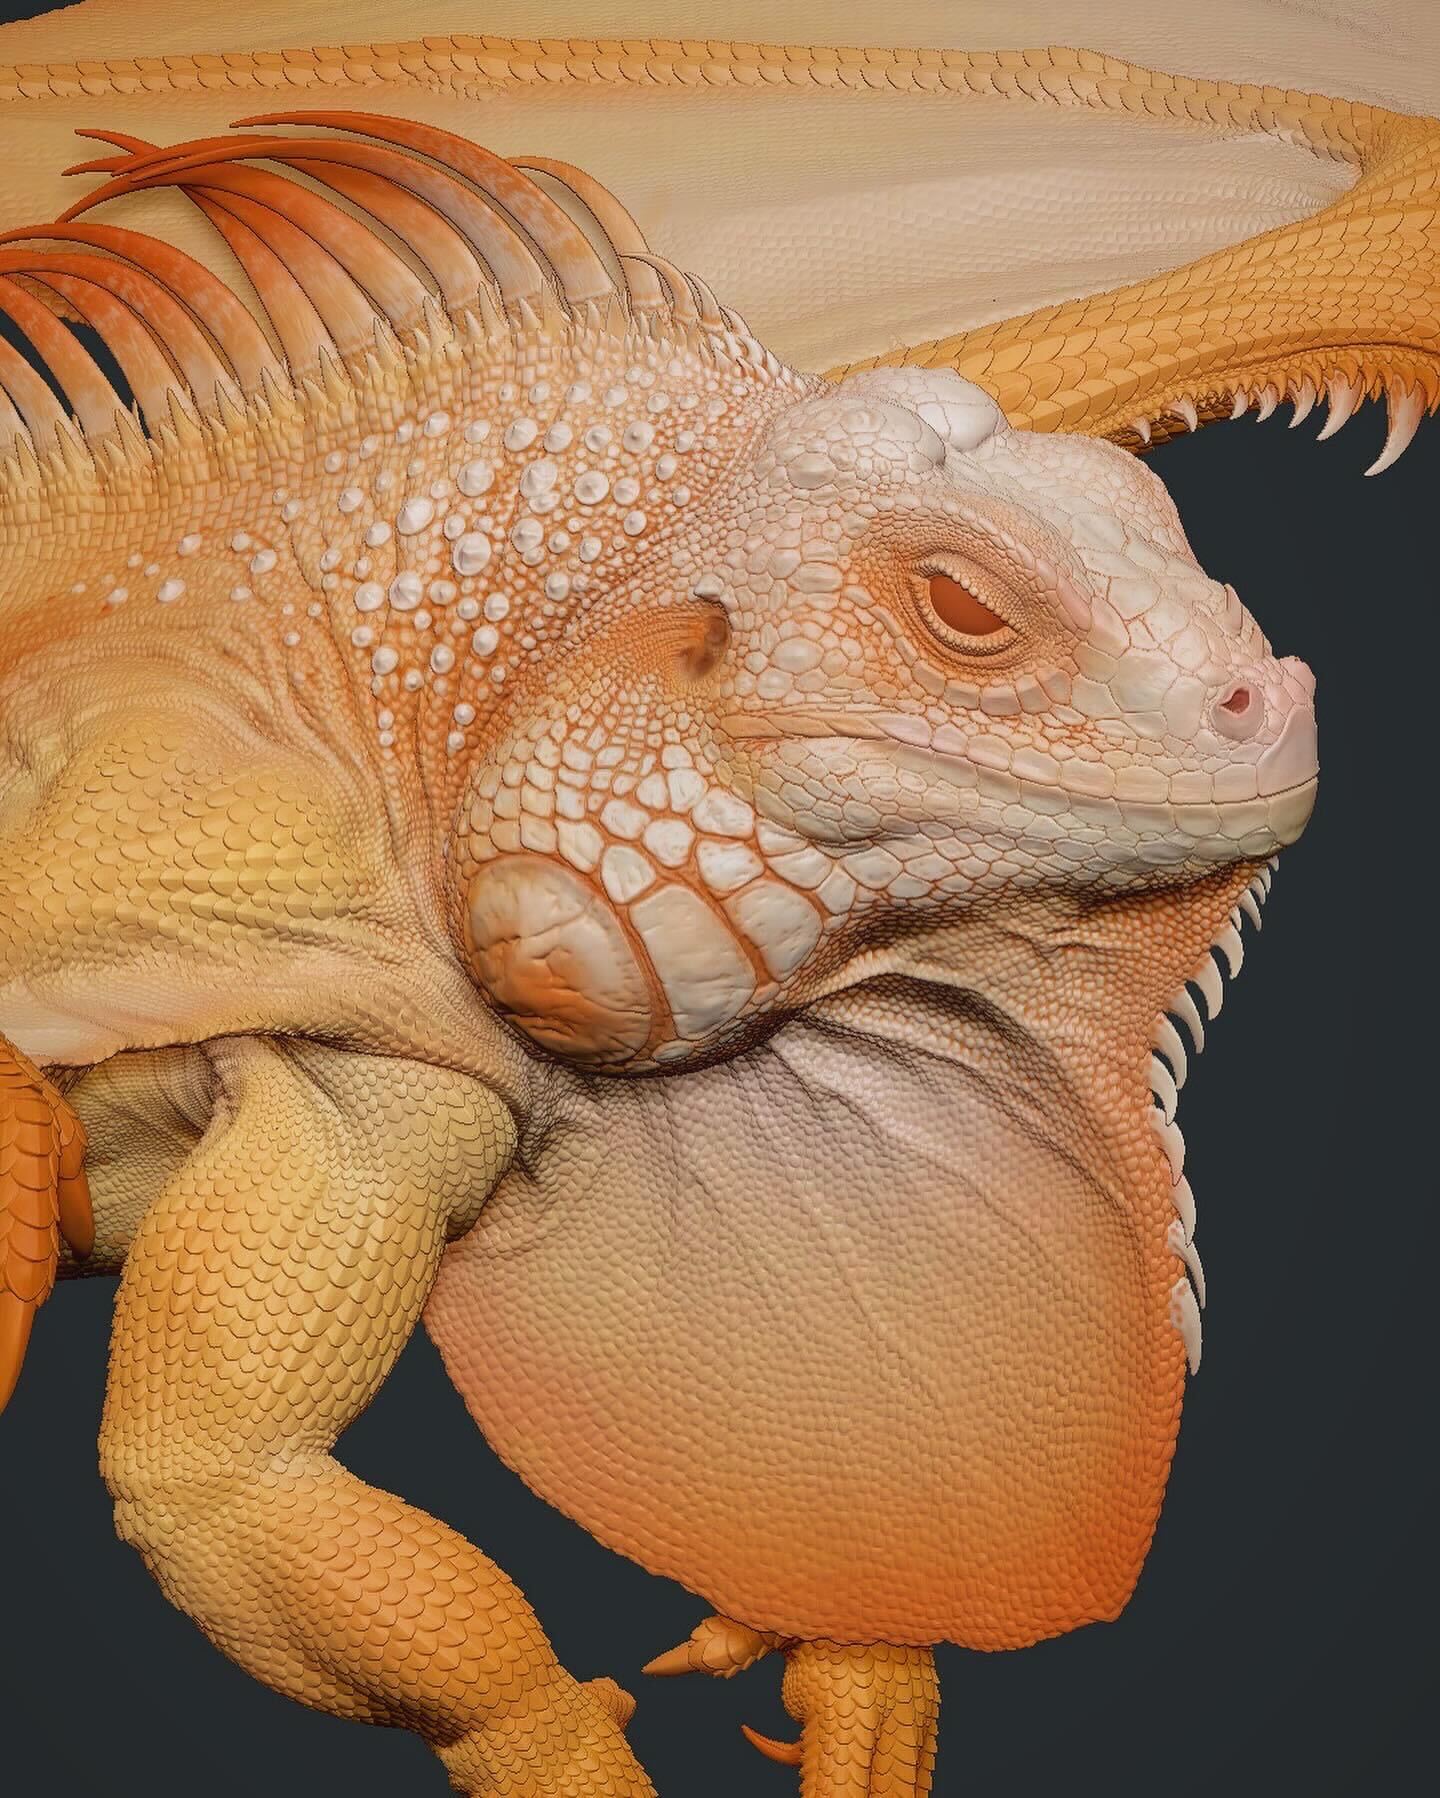
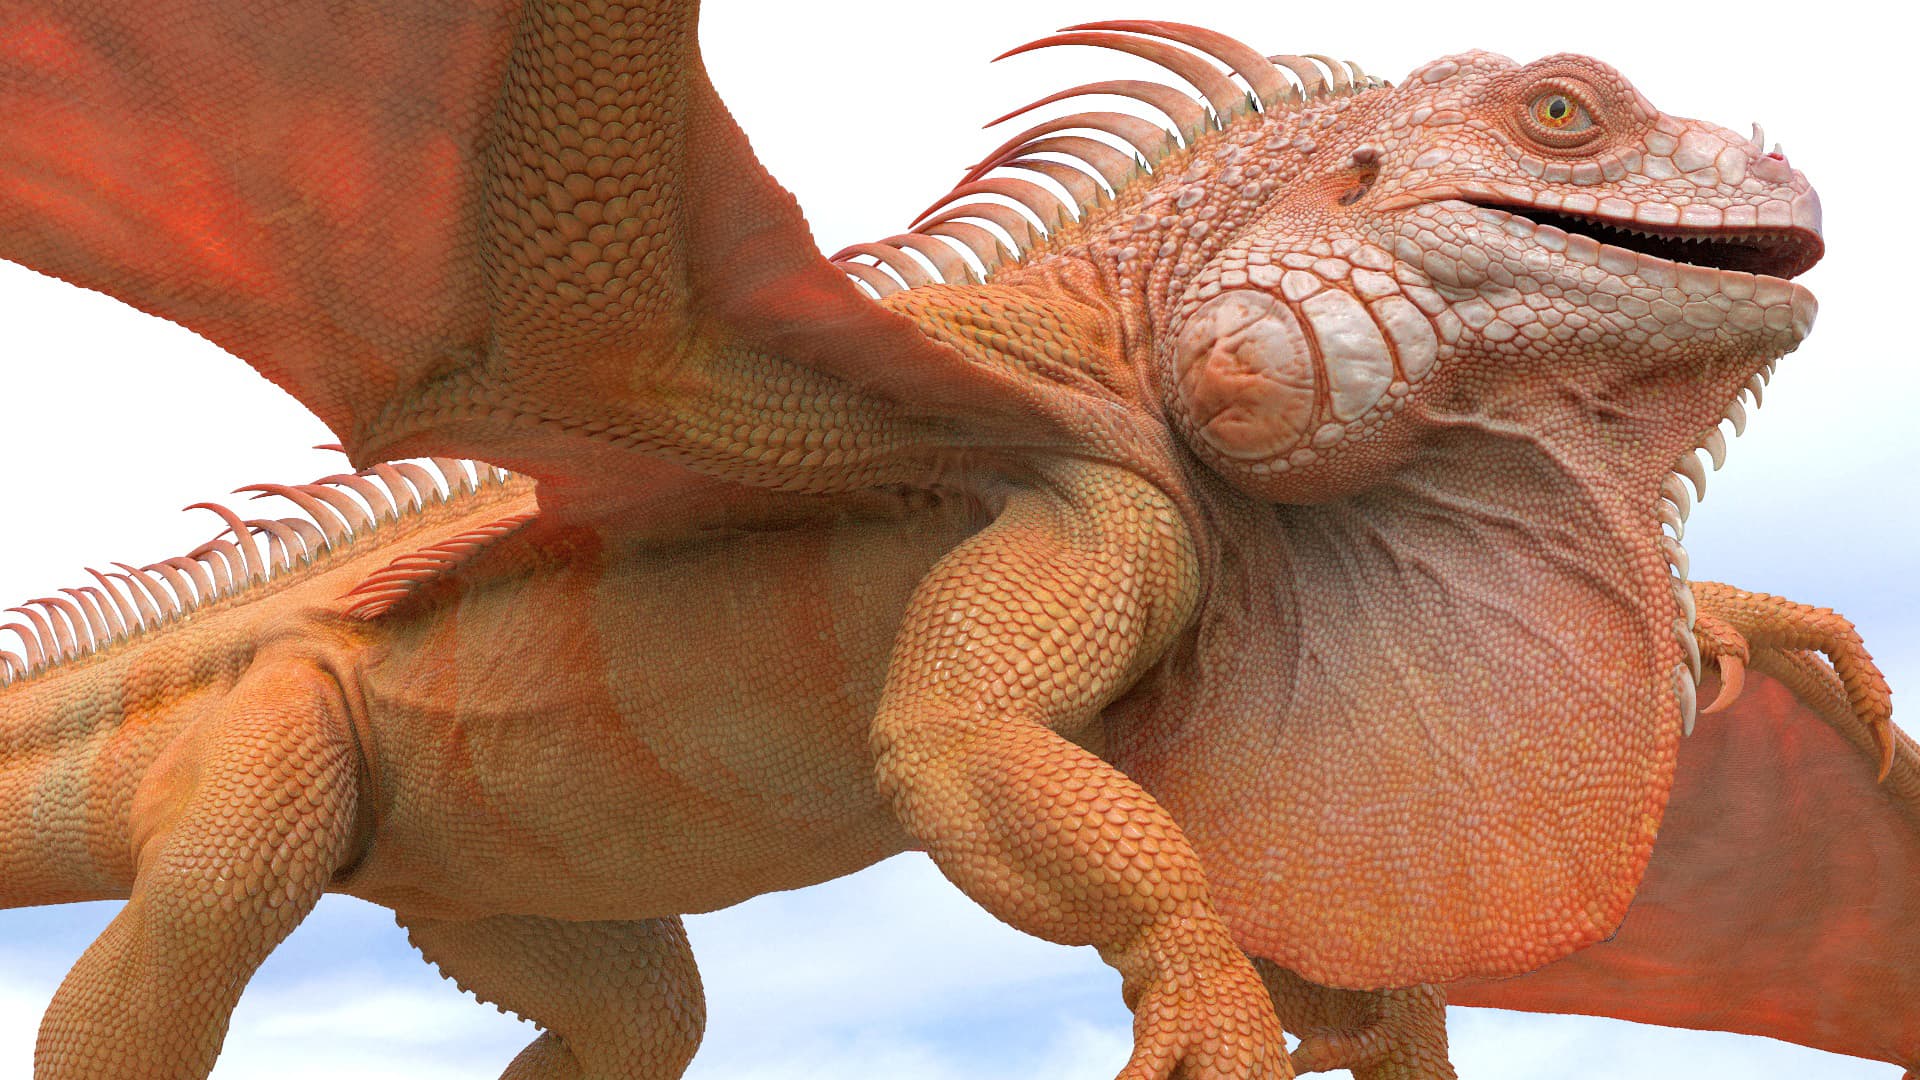
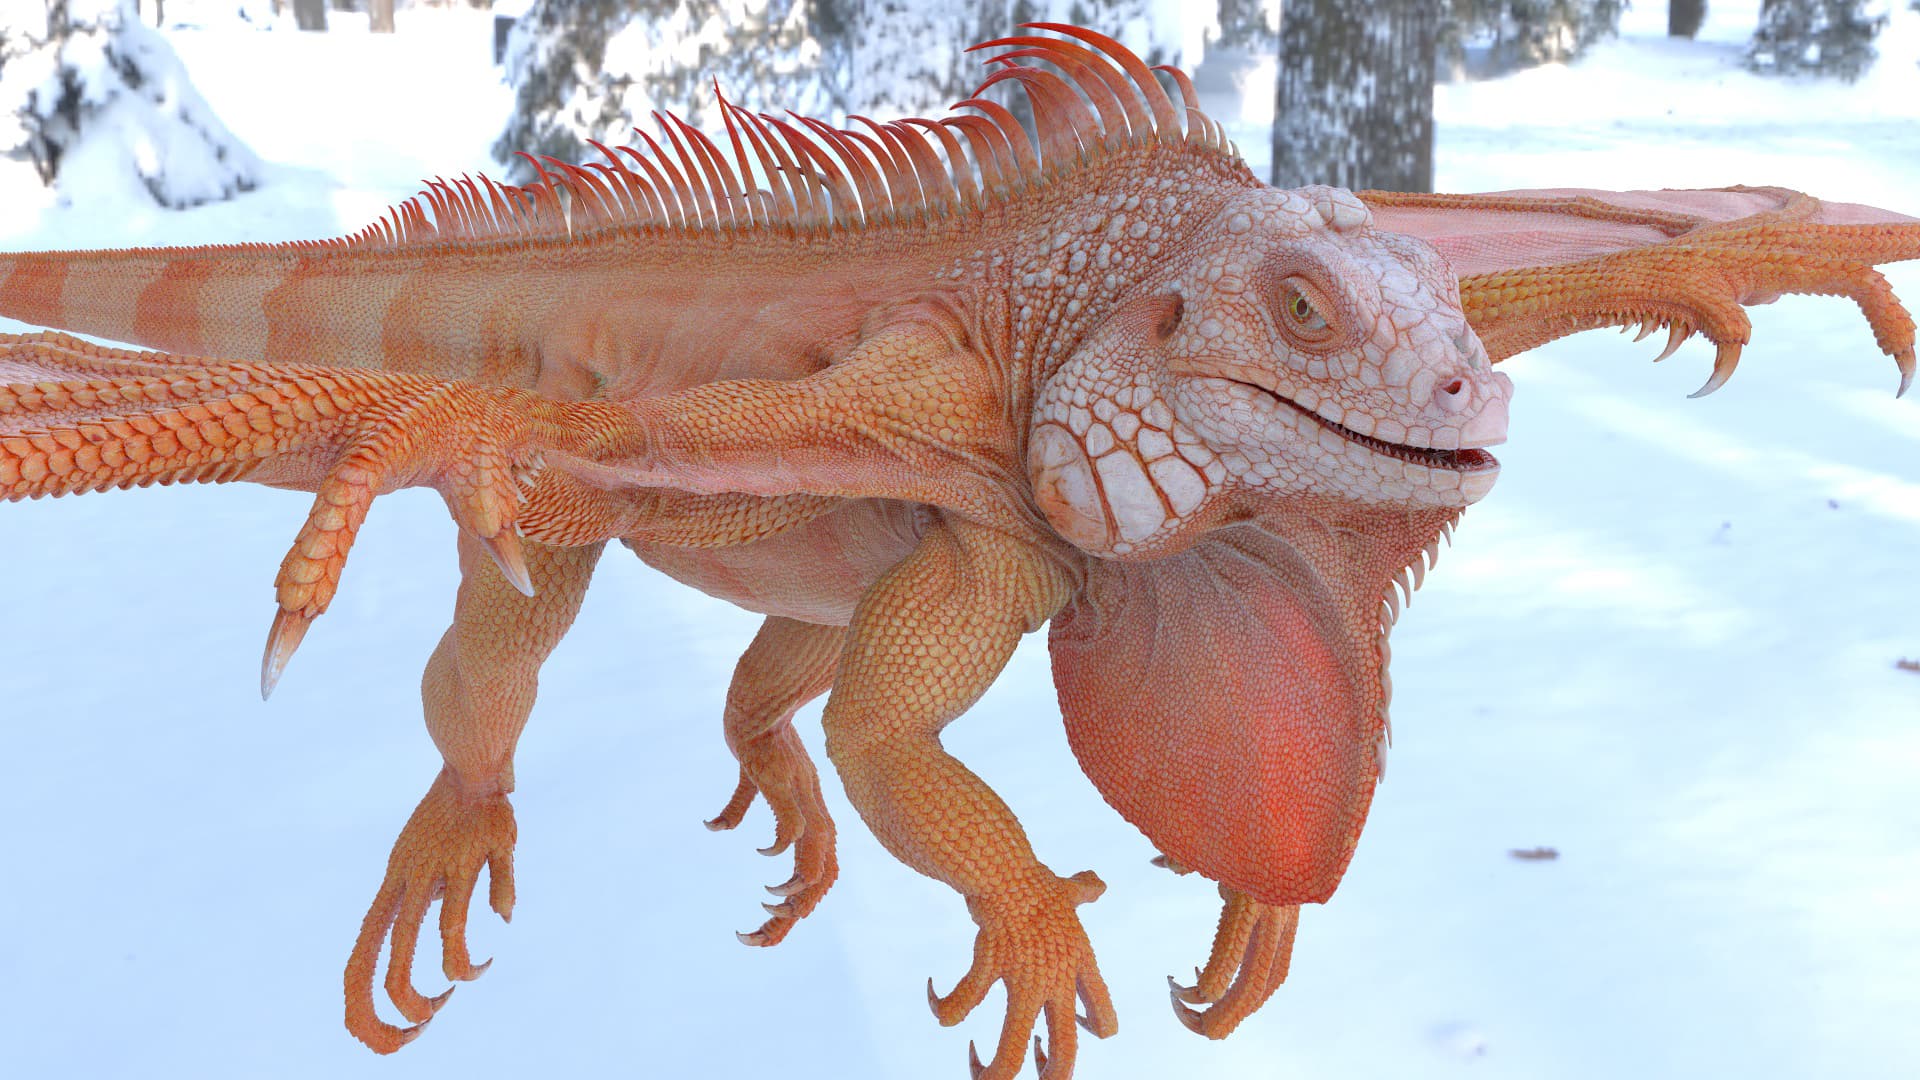
It looks great, as a still frame. The thing that worries me however is the amount of detail you need to get right in motion for this to not look like a puppet/sculpture.
One of the reasons for using muscle and skin simulation software is exactly this. Once surface detail gets too high, it becomes exponentially more expensive to rig. Your first semi-lowpoly version was already challenging enough. But with this resolution, these textures, it will become near-impossible to deform without breaking the immersion due to wrinkles not changing, from scales not sliding over each other, from muscles not bulging and changing in volume.
Thanks man! Appreciate it!
I have the same exact thoughts. The thing is that it’s my first experience doing anything outside of ZBrush, I never did rigging or animation before, but saw a lot of videos, also a lot of people helped me, which brought me to current point.
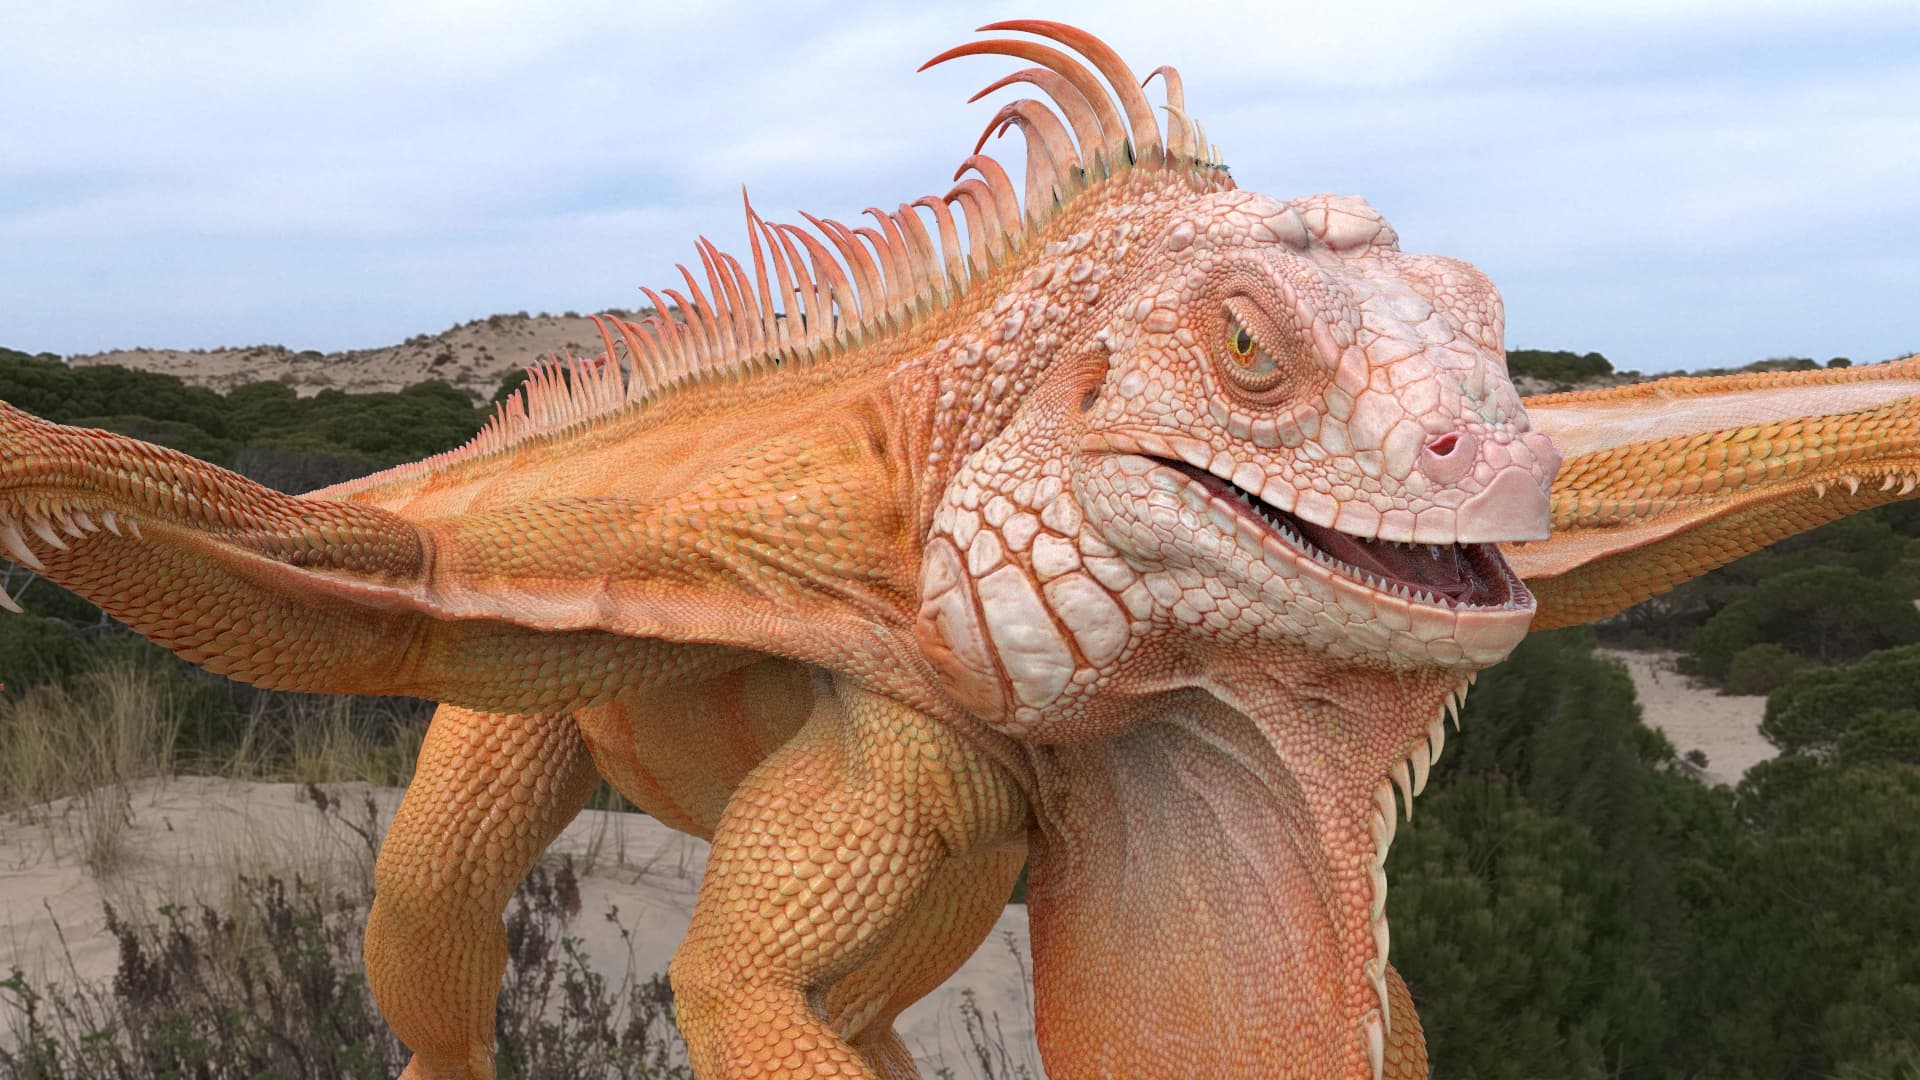
That’s said, I think the model by itself is in a good stage right now at 80k polys. Next step - need to figure out what’s the best way to execute realistic animation.
I sent model to Jason, I hope he’ll be able to do some awesomness with it. But as he also mentioned - we need to find a muscle person. As for me - I am not scared of anything. If it’s gonna need me to learn muscles - I will do