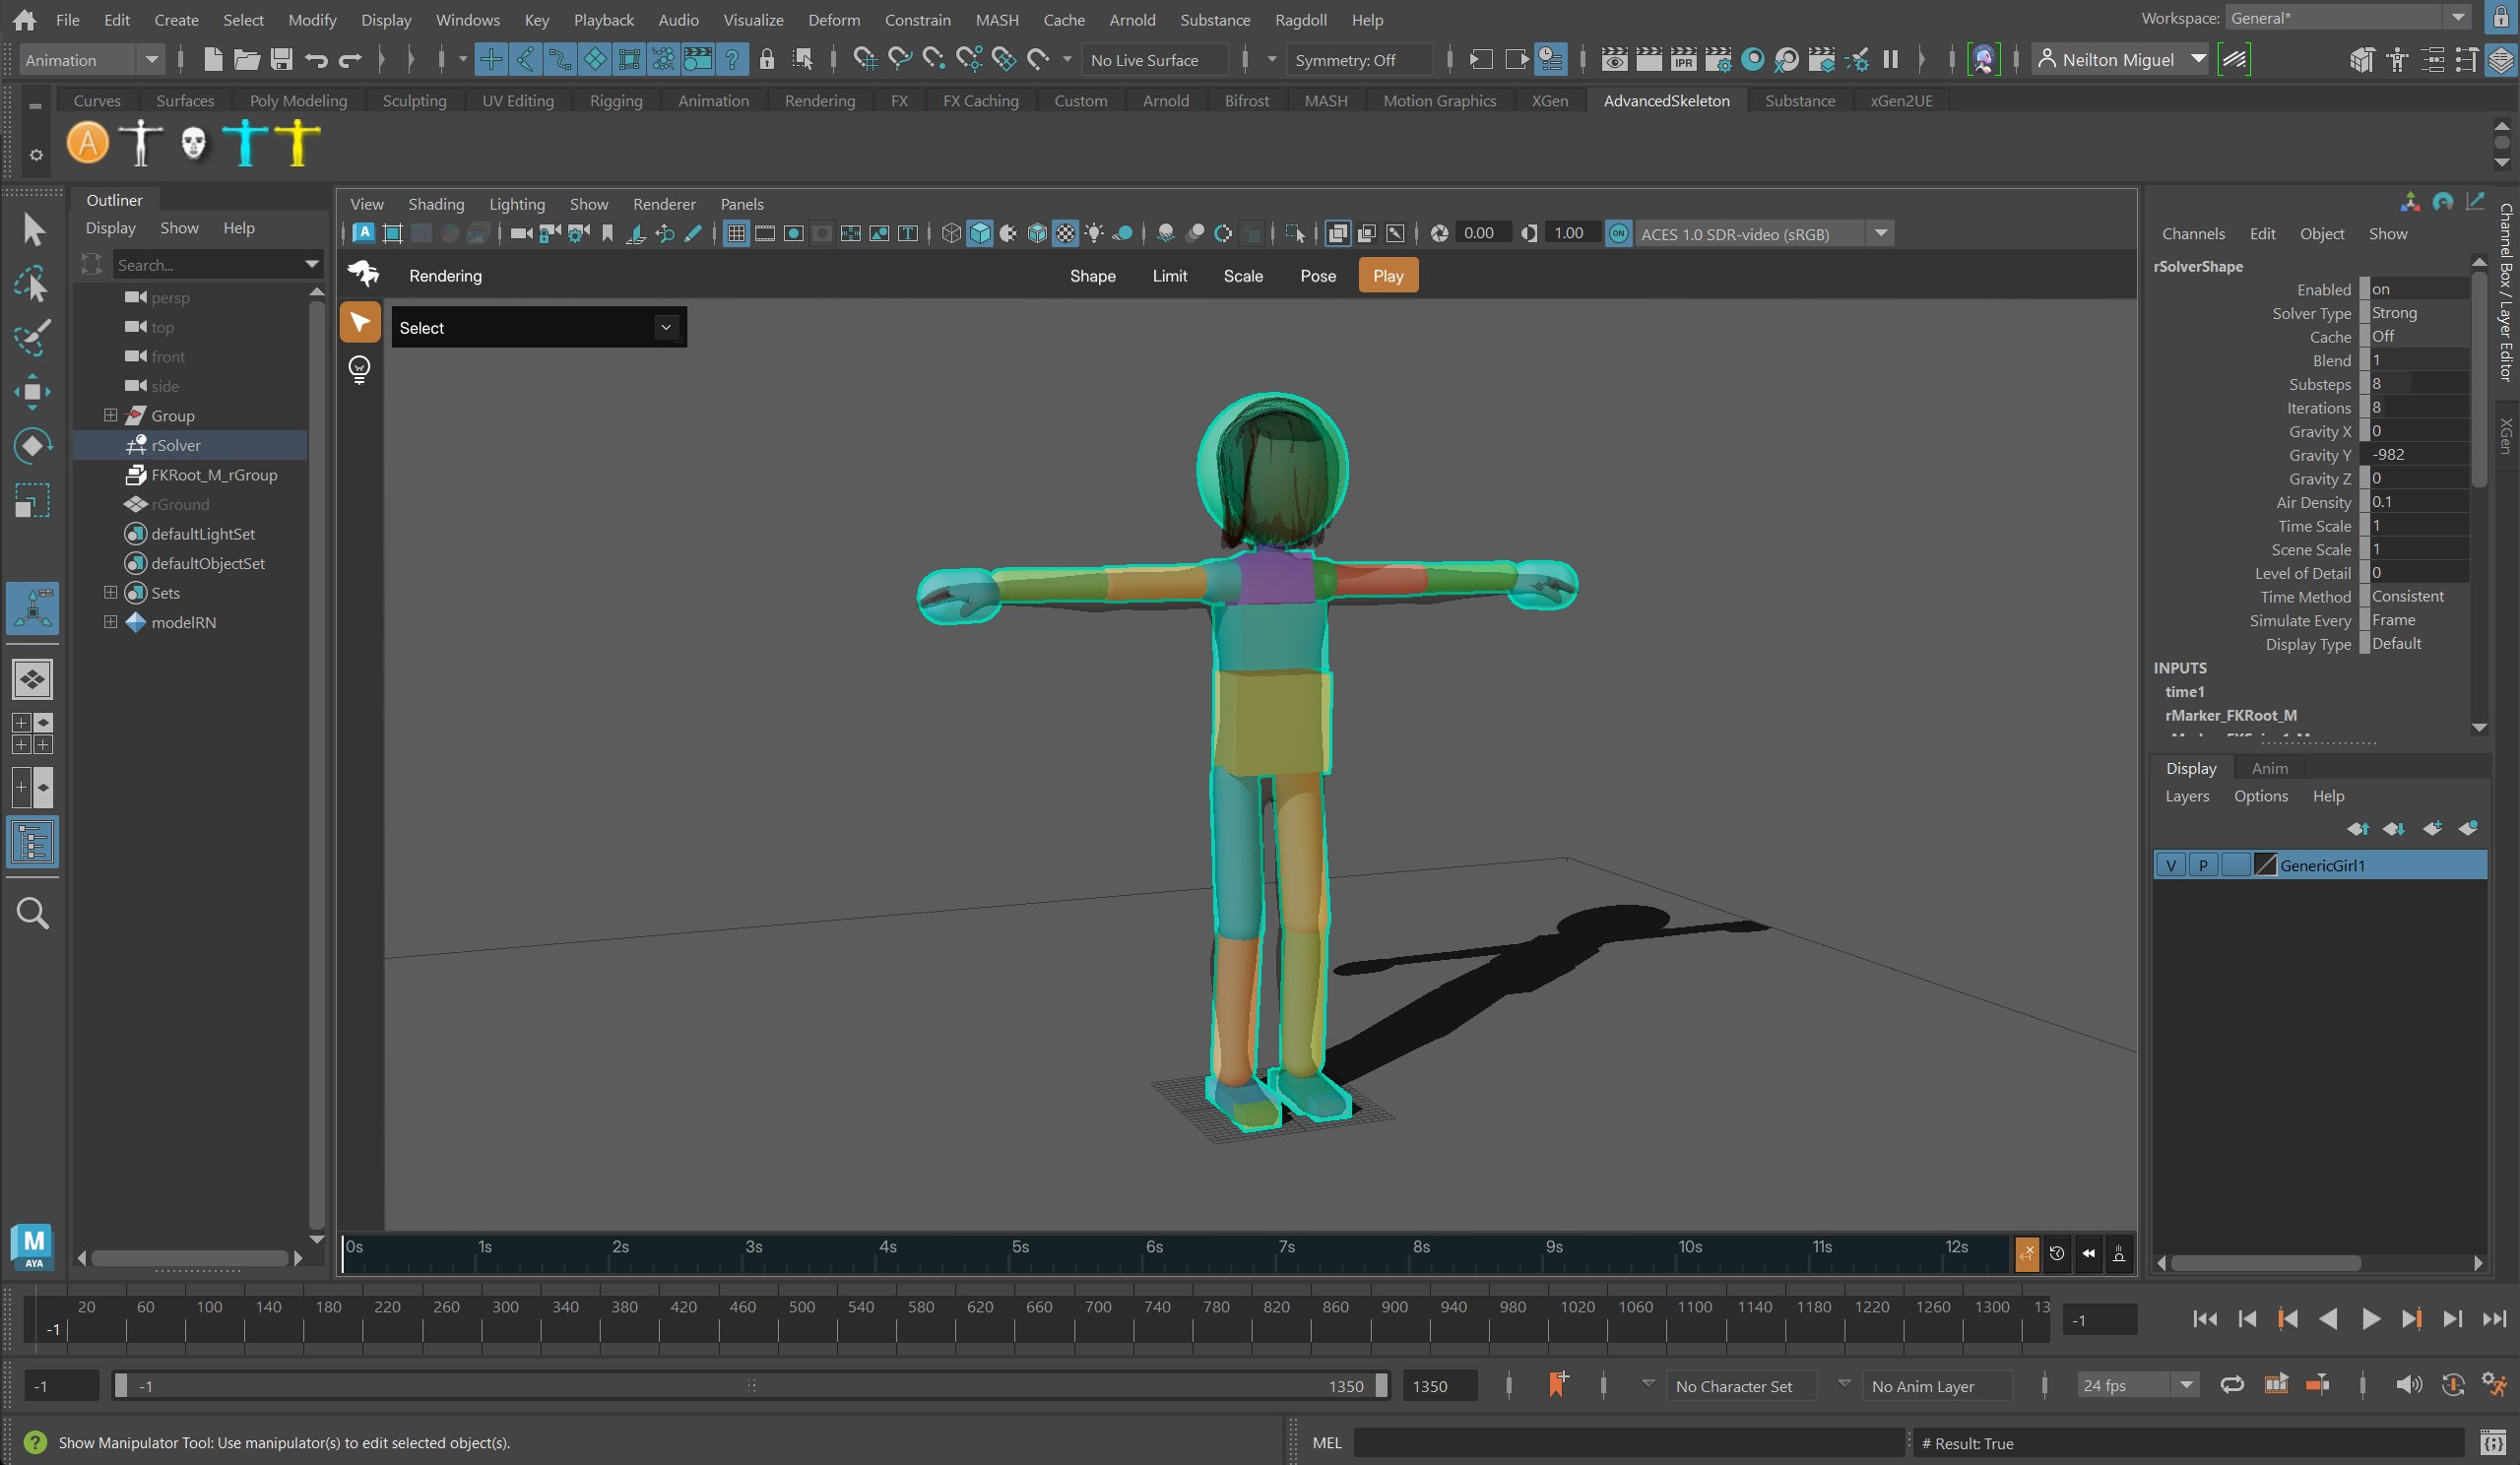
@marcus Your work is great! I’ve been using Ragdoll Dynamics since last night and have been doing some experiments. The learning curve is SO good!! The amount of quality it adds in such a short time is insane. I only need to set up some simple keyframes, and it takes care of all the secondary motion for me.
I’m planning to make a 10-minute animation with around 15 characters. My idea is to keyframe everything first, use Ragdoll Dynamics to add secondary animation, bake the results, and then polish the animation by refining the baked keyframes.
And by “secondary animation,” I don’t mean just hair or clothing. I mean using Ragdoll Dynamics as a way to make the whole animation more fluid and alive, quite close to what this guy did (But i wont use on the face):
Or this example:
Or this other example
I’m still trying to understand exactly HOW i should go about doing it tho. So i’ve been watching your YouTube videos, and they’ve been a massive help, but dont teach EXACTLY this. Do you have any tips or links to videos that teach a similar approach to this workflow? The more detailed the better
Thanks for sharing your work, and glad to hear you are enjoying Ragdoll. Do keep sharing!
As for the driving example, the trick is two-fold.
A slight increase in Rotate Stiffness
A pinned or Animated lower-body
The Rotate Stiffness will keep simulation closer to animation, and the lower body will transfer motion from the environment into the overall character.
Here’s a mini-tutorial I made for you, using our built-in assets.
As you can see, the default stiffness in this case is far too slack. So:
1. Increase stiffness
Now it’ll stay close to animation.
2. Animate hip
With the hip moving with the environment, making it animated transfers all of that motion into simulation. If the environment is simulated too, you can instead use an Attach Constraint for a similar effect.
3. Polish
Finally, tune stiffness to your liking, to preserve as much of the animation as is suitable for the shot.
Amazing, this type of answer is as high-quality as it gets. I’ll make sure to post about my animation when it’s finished (though it will take a while), along with some behind-the-scenes content showing how I used Ragdoll for the whole thing, including the dancing characters.
One last thing: besides the official website and YouTube channel, do you know of any other places where I can learn how to use this tool? A good chunk of the tutorials are unfortunately outdated because of how much the program has changed.
Ooo yes, that walk cycle at the end of your first video looks so good! Try adding a Pin Constraint on the head, remove the Translate Stiffness such that it only controls rotations. That’ll be your “aim constraint”, to keep the head more lively. The rest is superb.
As for learning resources, the Manipulator UI has changed yes, but tutorials that cover the Maya-side and general functionality are still valid since 2022. Apart from website and YouTube, you’ve got this forum, e.g.